
Every Kind of Damage We Fix
See real leather repair before and after results. Same furniture, a whole new life.
Start from the piece you own
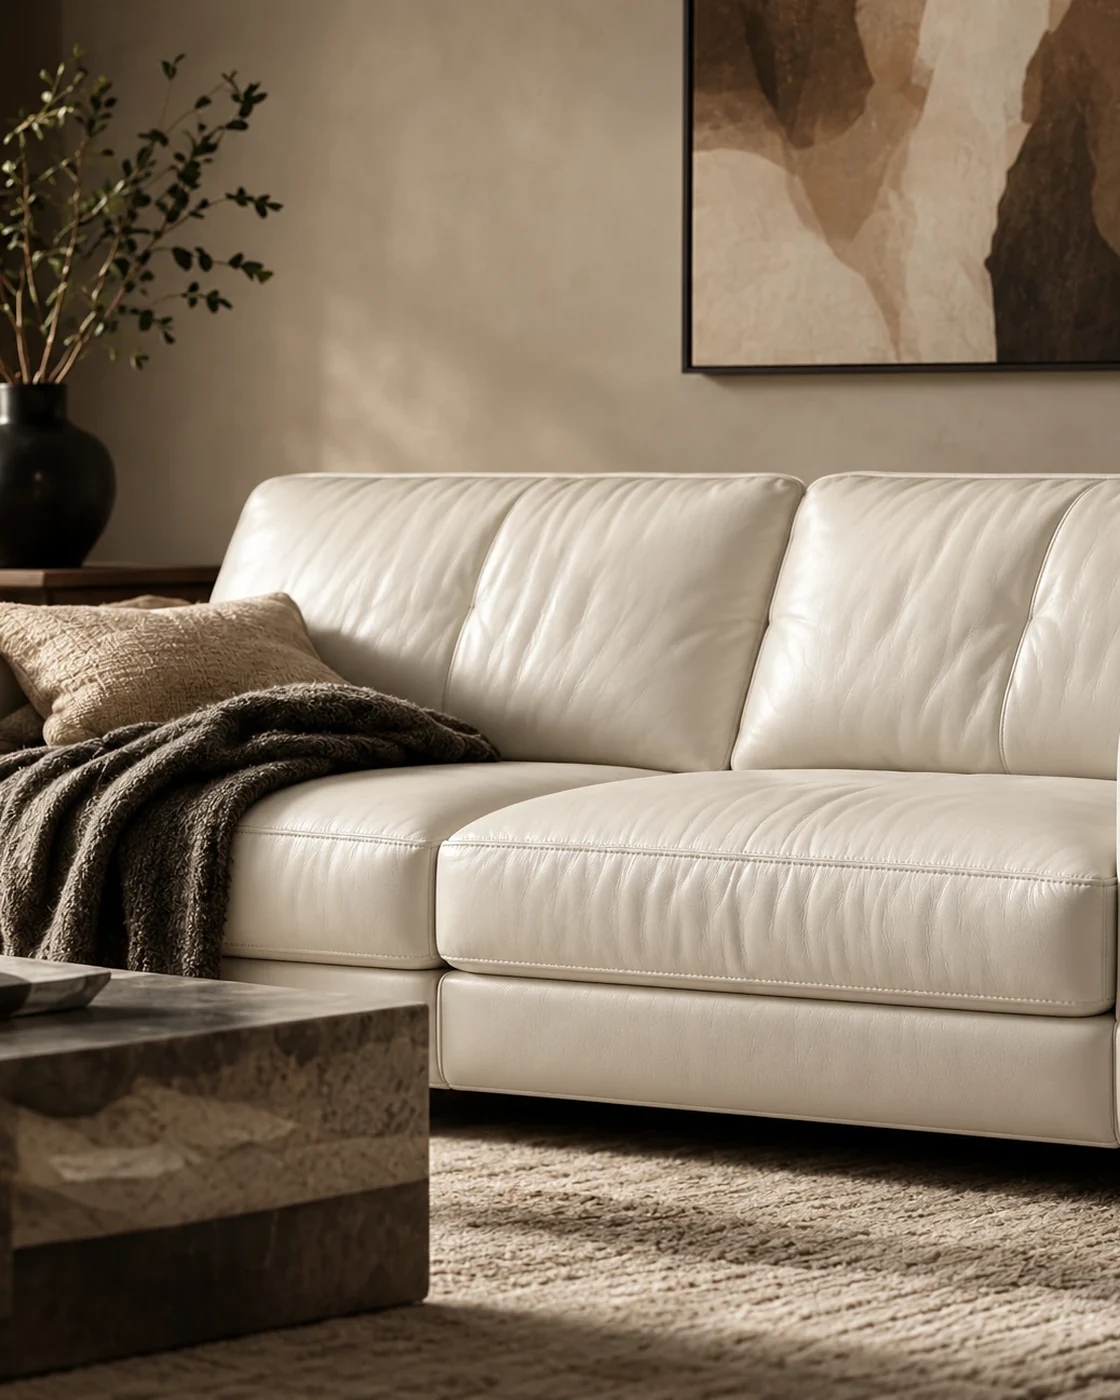
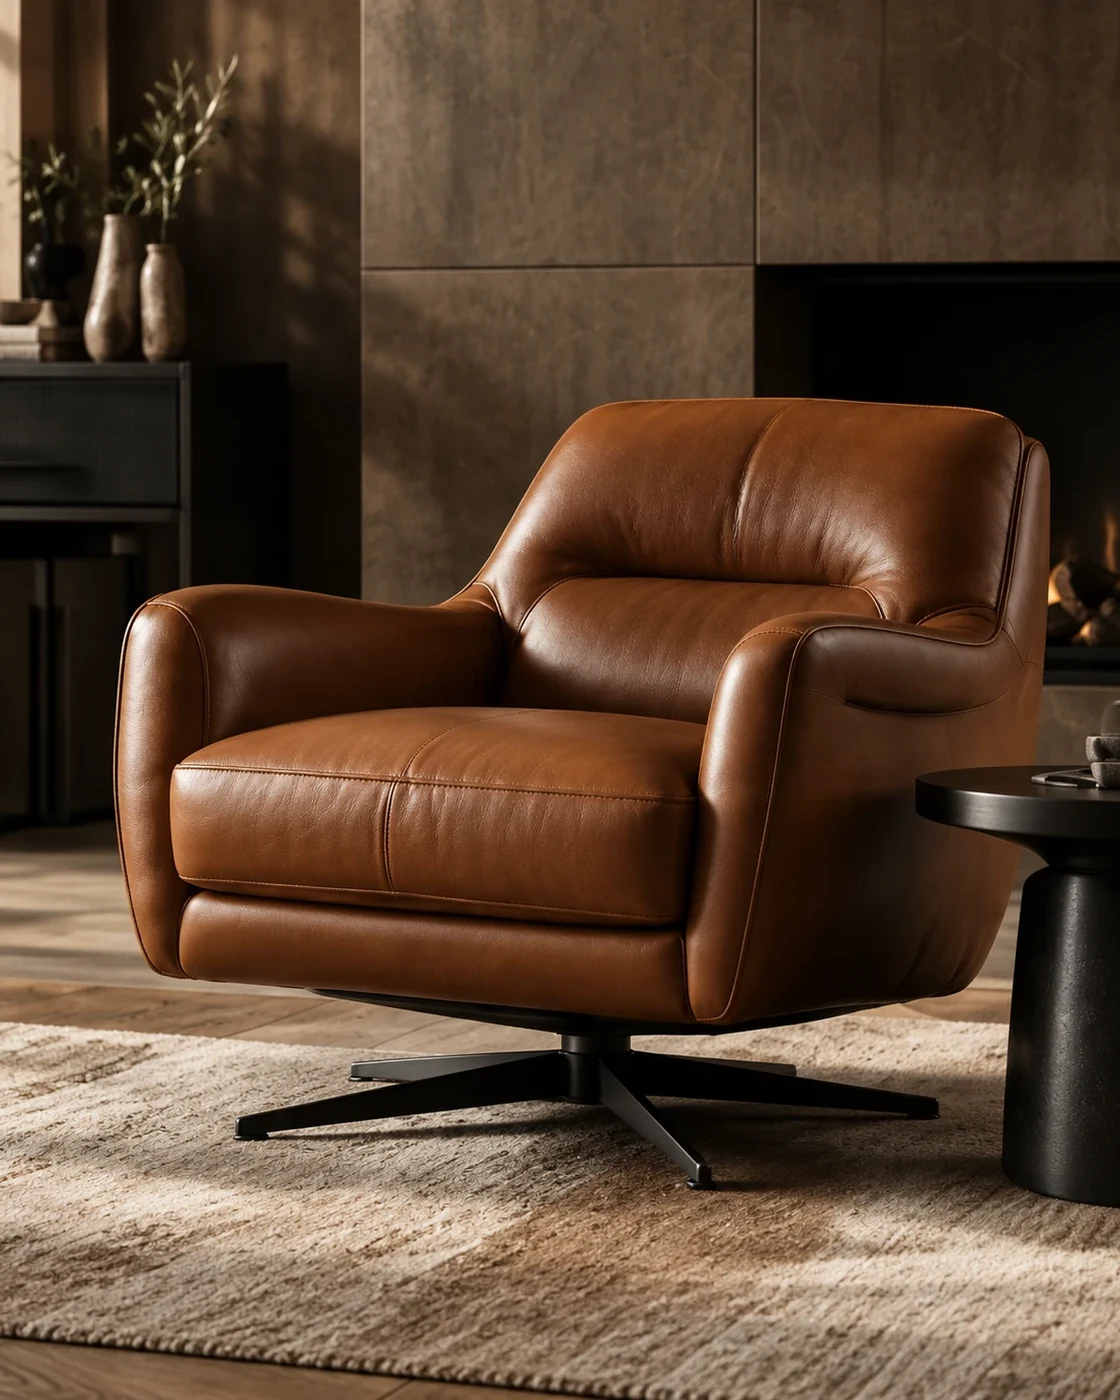
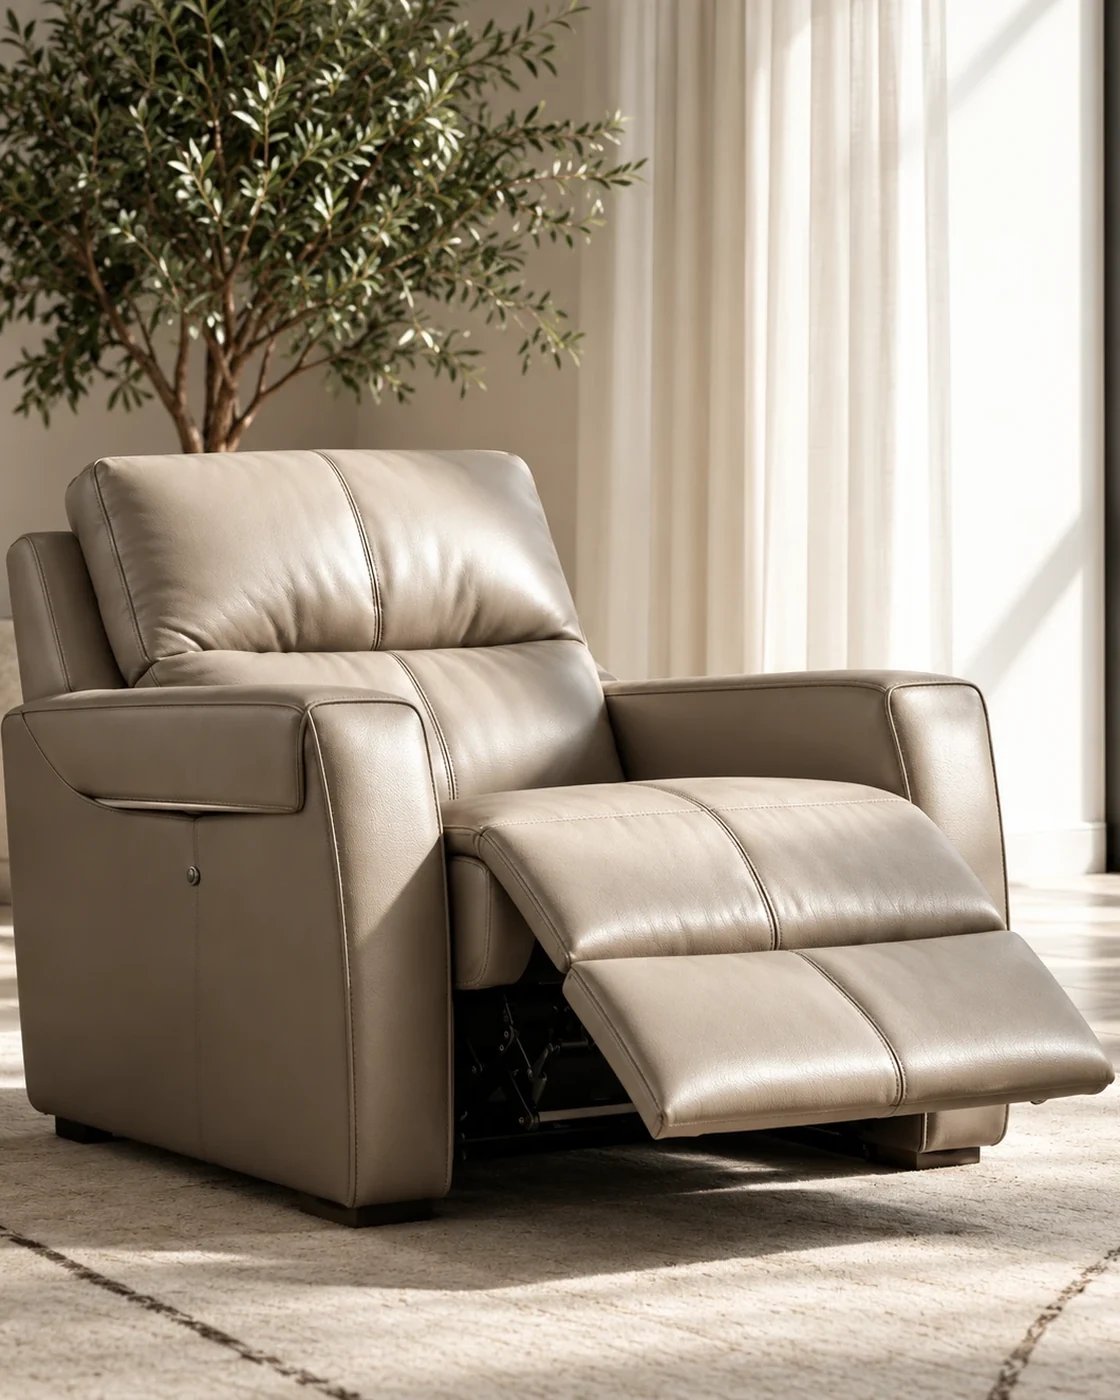
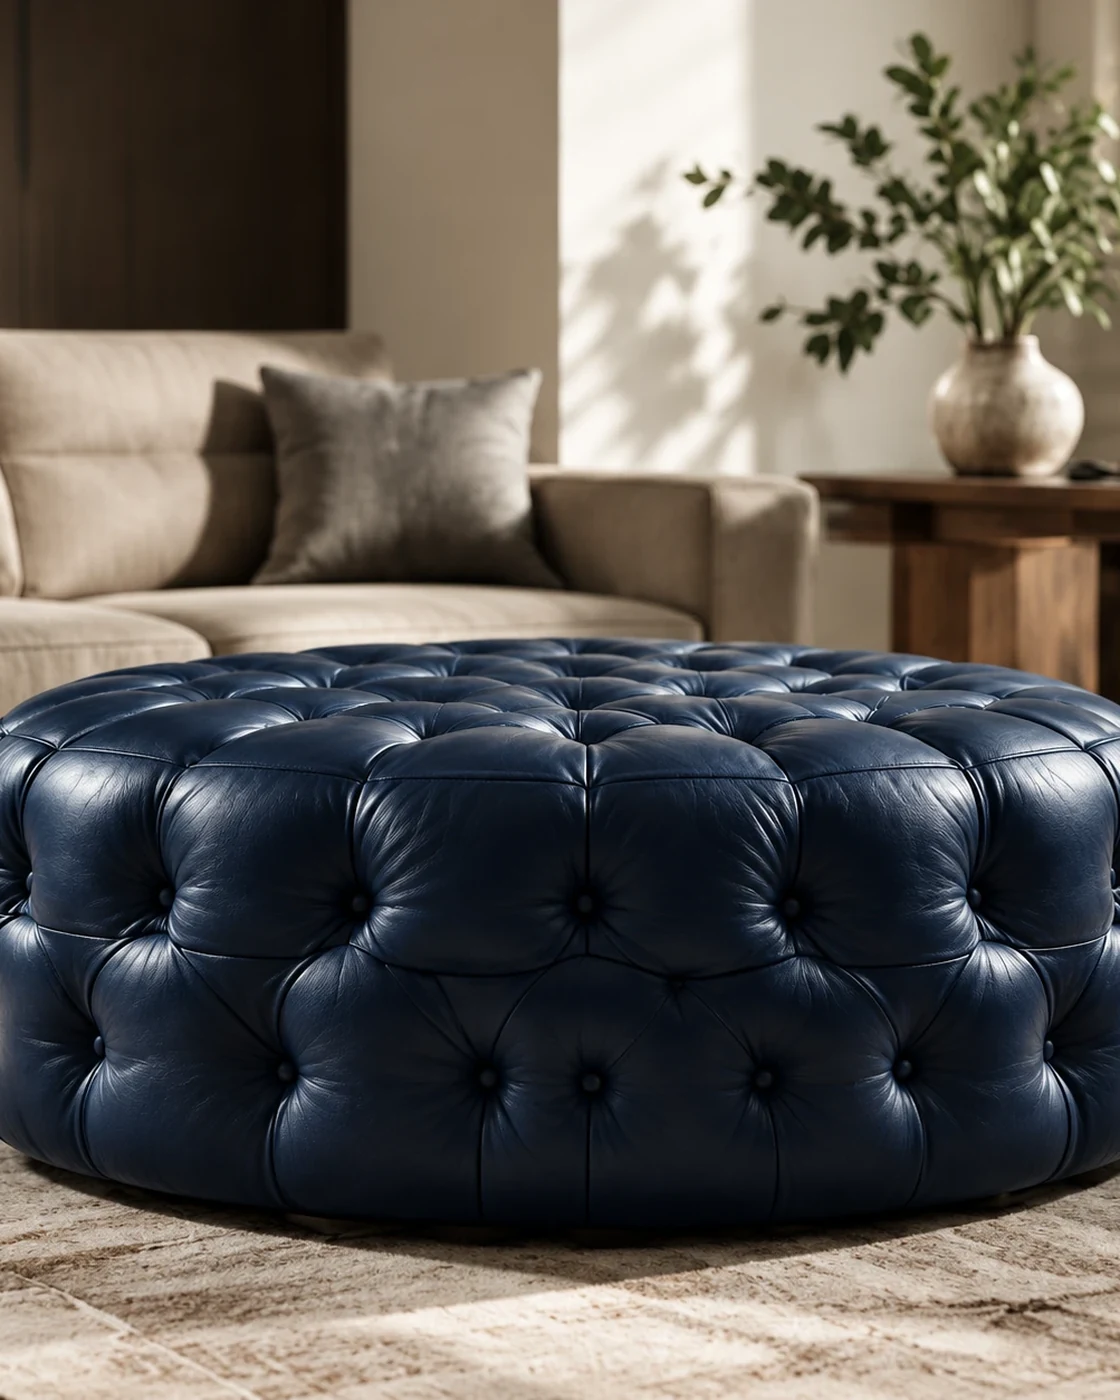

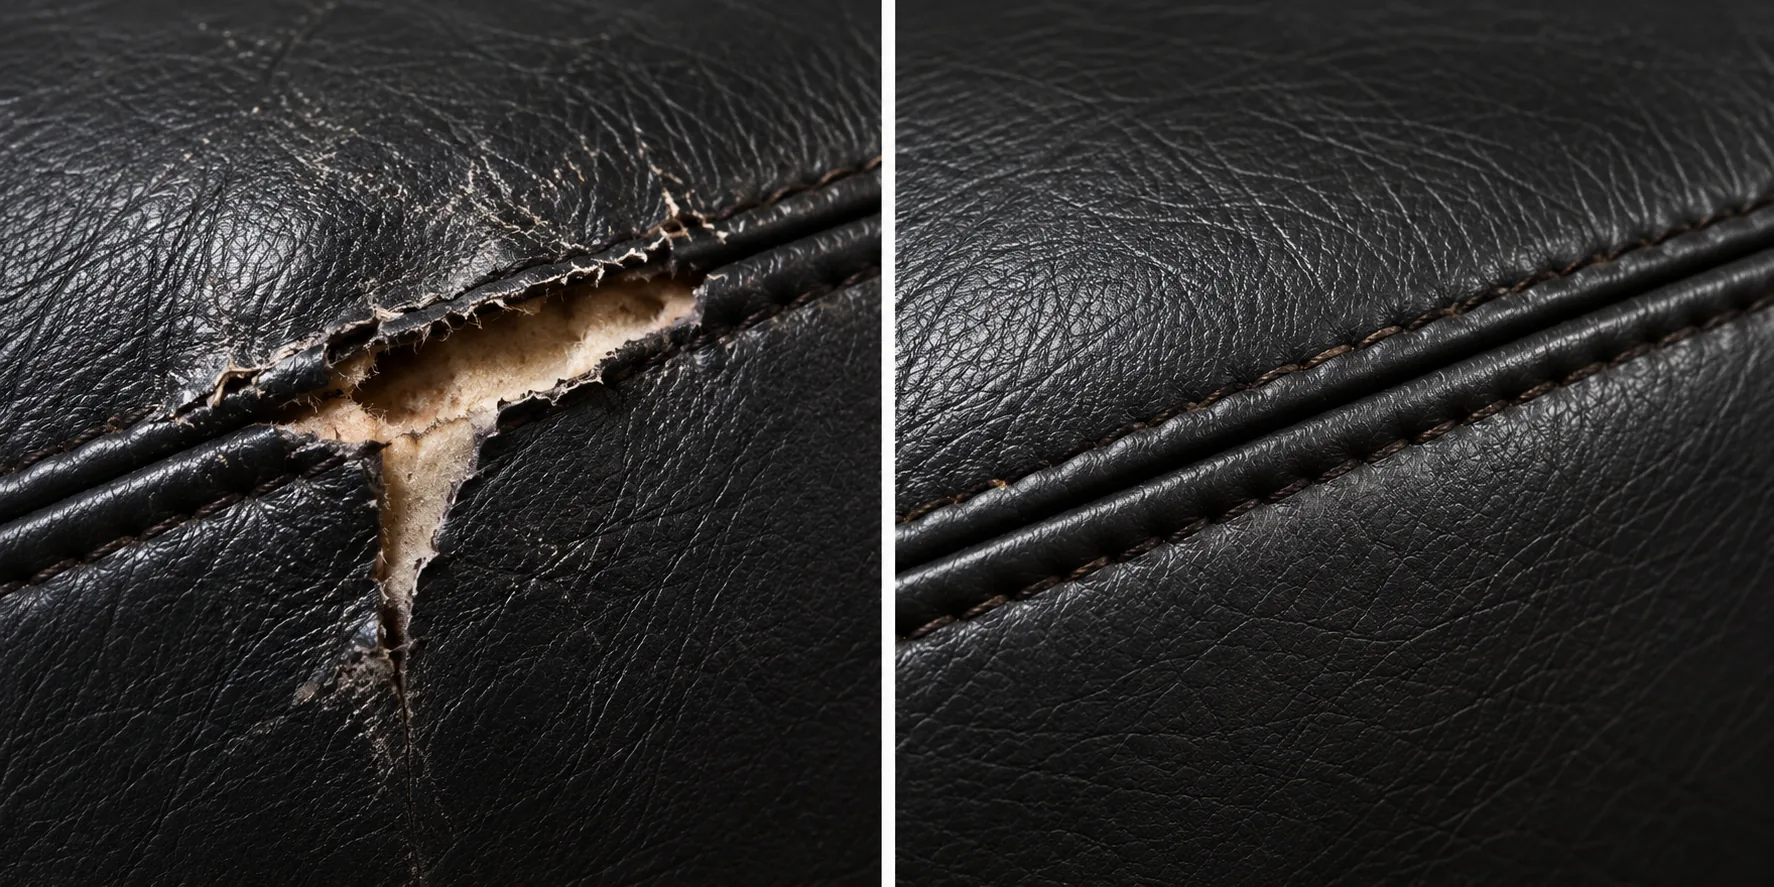
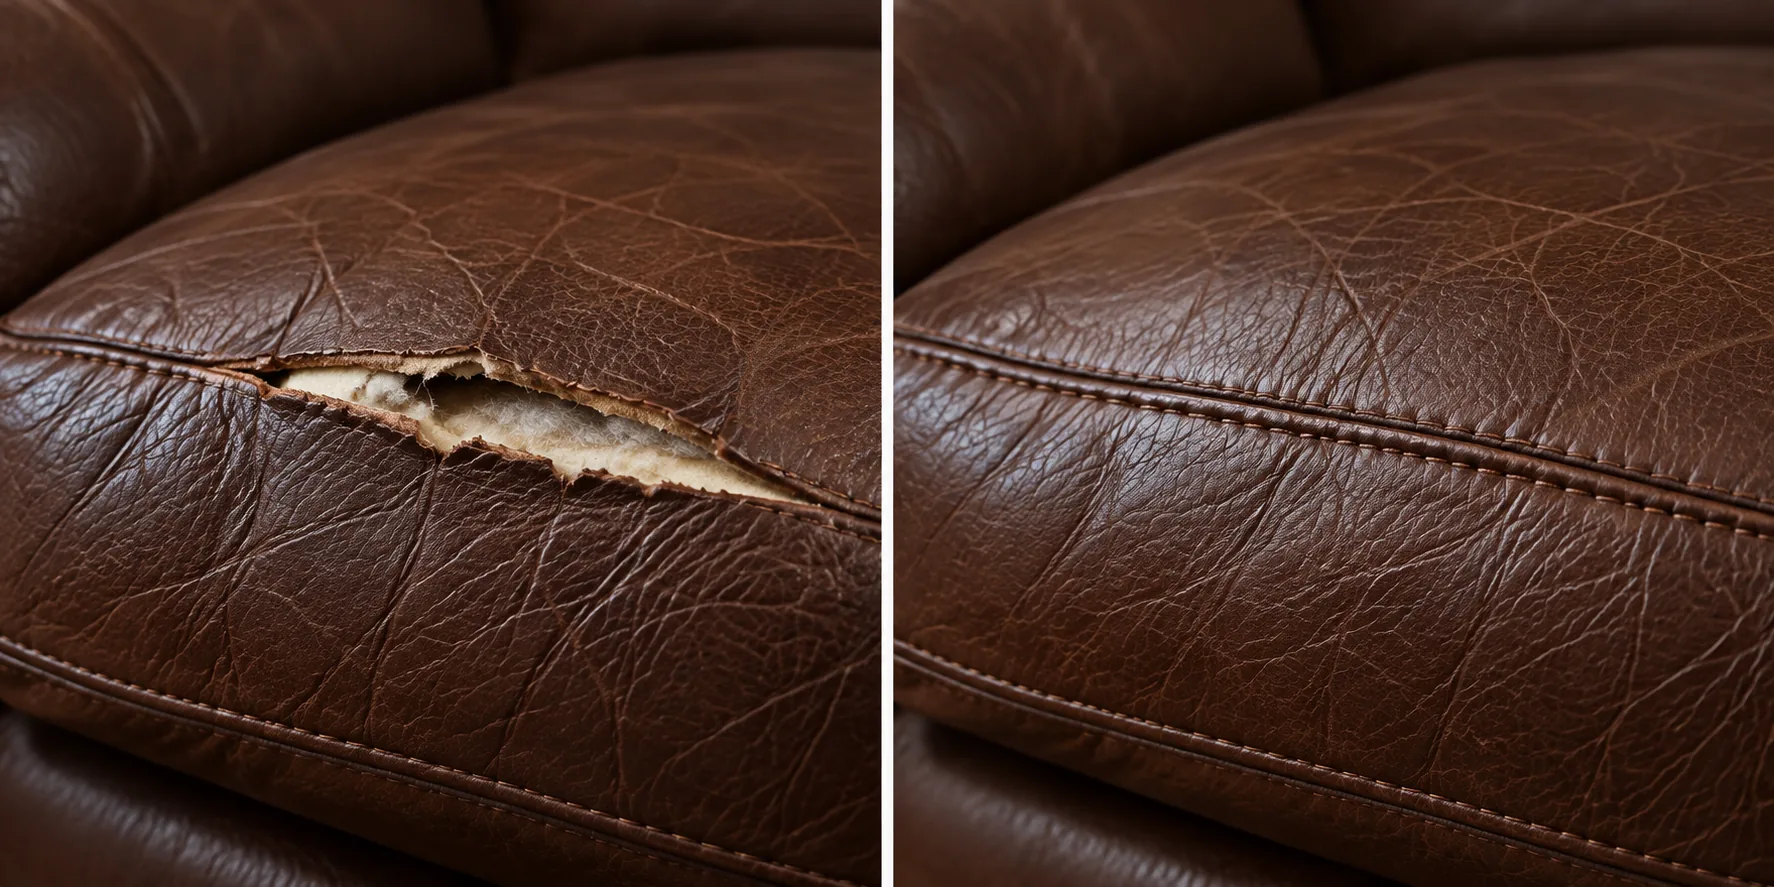
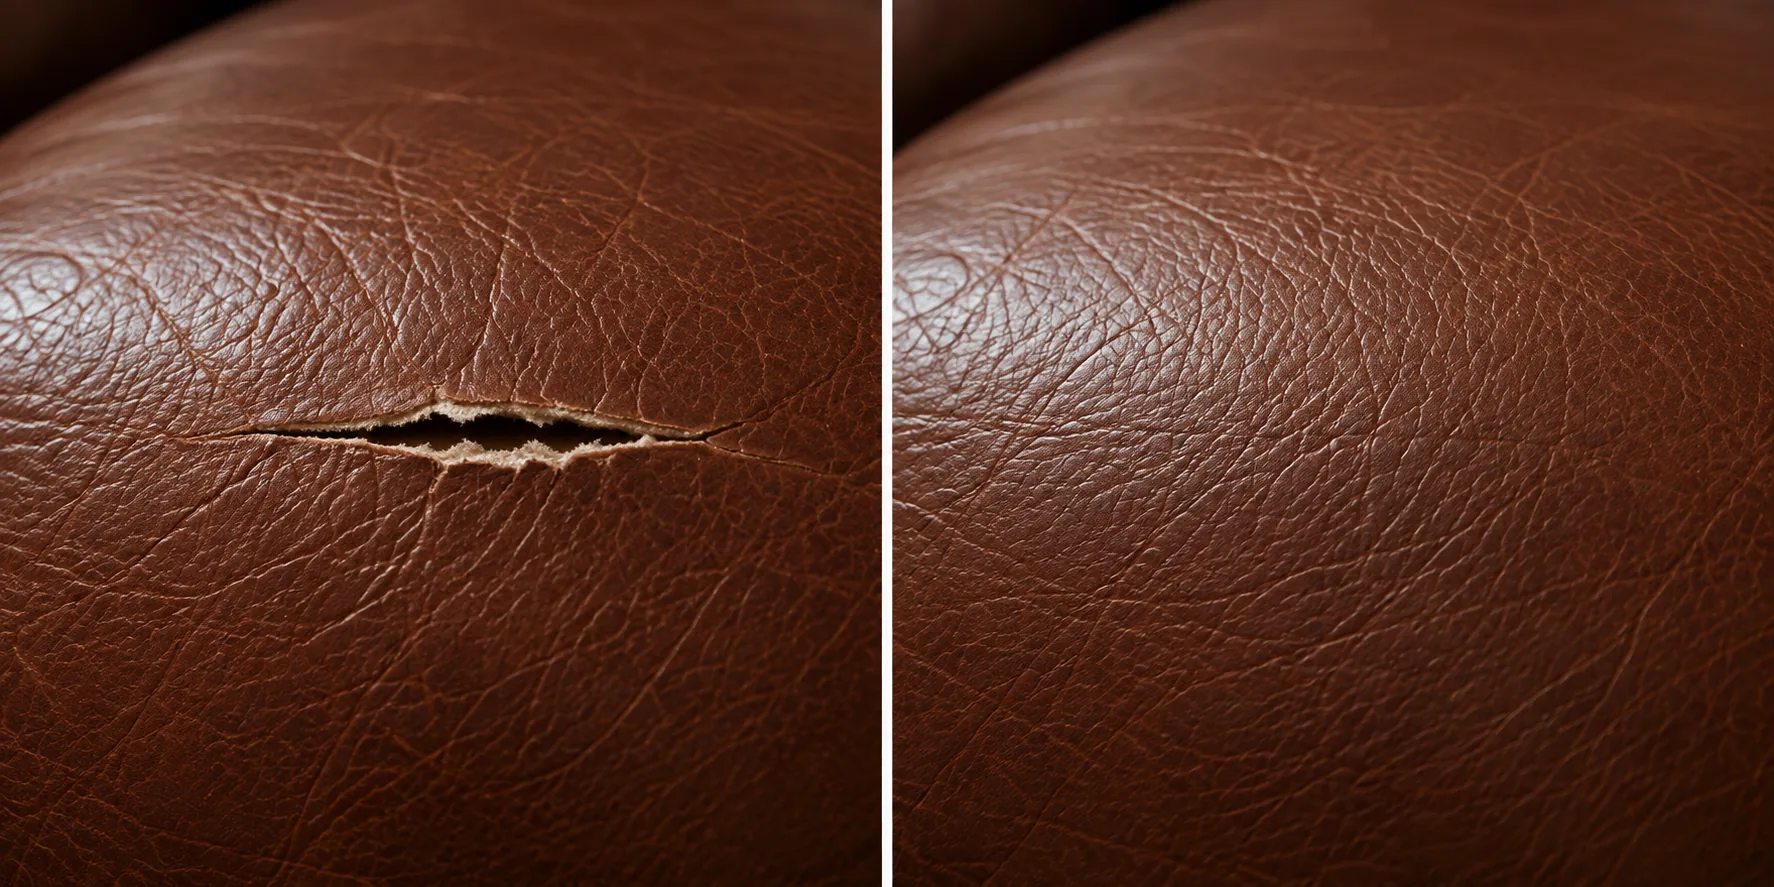
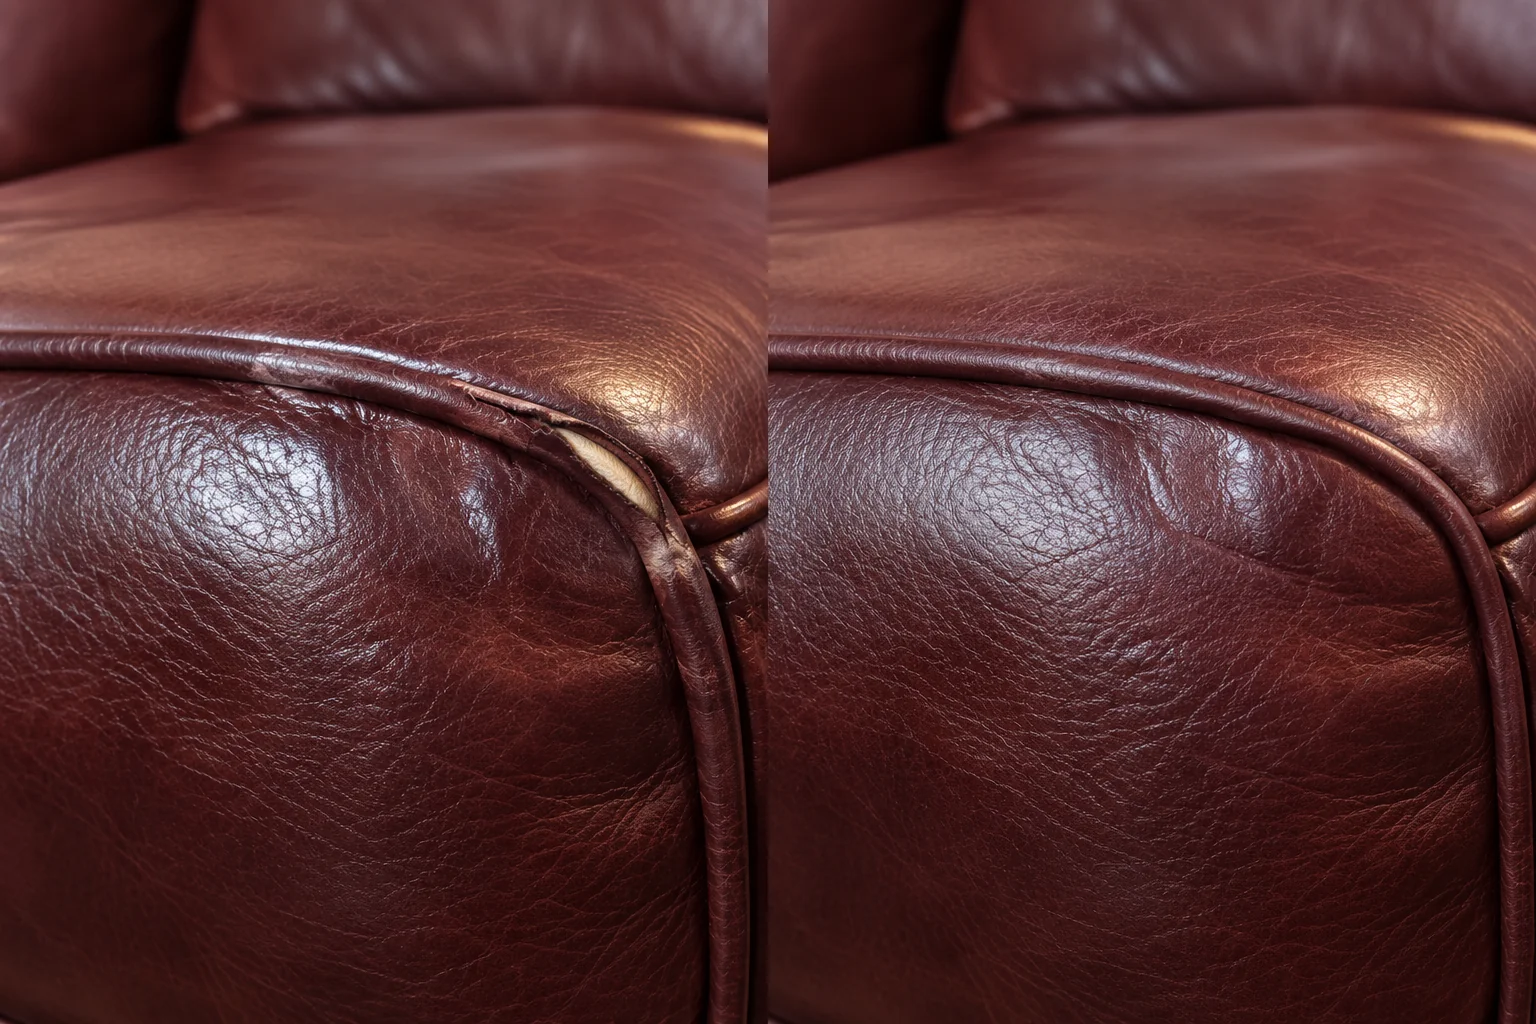
Leather that has opened up, closed and made level again
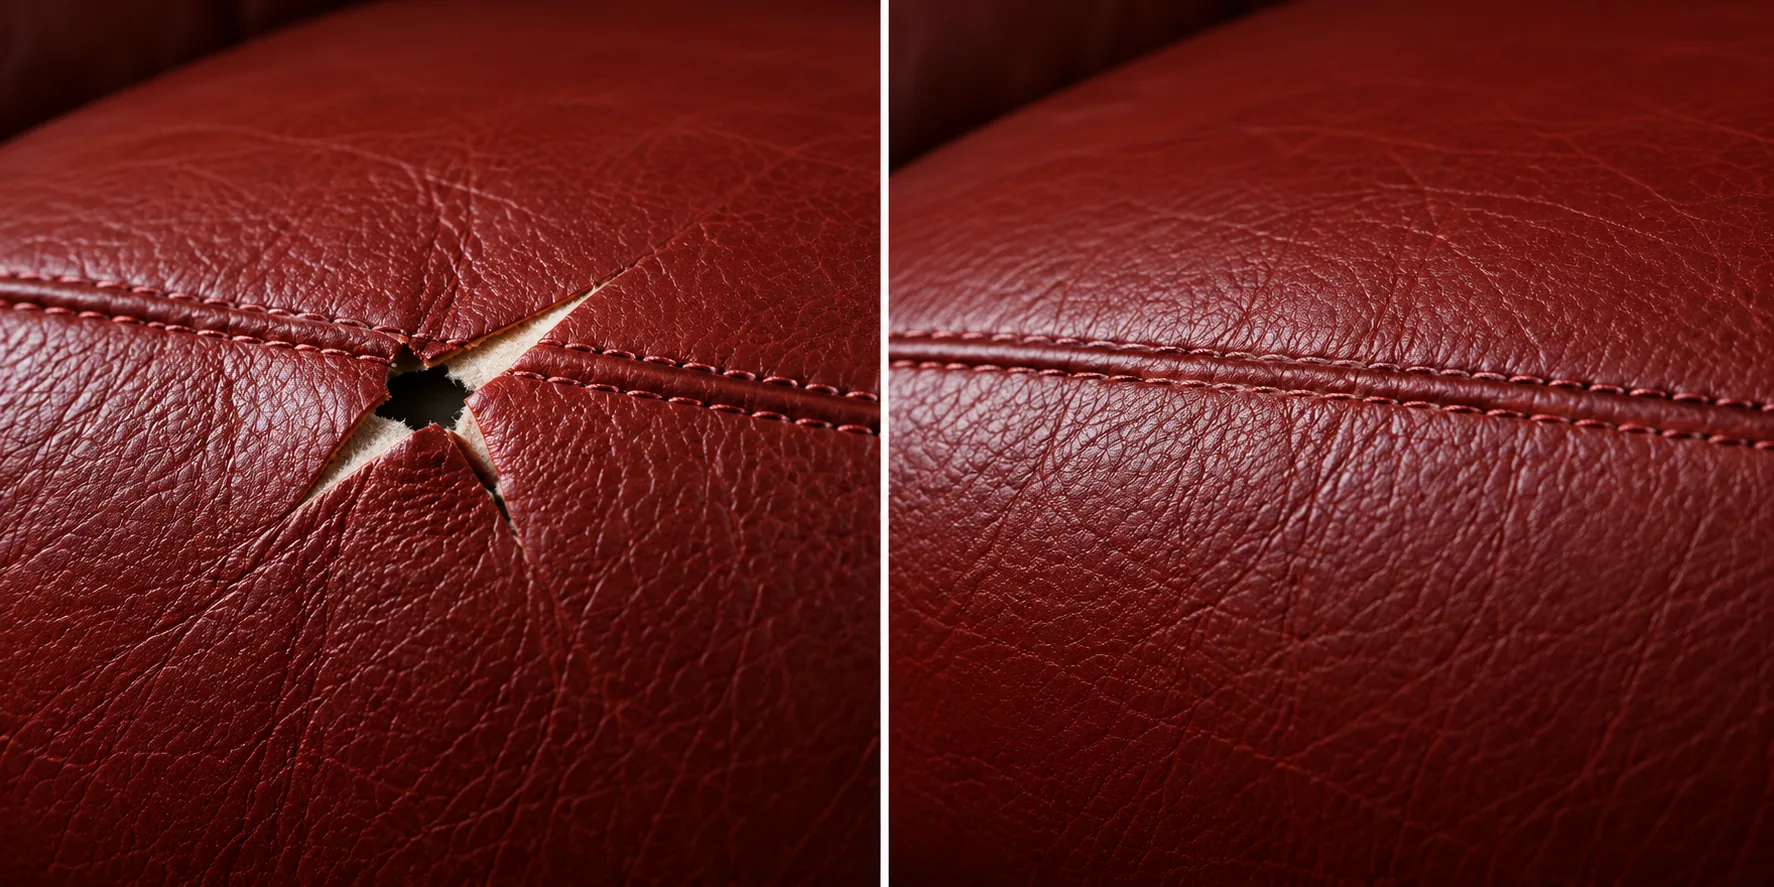
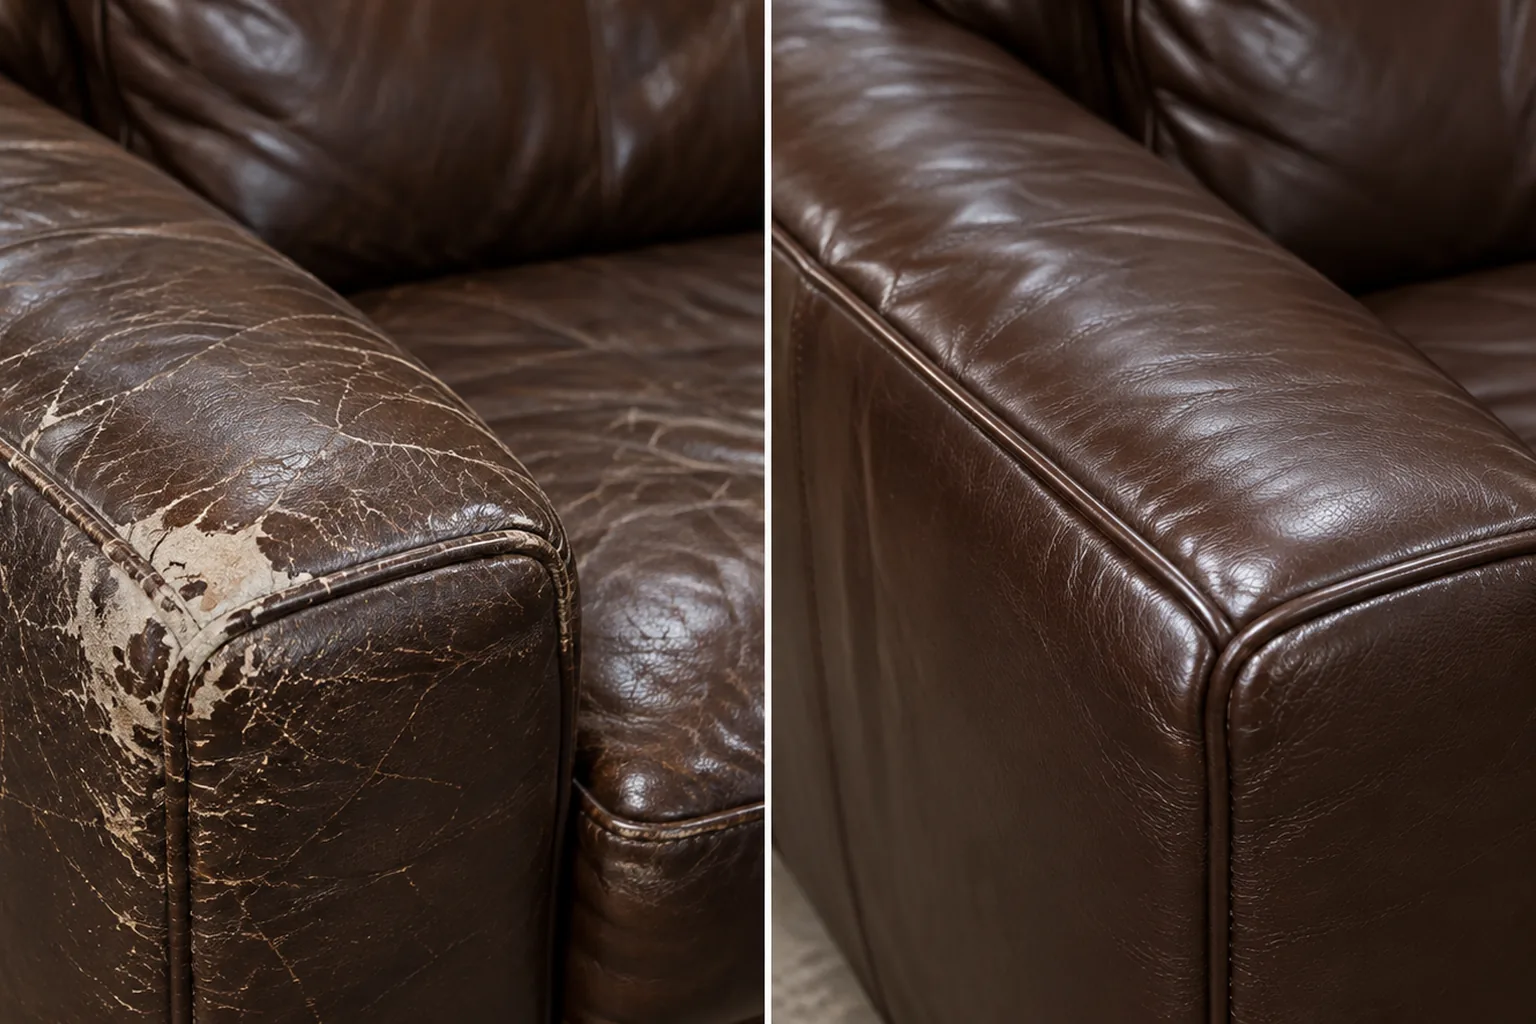
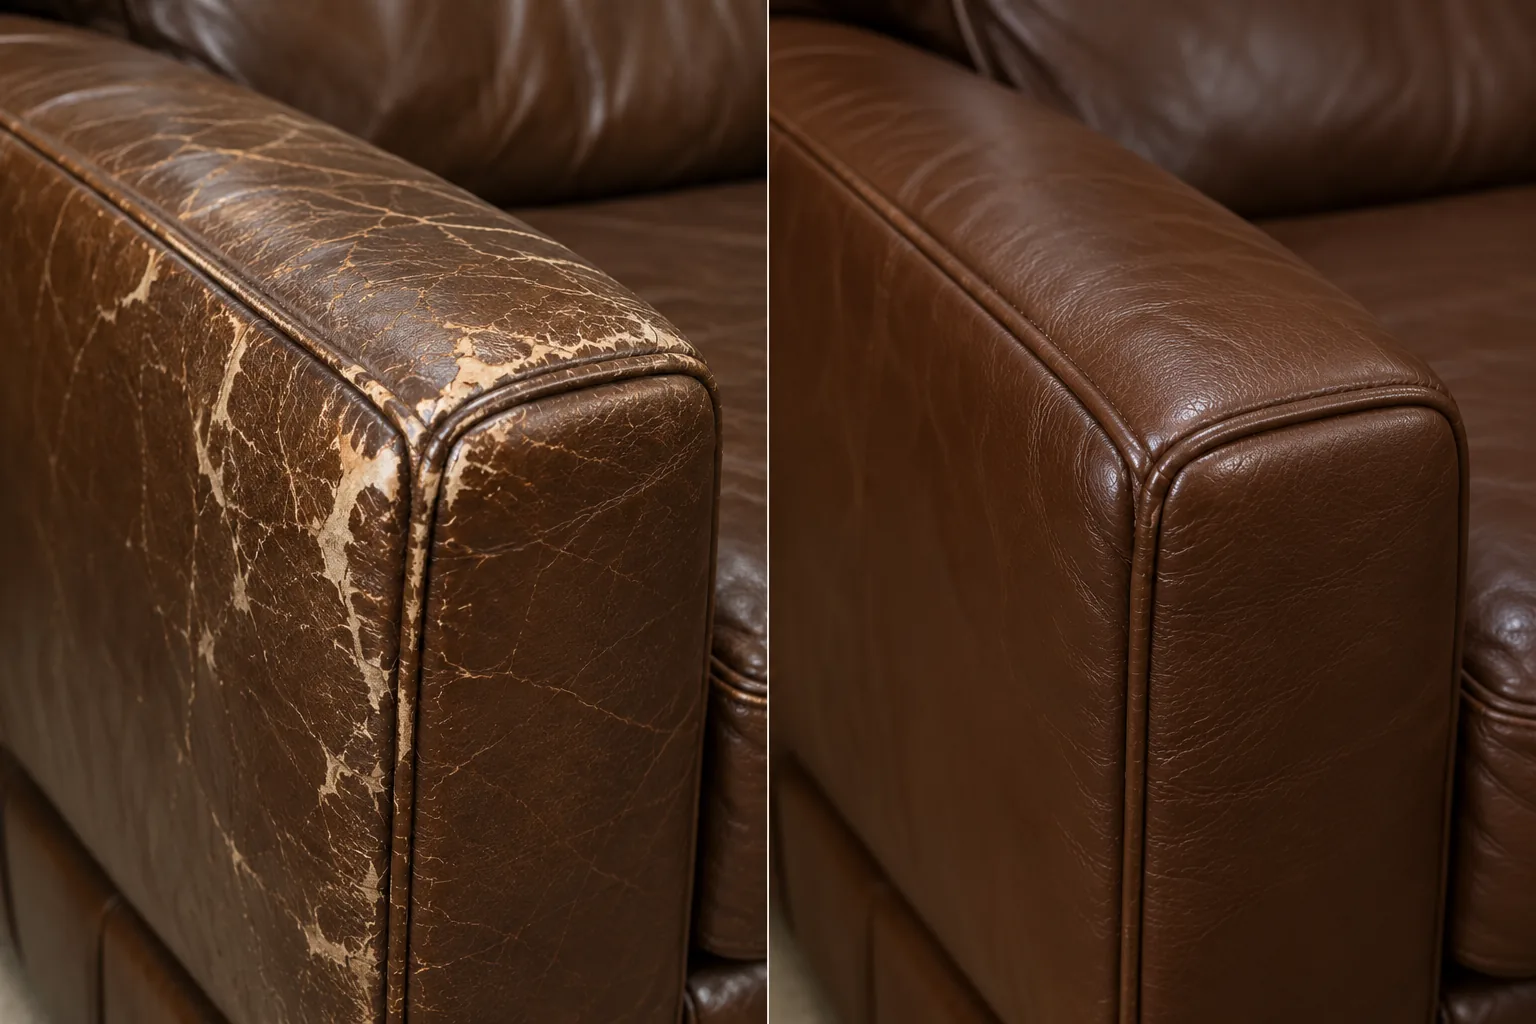
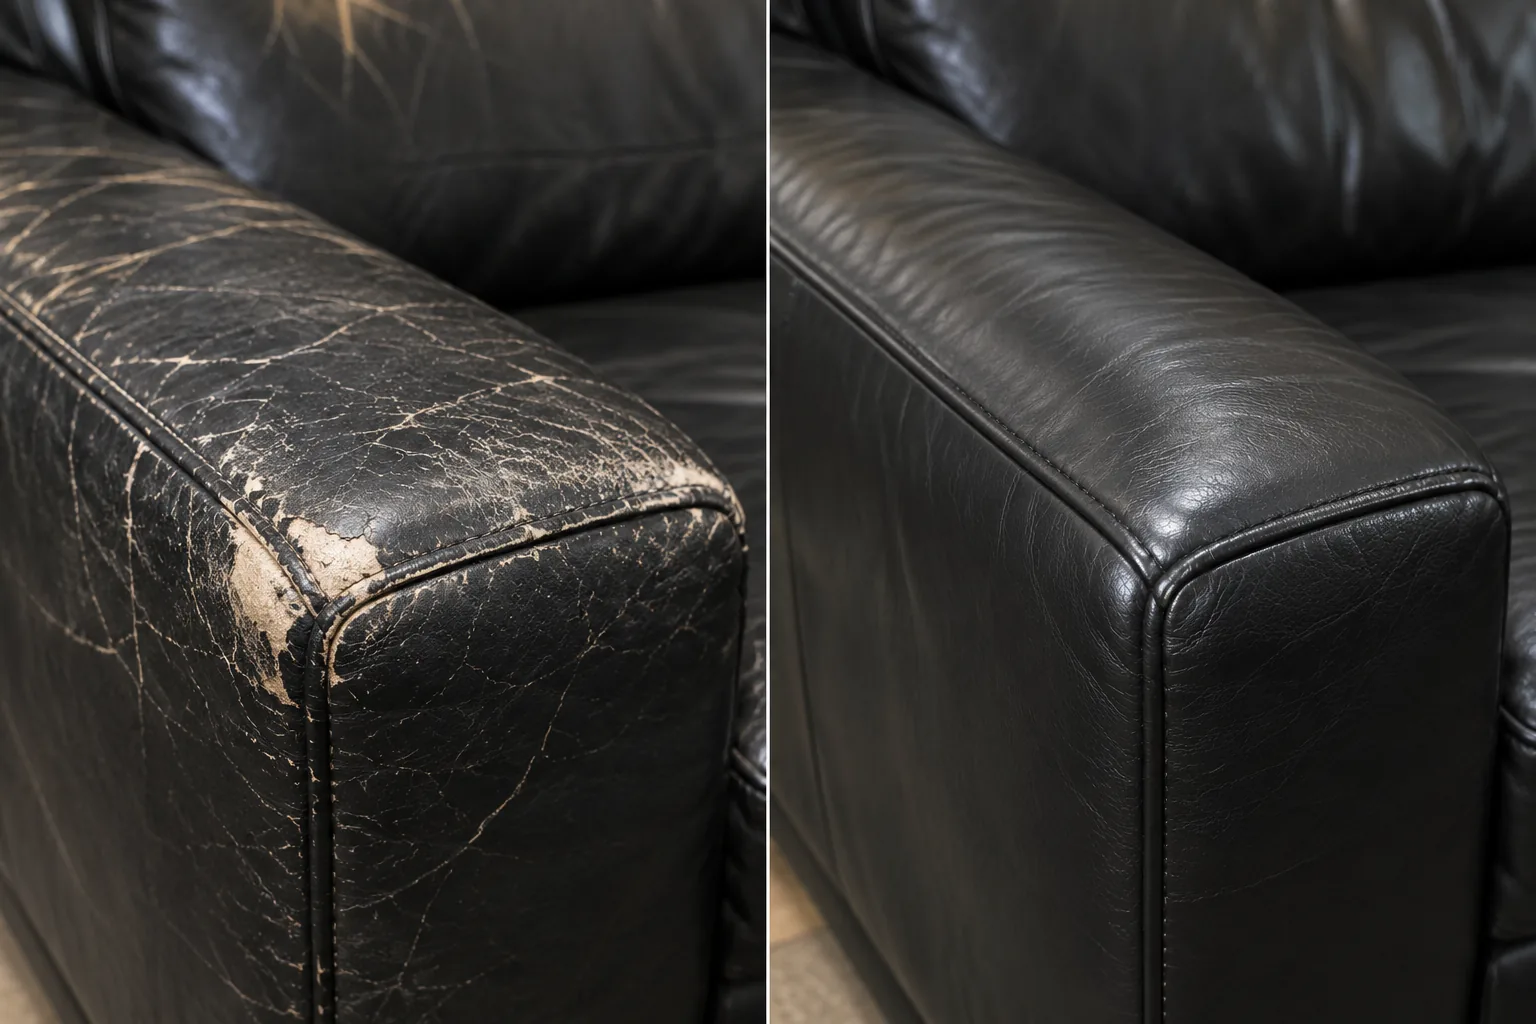
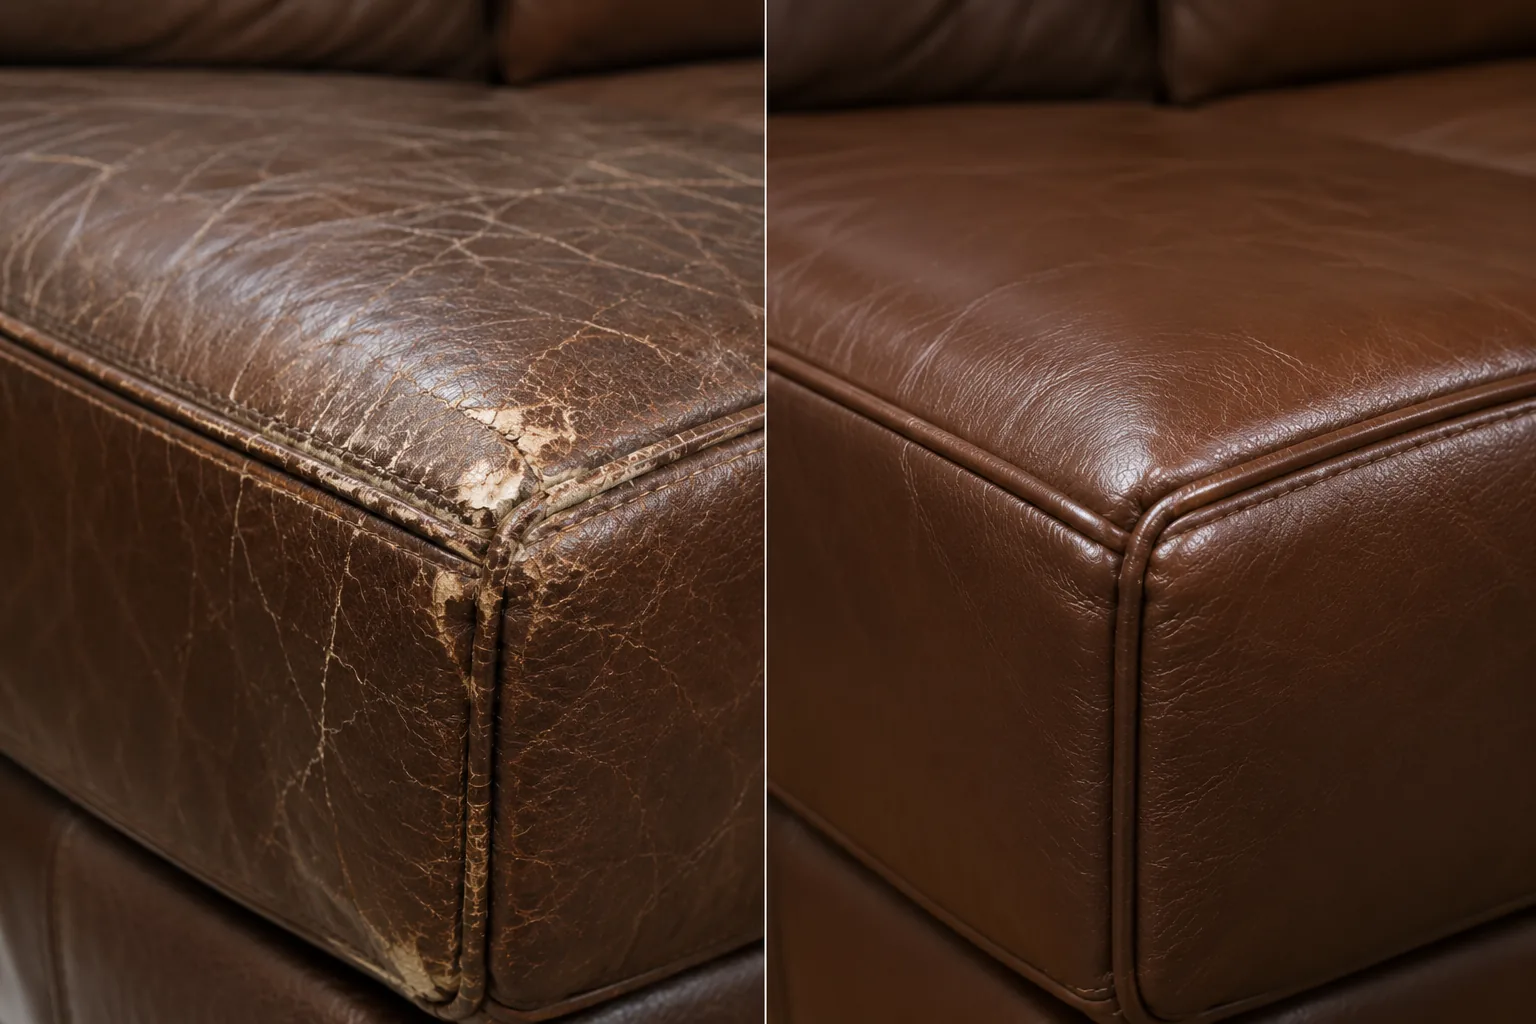
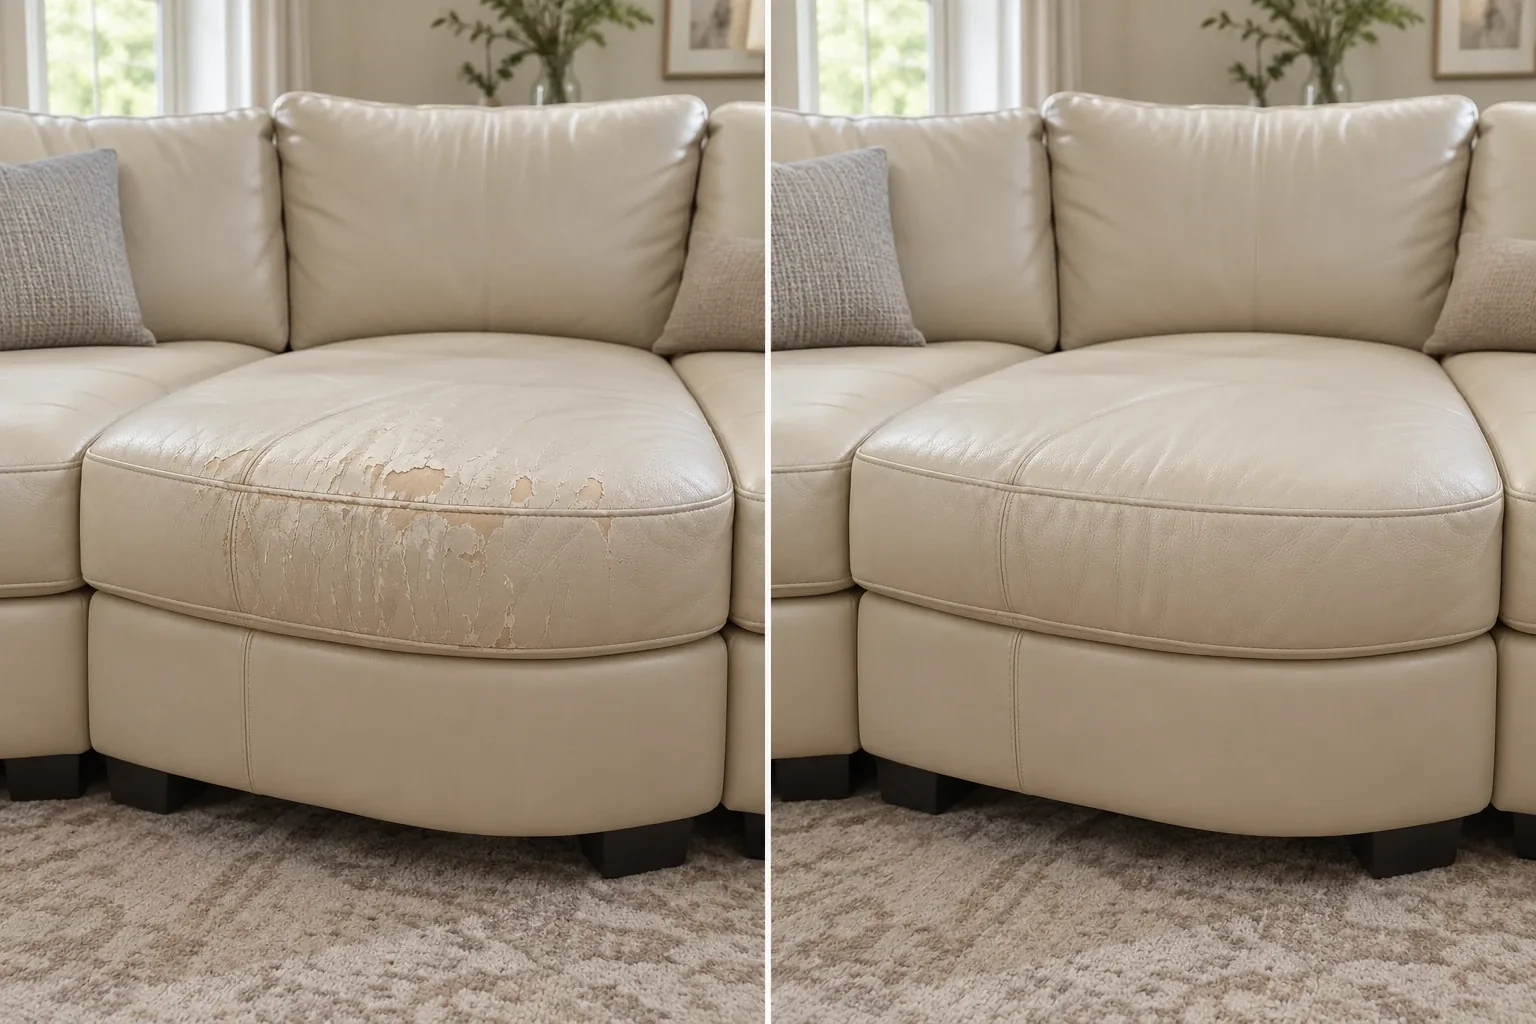
A tear is repaired from behind first: a backing patch under the split, filler flush to the surface, the grain re-pressed in, then colour over the whole panel so the repair has no edge. Every leather repair before and after in this row is the same panel in the same light.
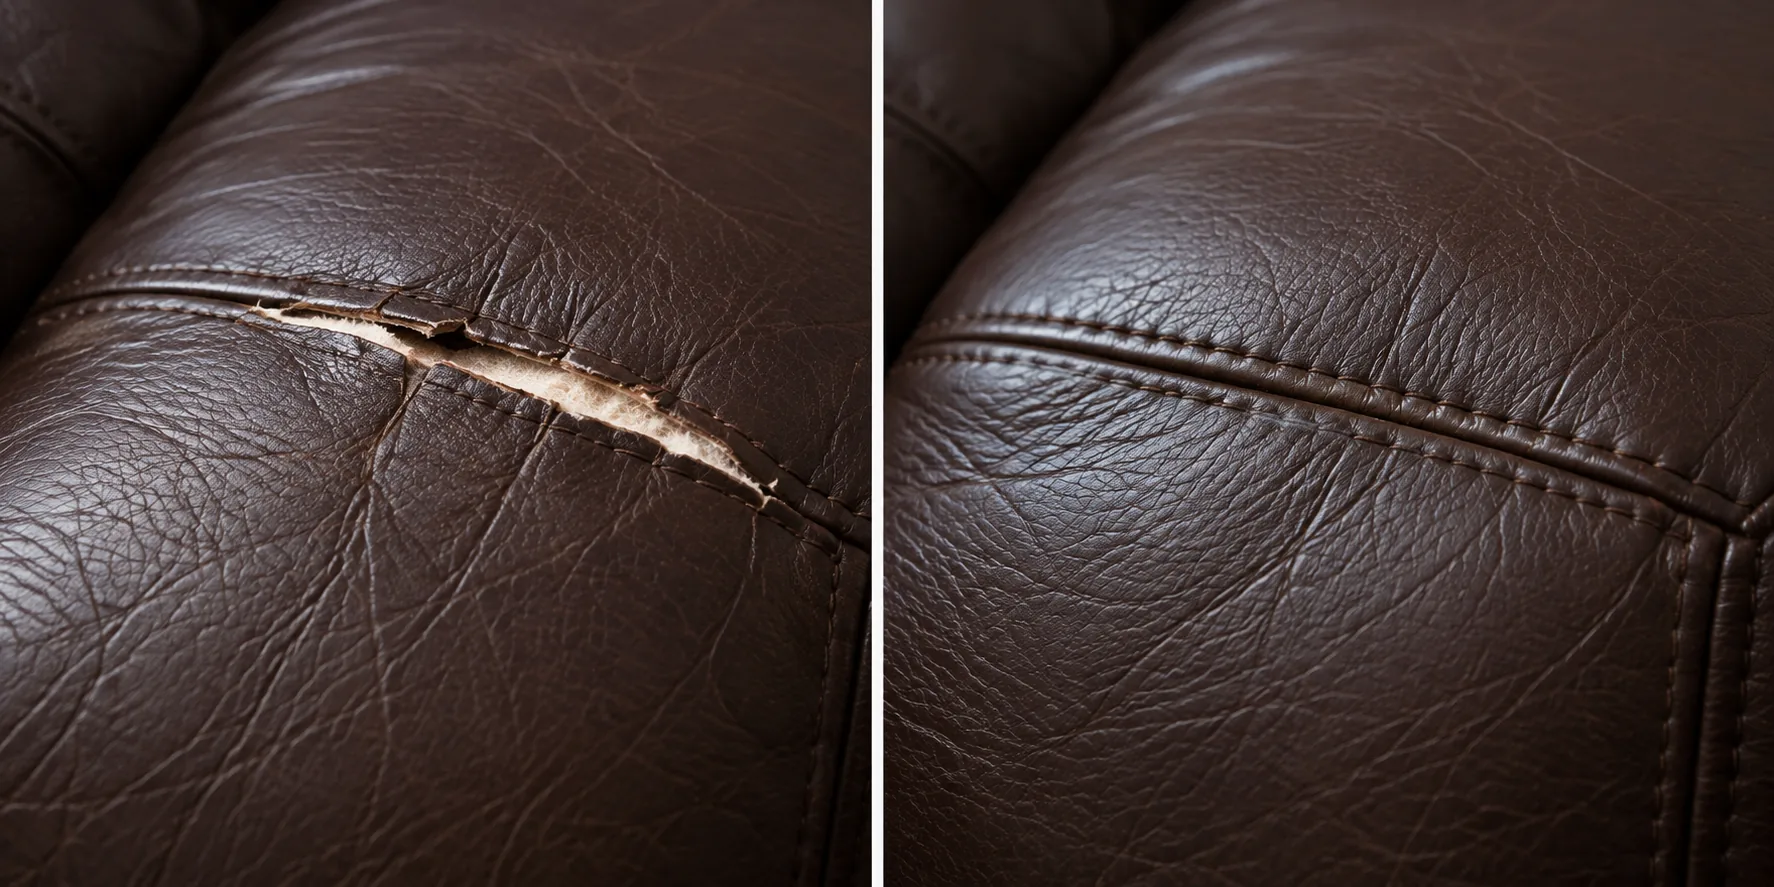
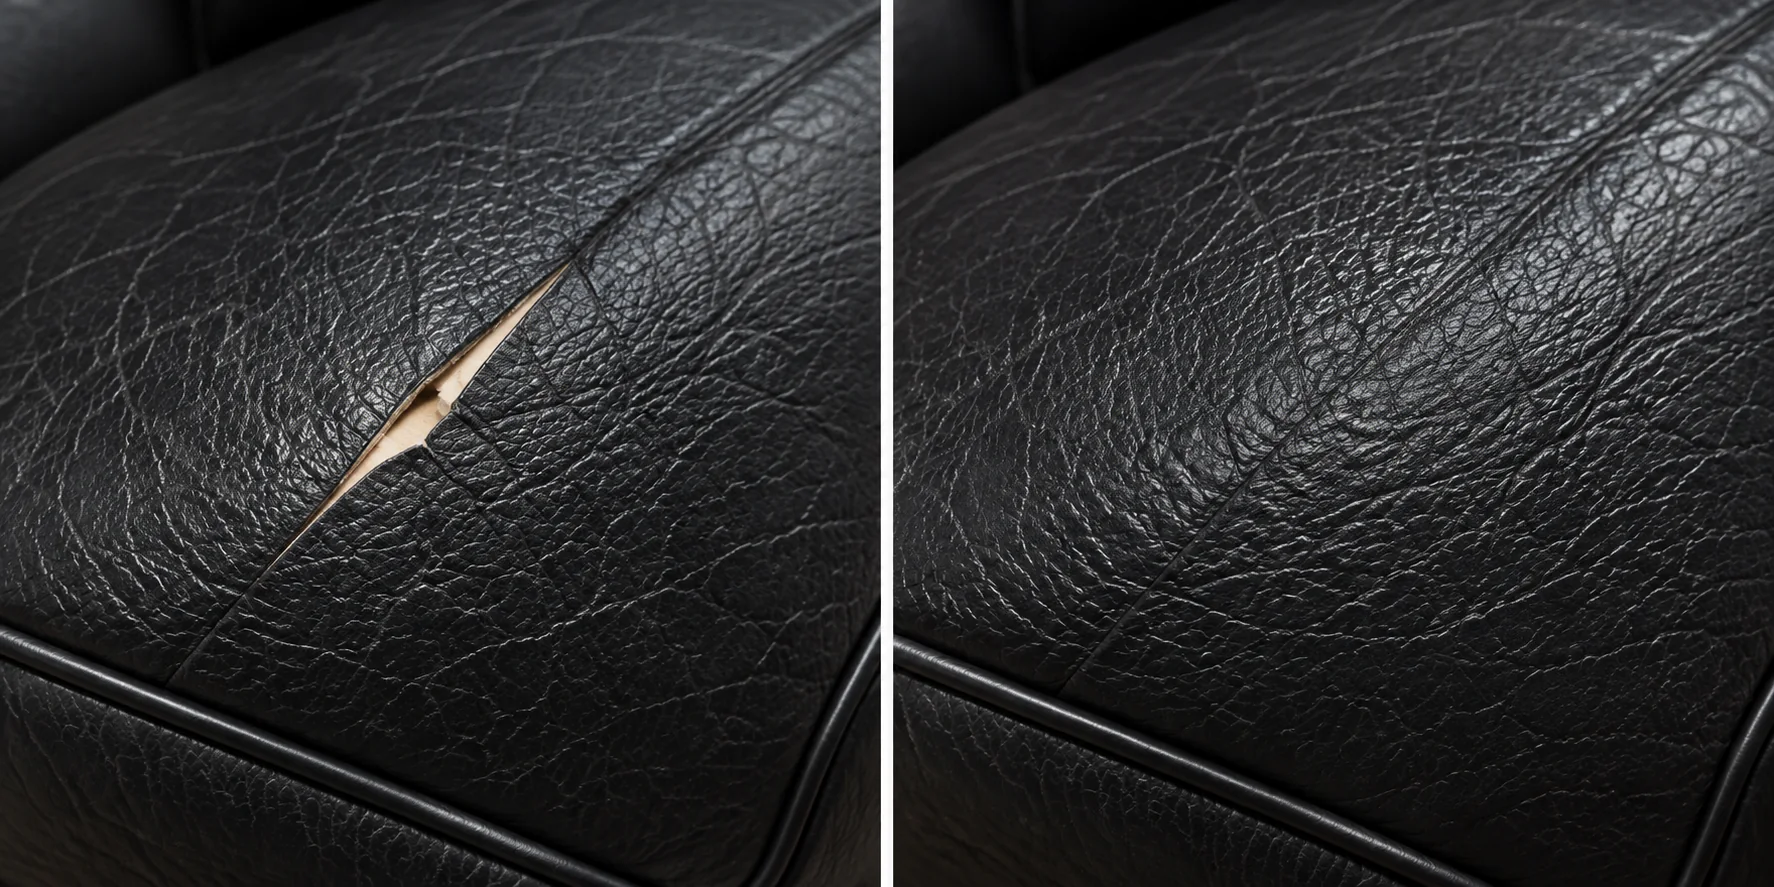
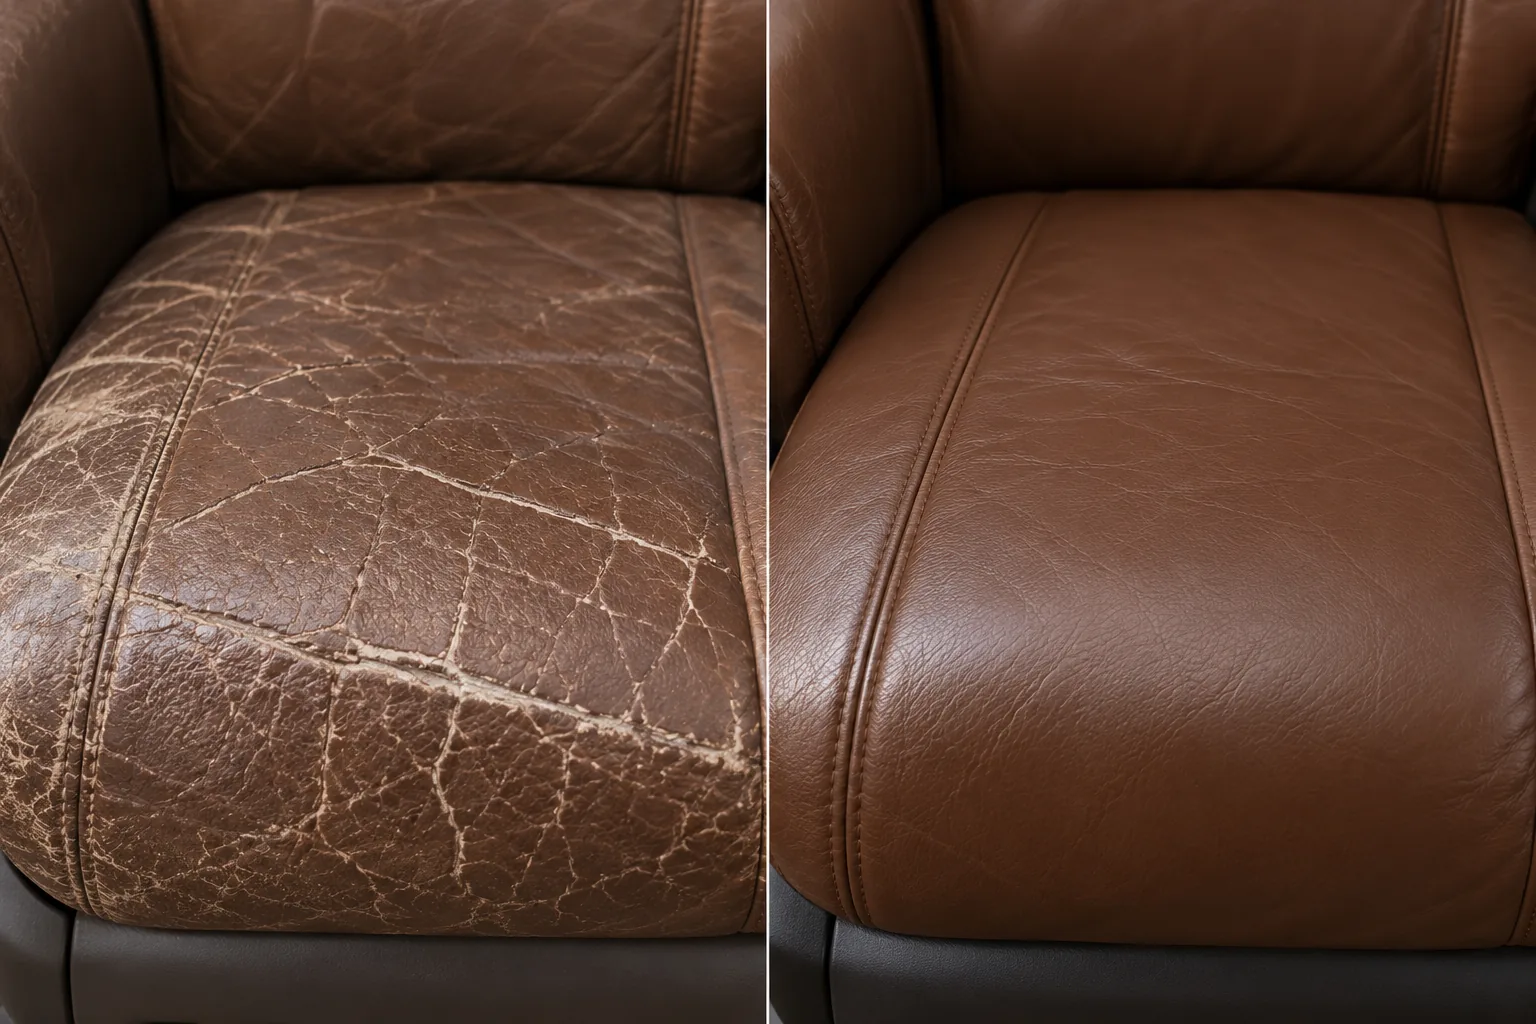
Dried-out finish taken back to a solid surface
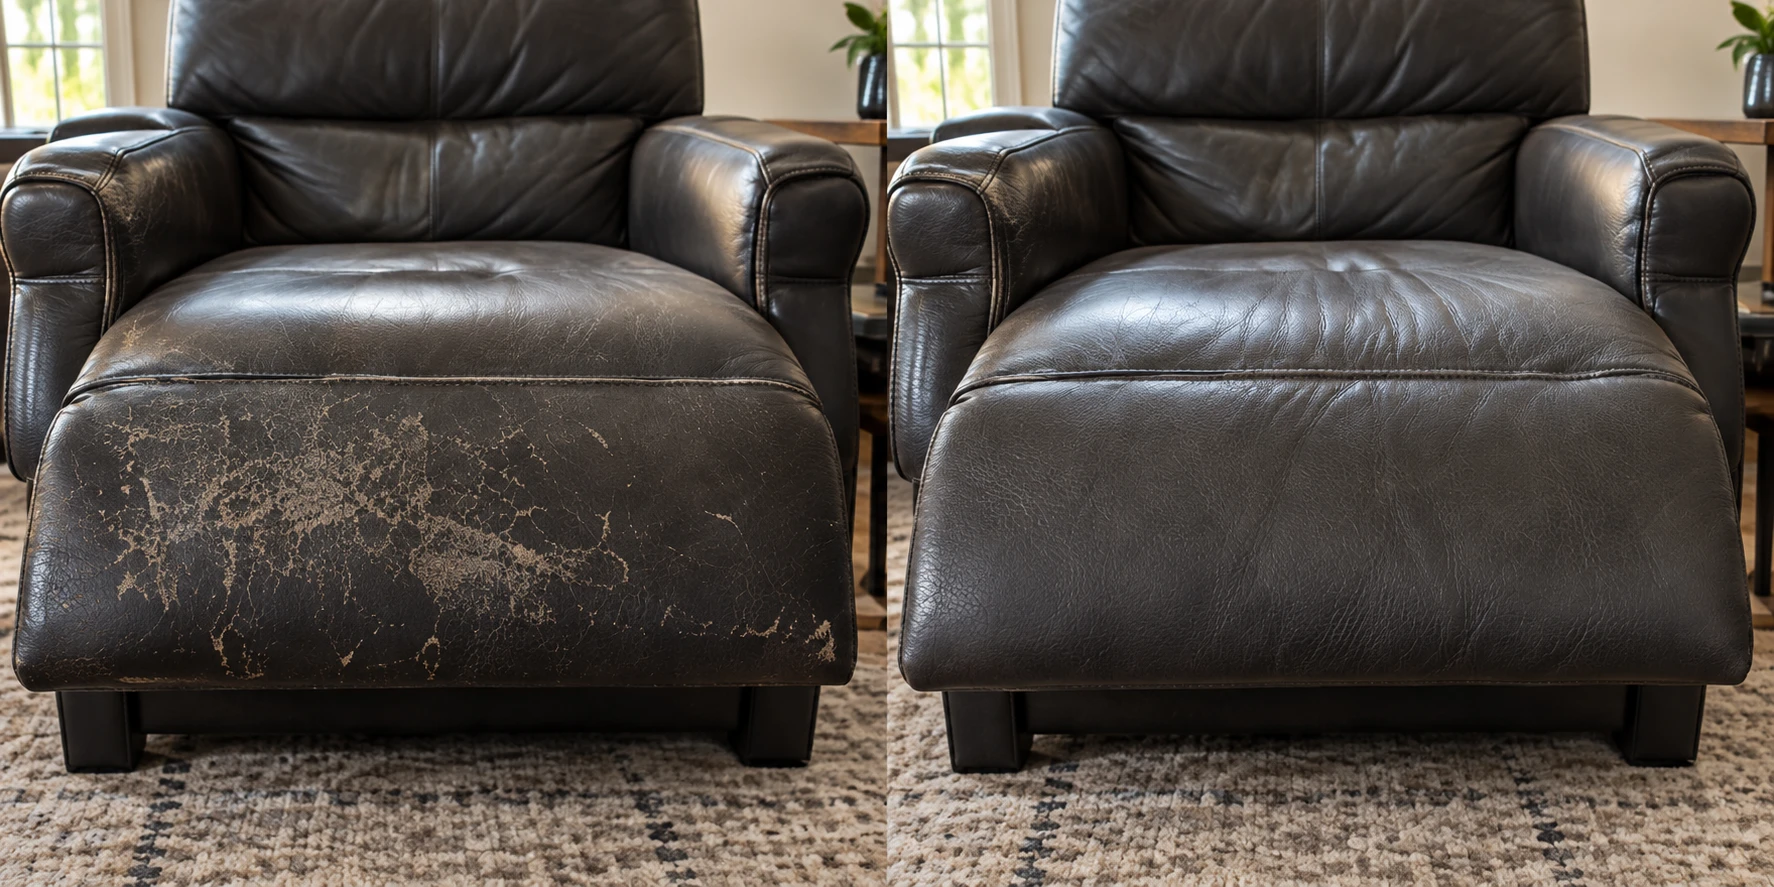
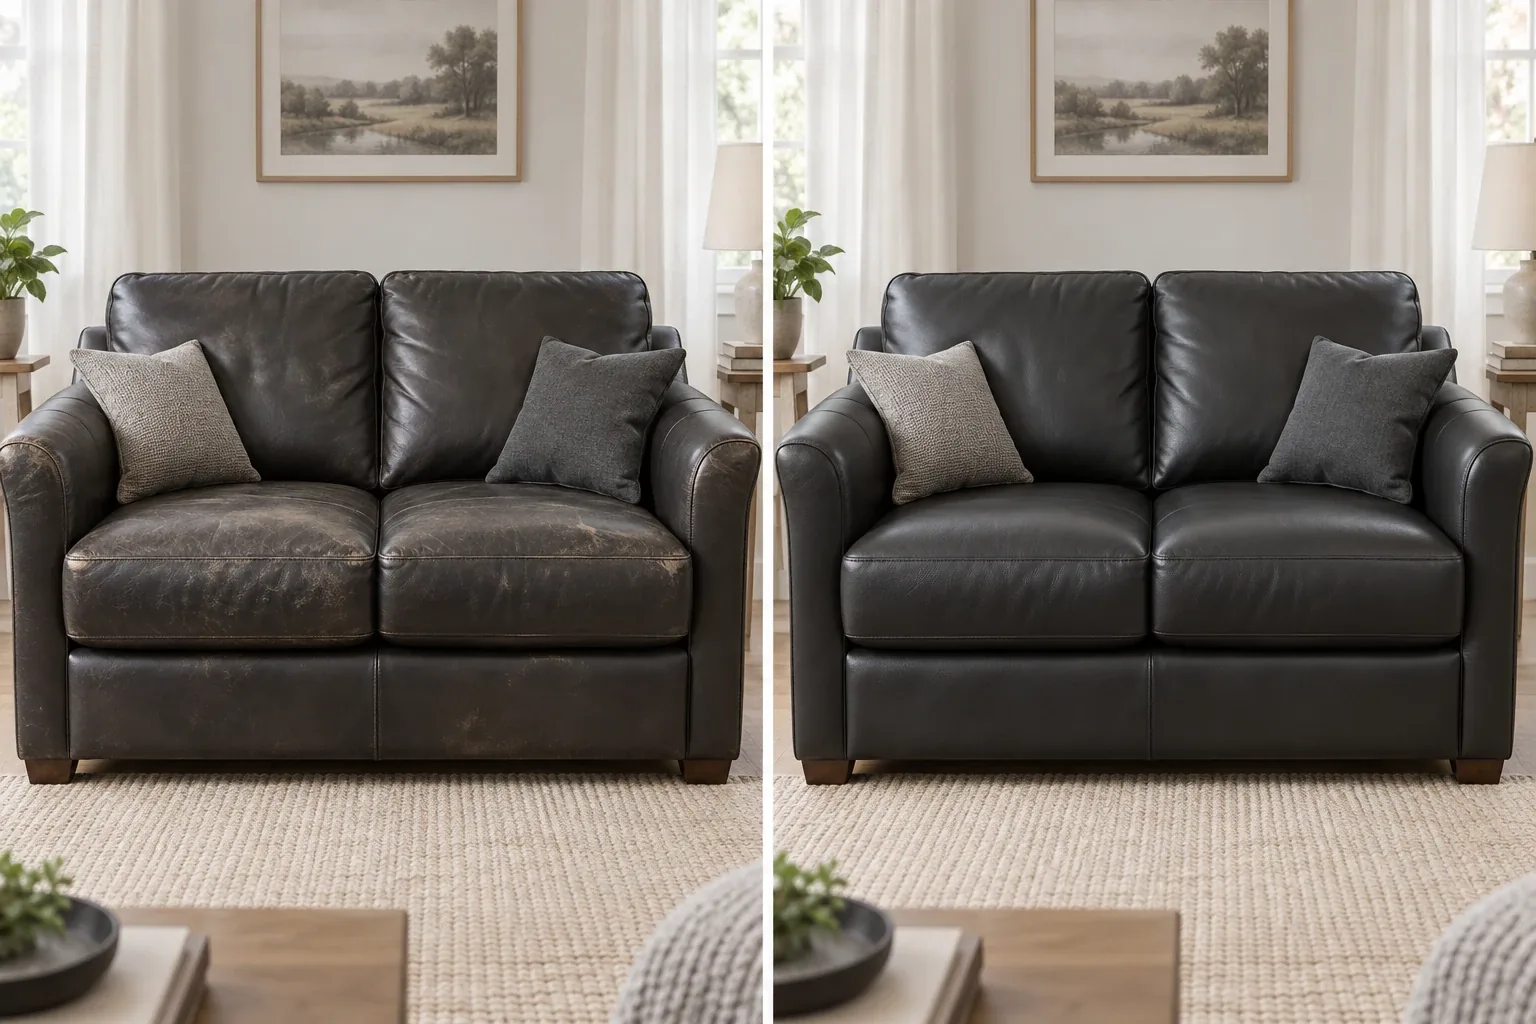
Cracking is the finish failing, not the hide. Loose flakes come off, the surface is fed and consolidated, hairline splits are filled, and pigment and topcoat are built back in thin passes.
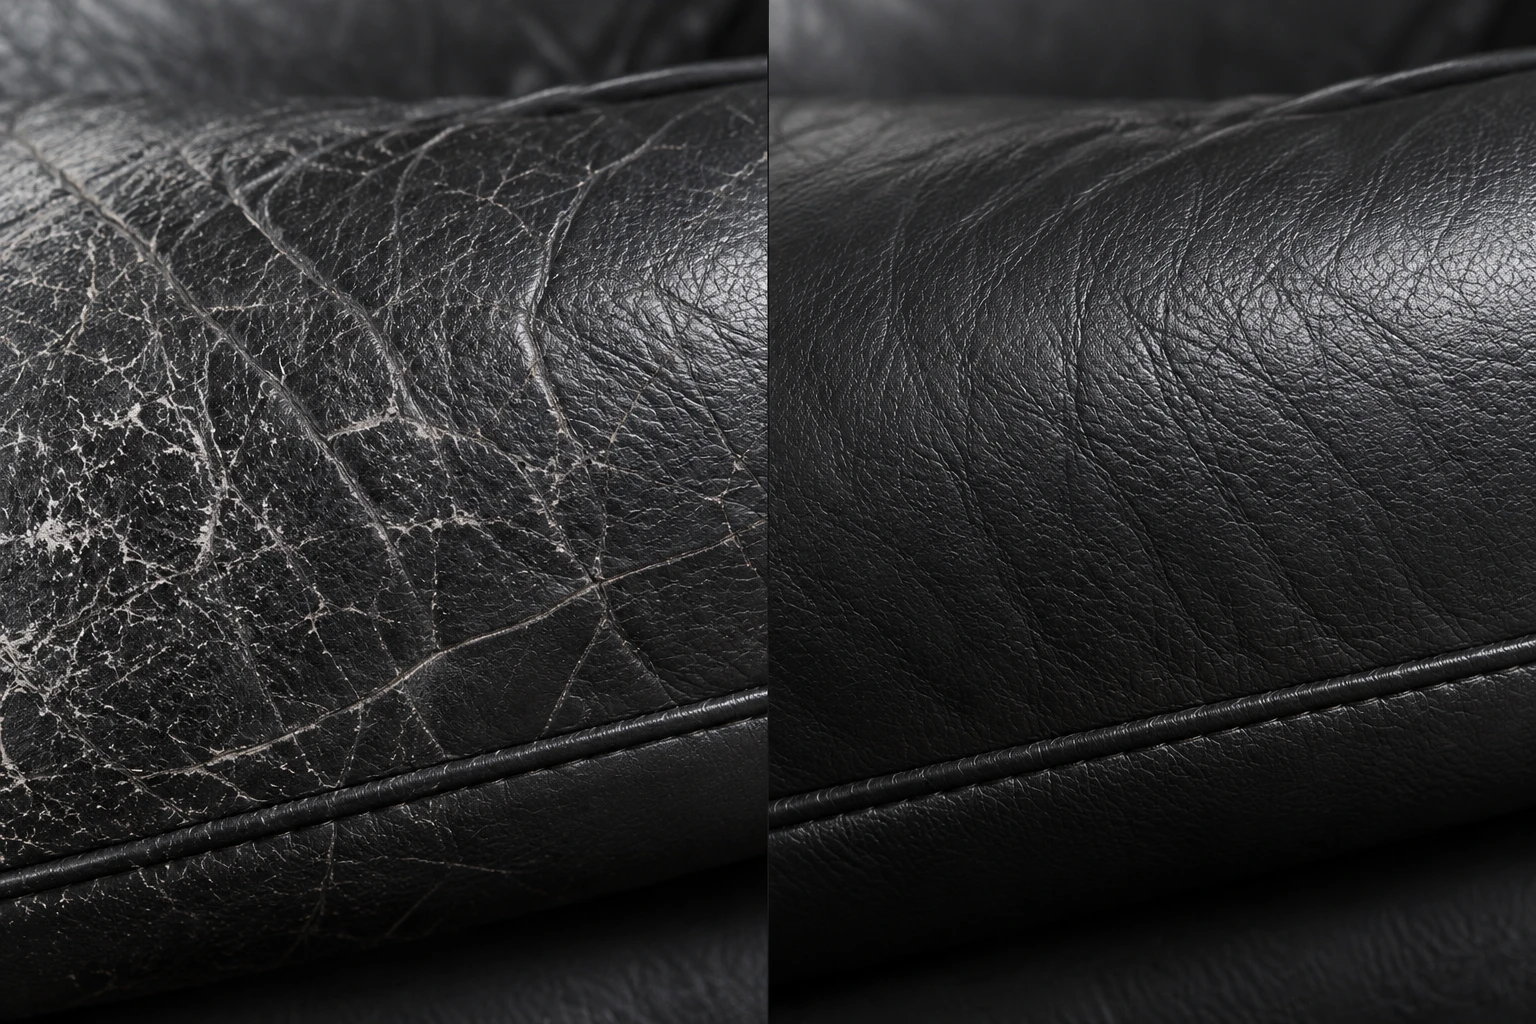
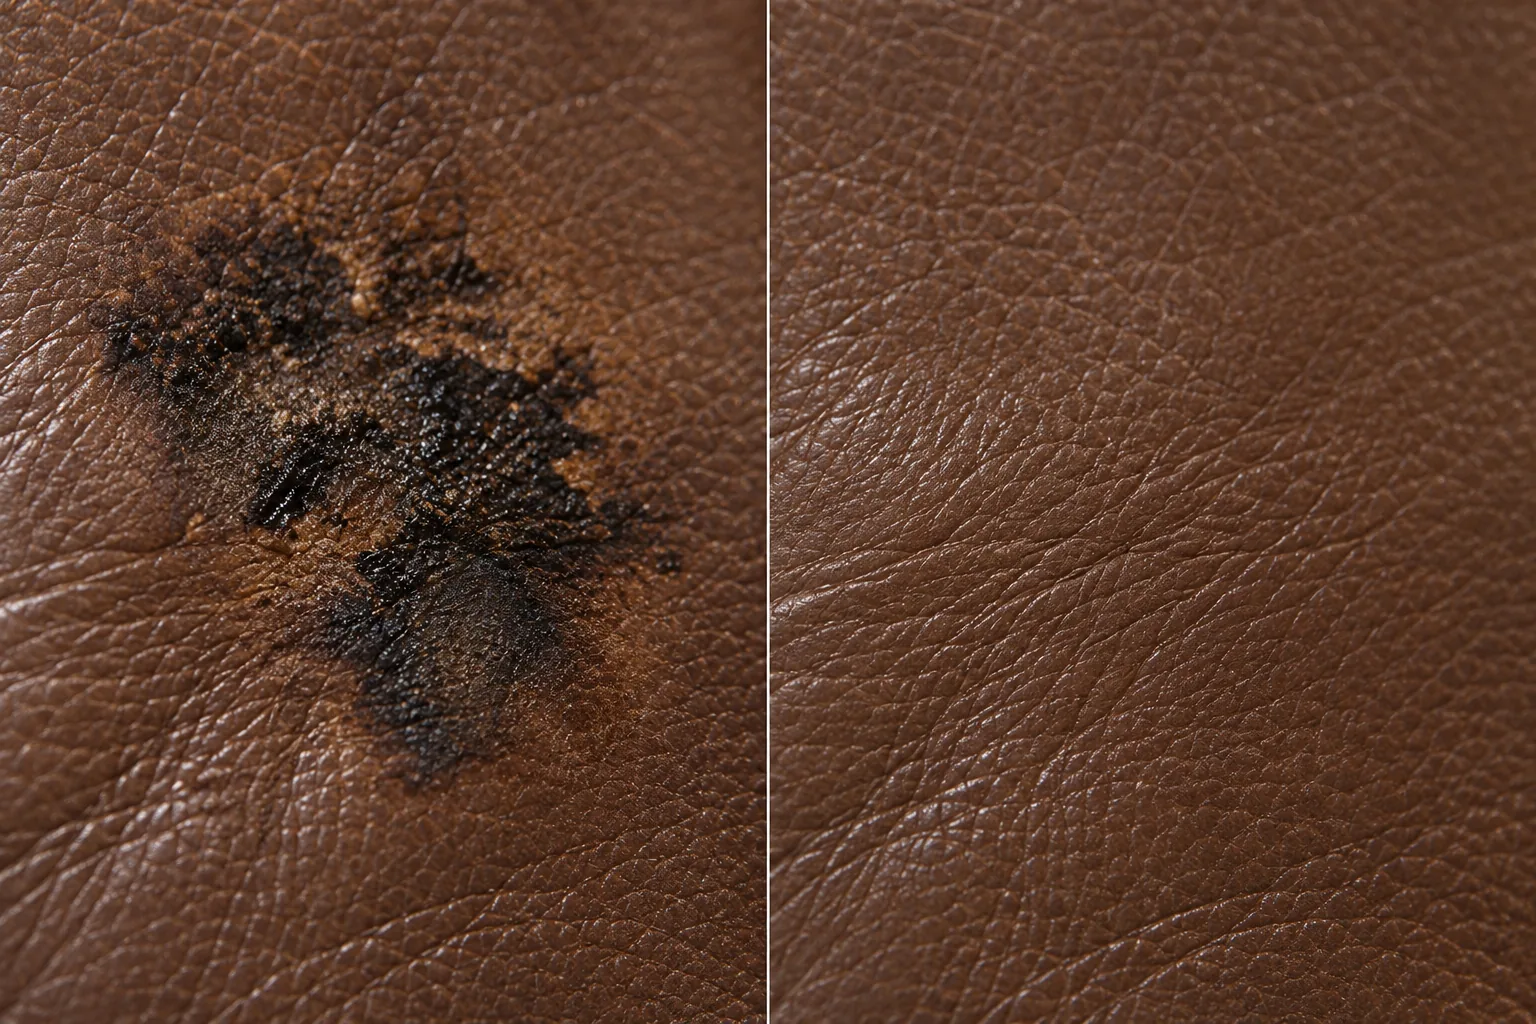
Marks drawn out of the hide, not painted over
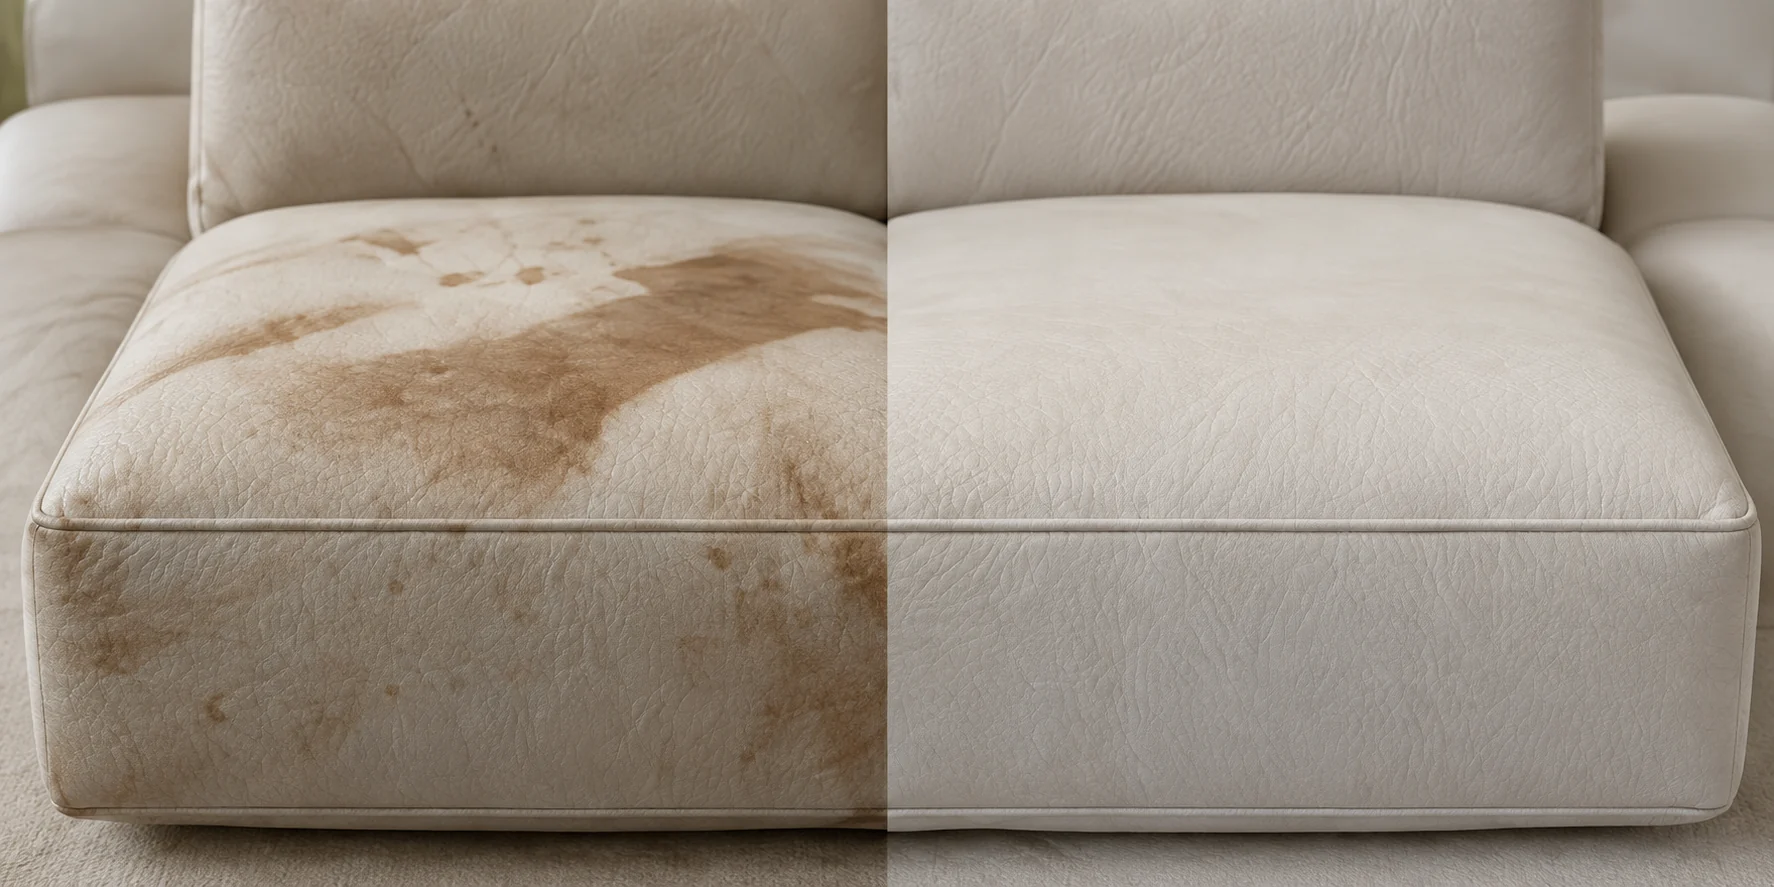
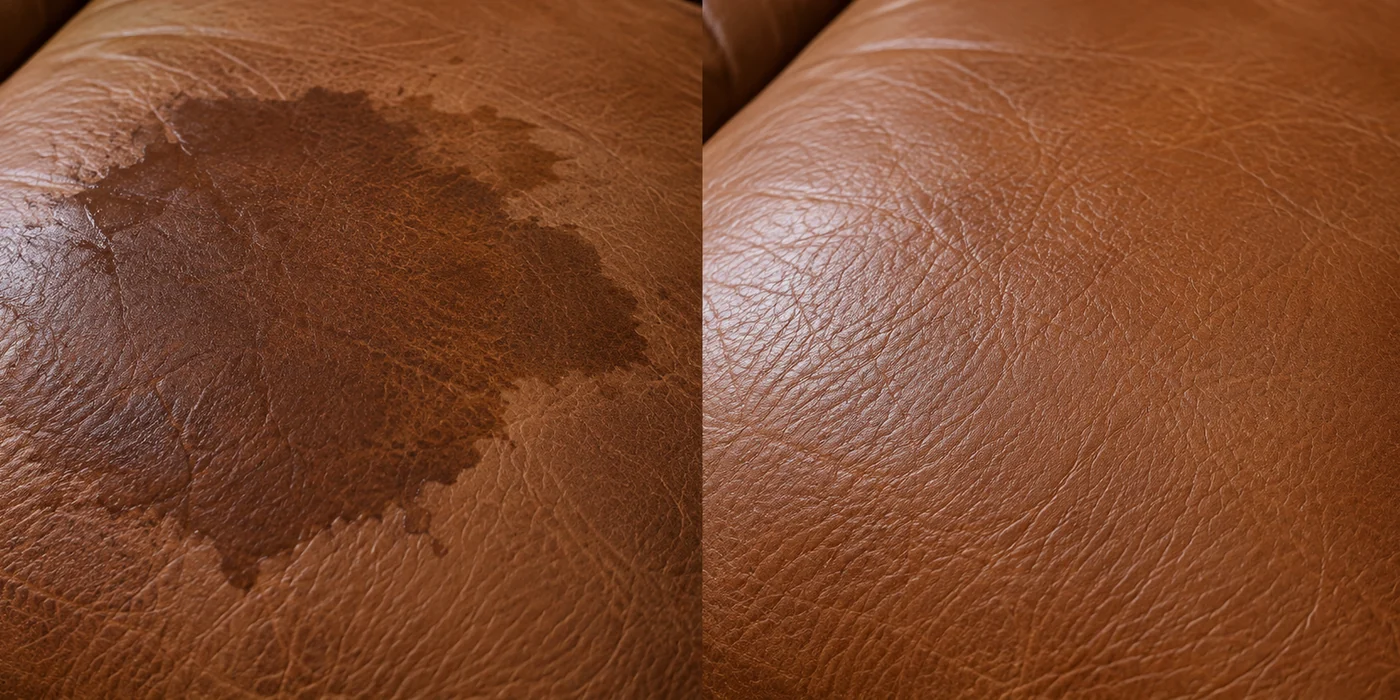
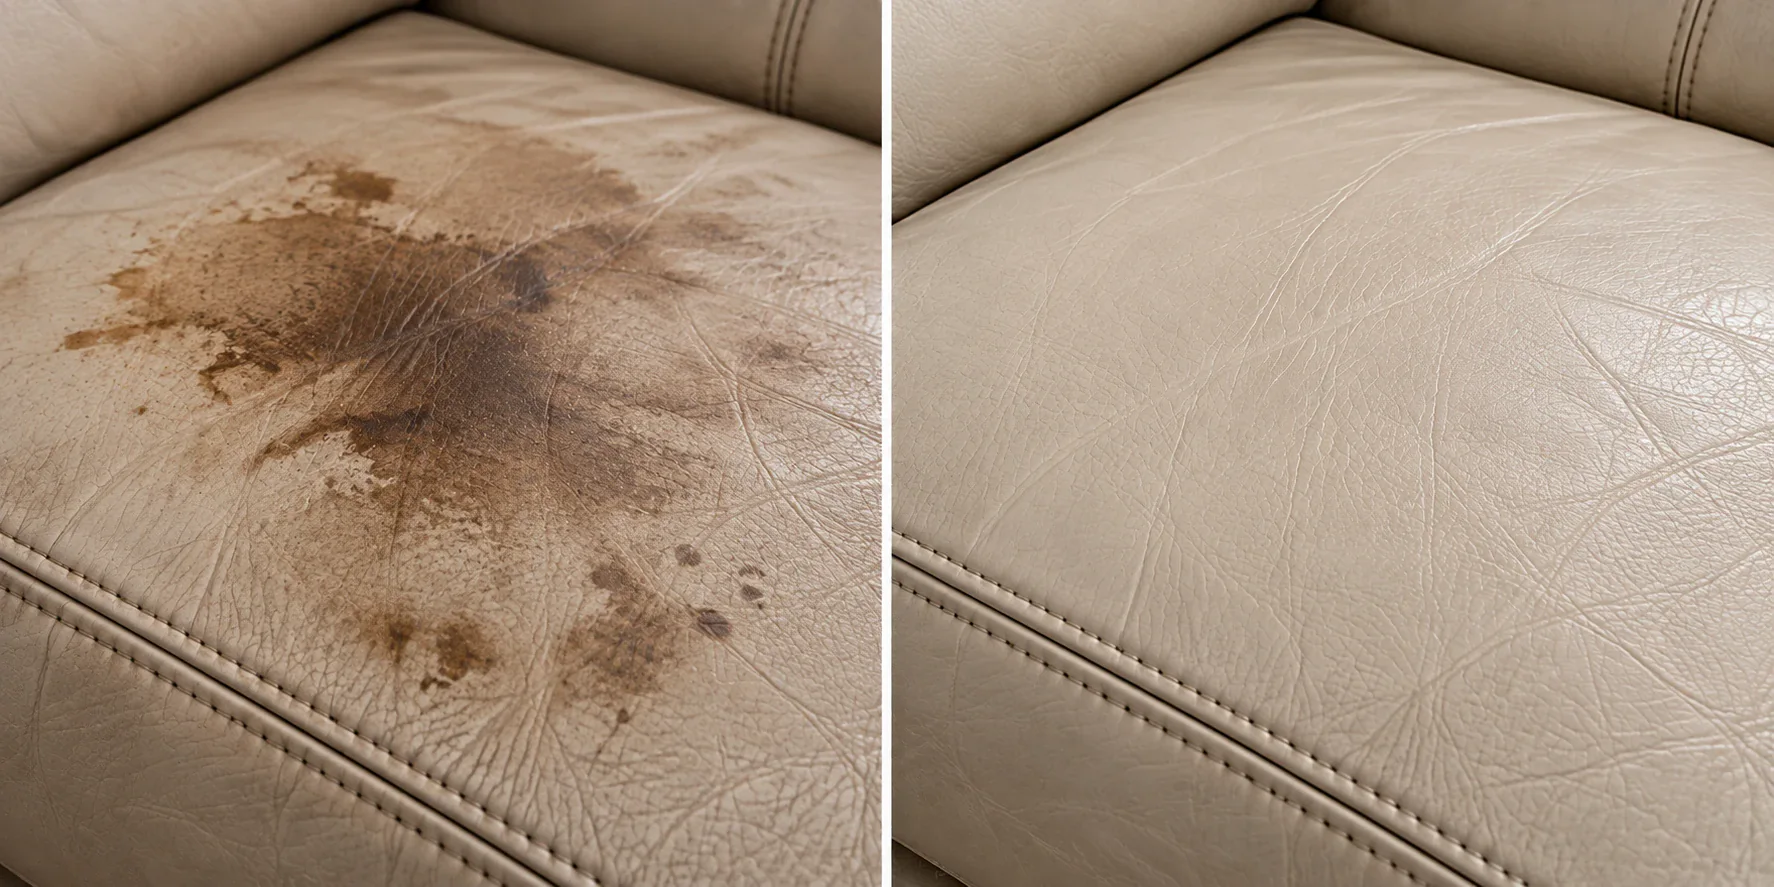
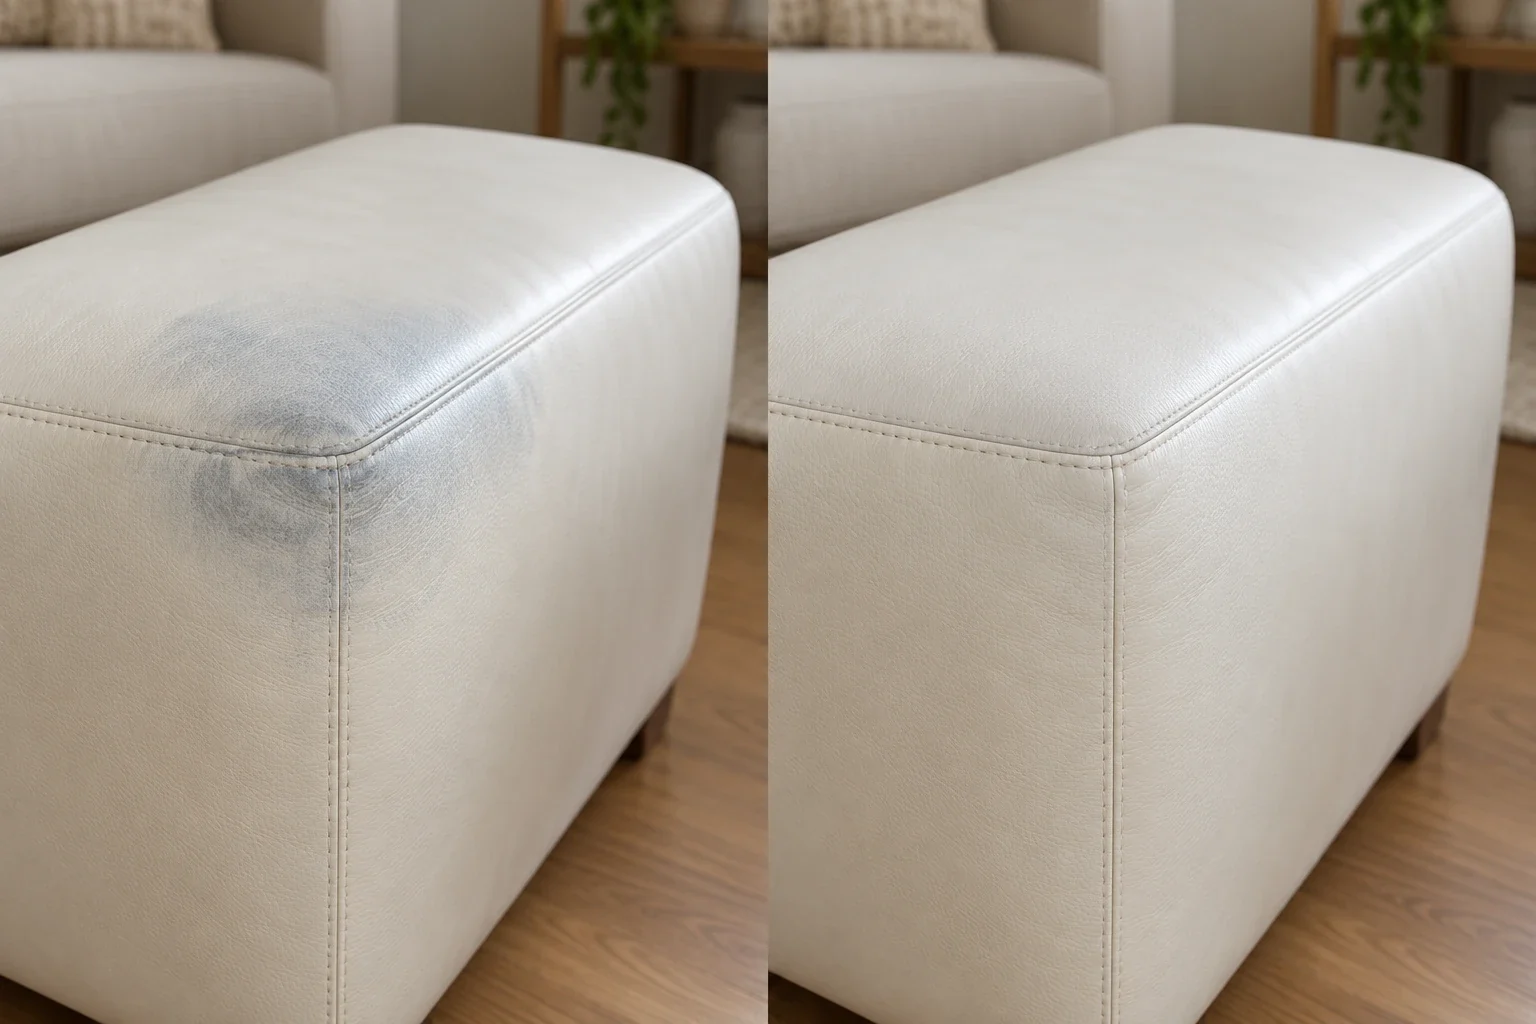
Ink, dye transfer, grease and water rings each need a different solvent and dwell time, tested on a hidden panel first. The stain leather repair before and after below is cleaning work — no pigment was laid over the mark.
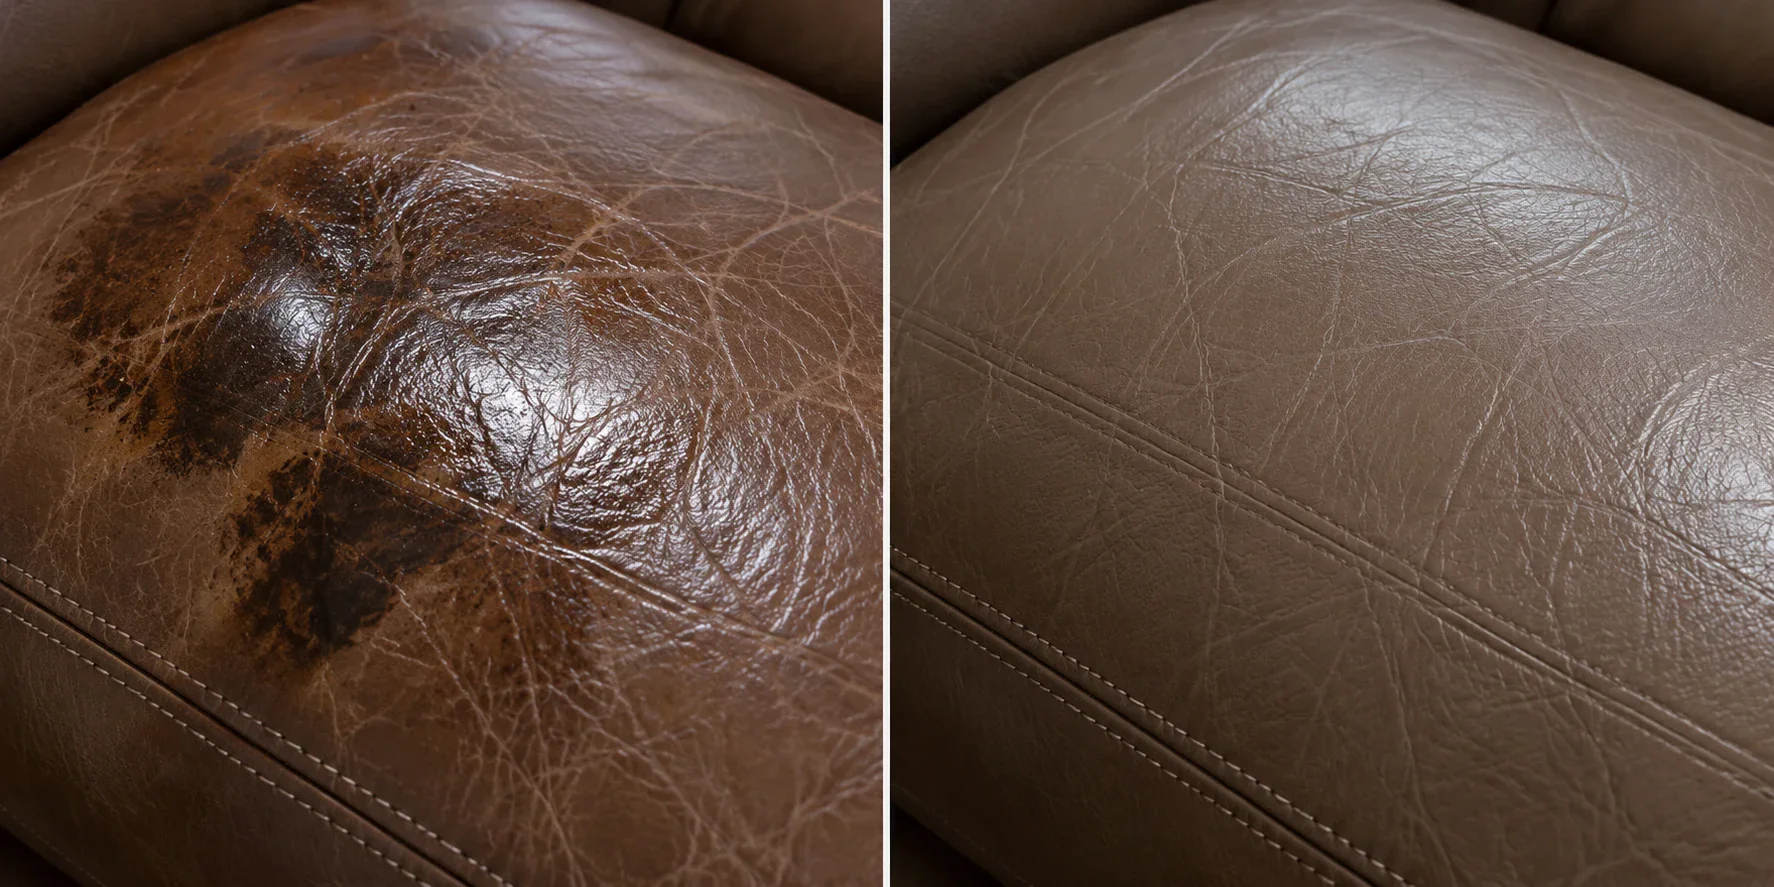
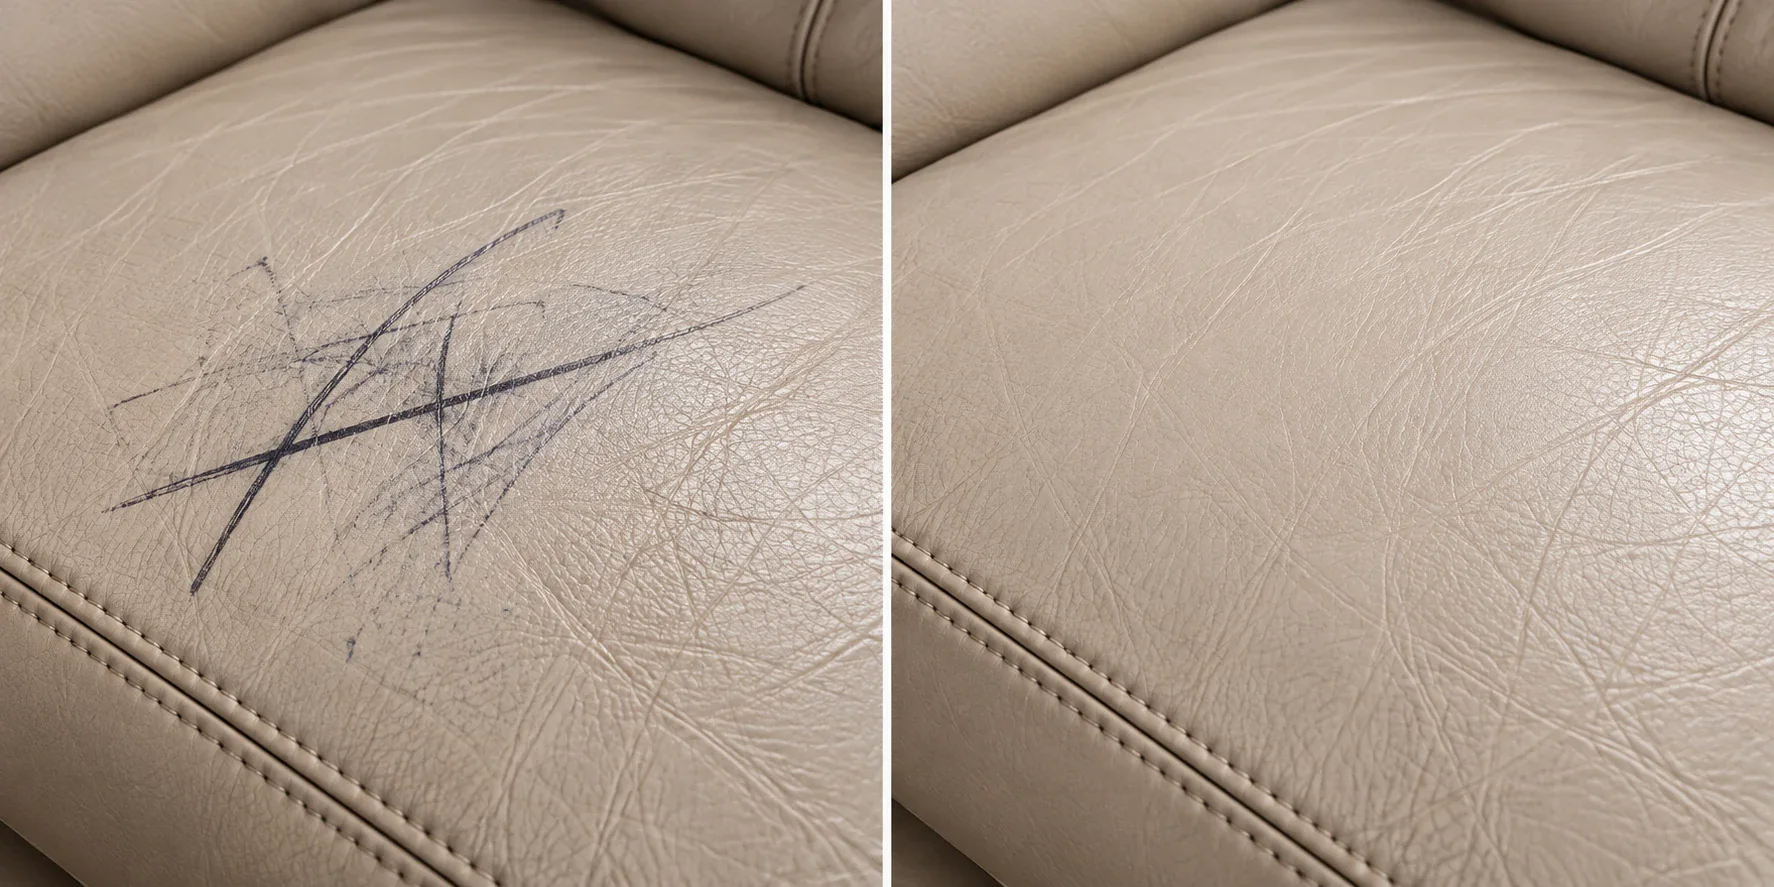
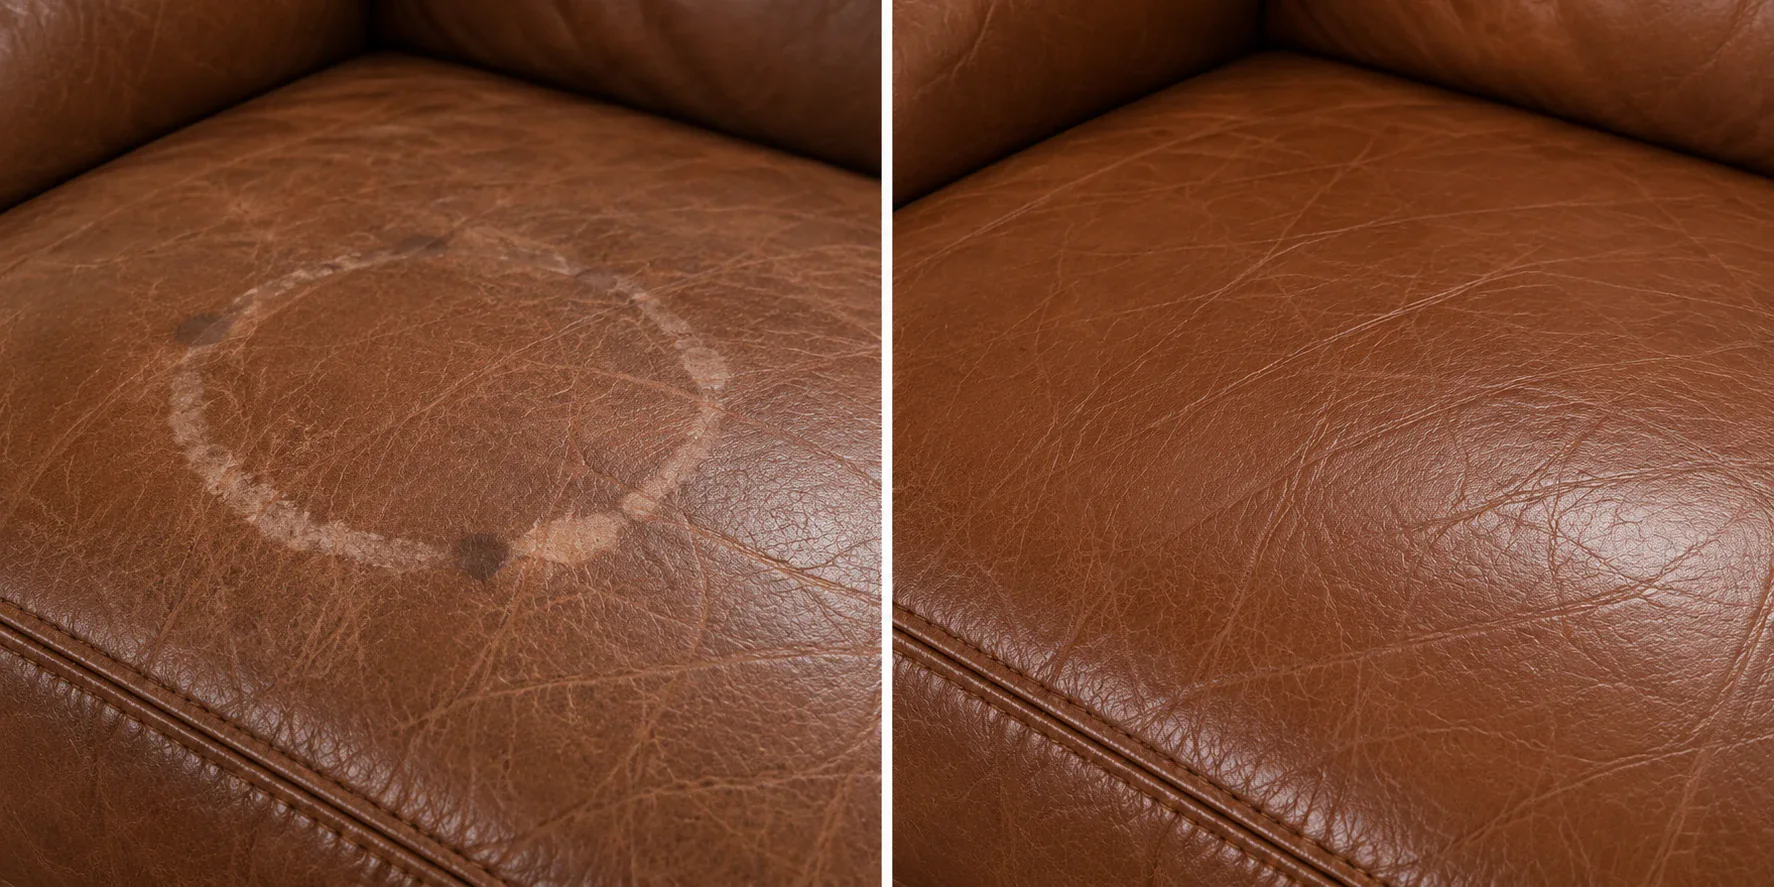
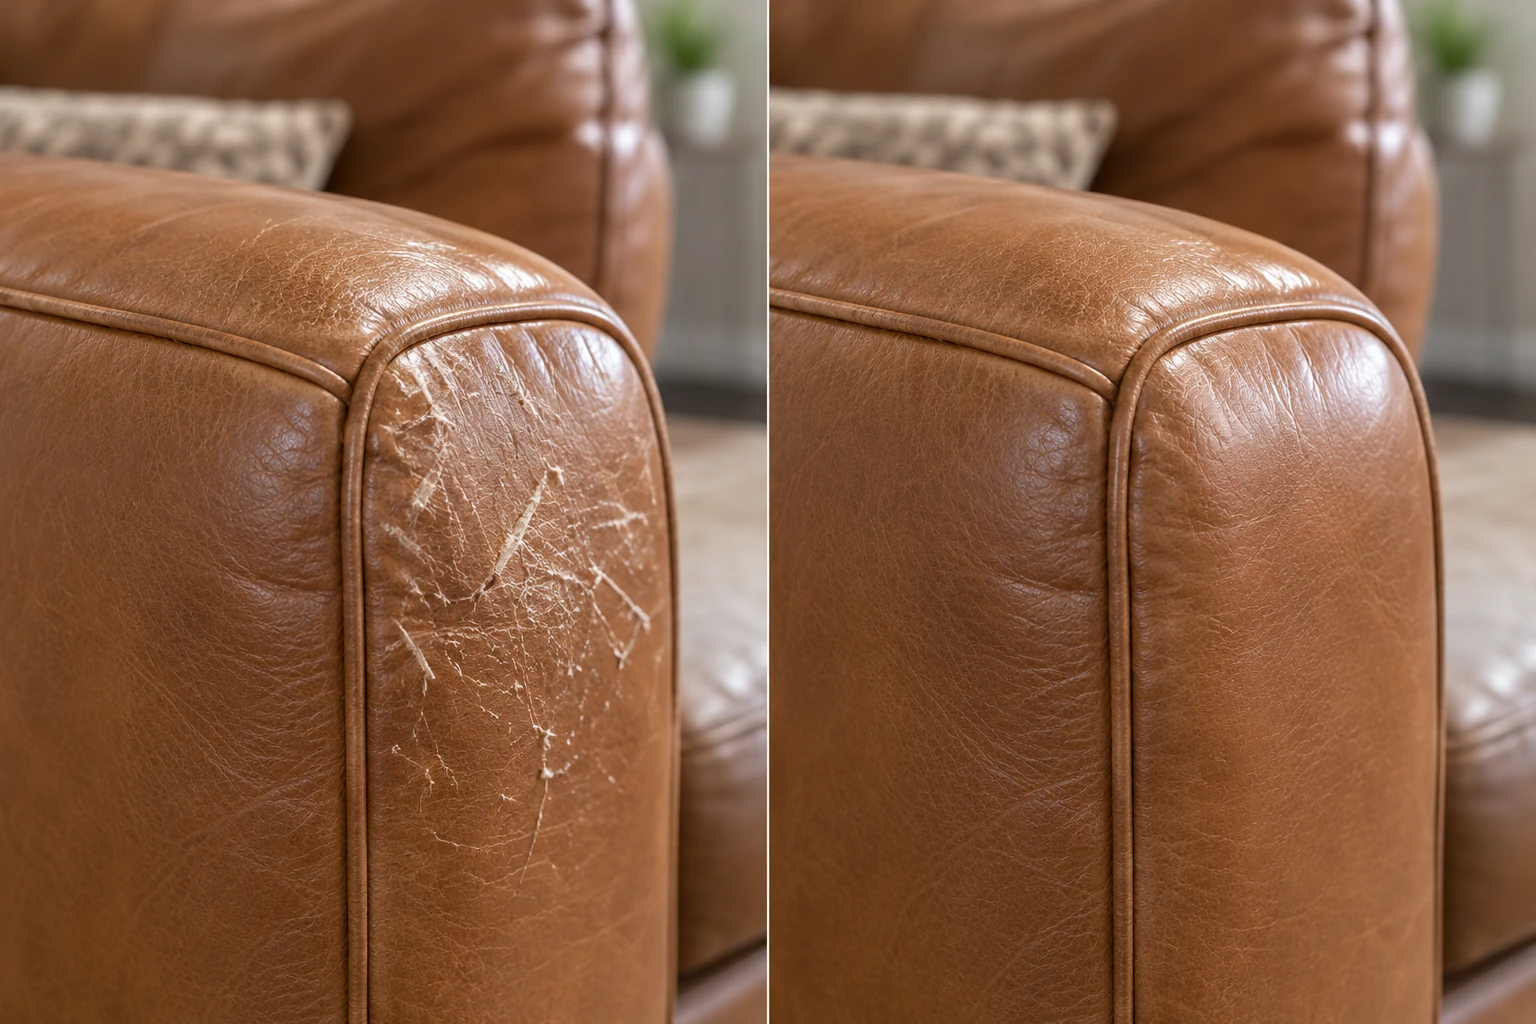
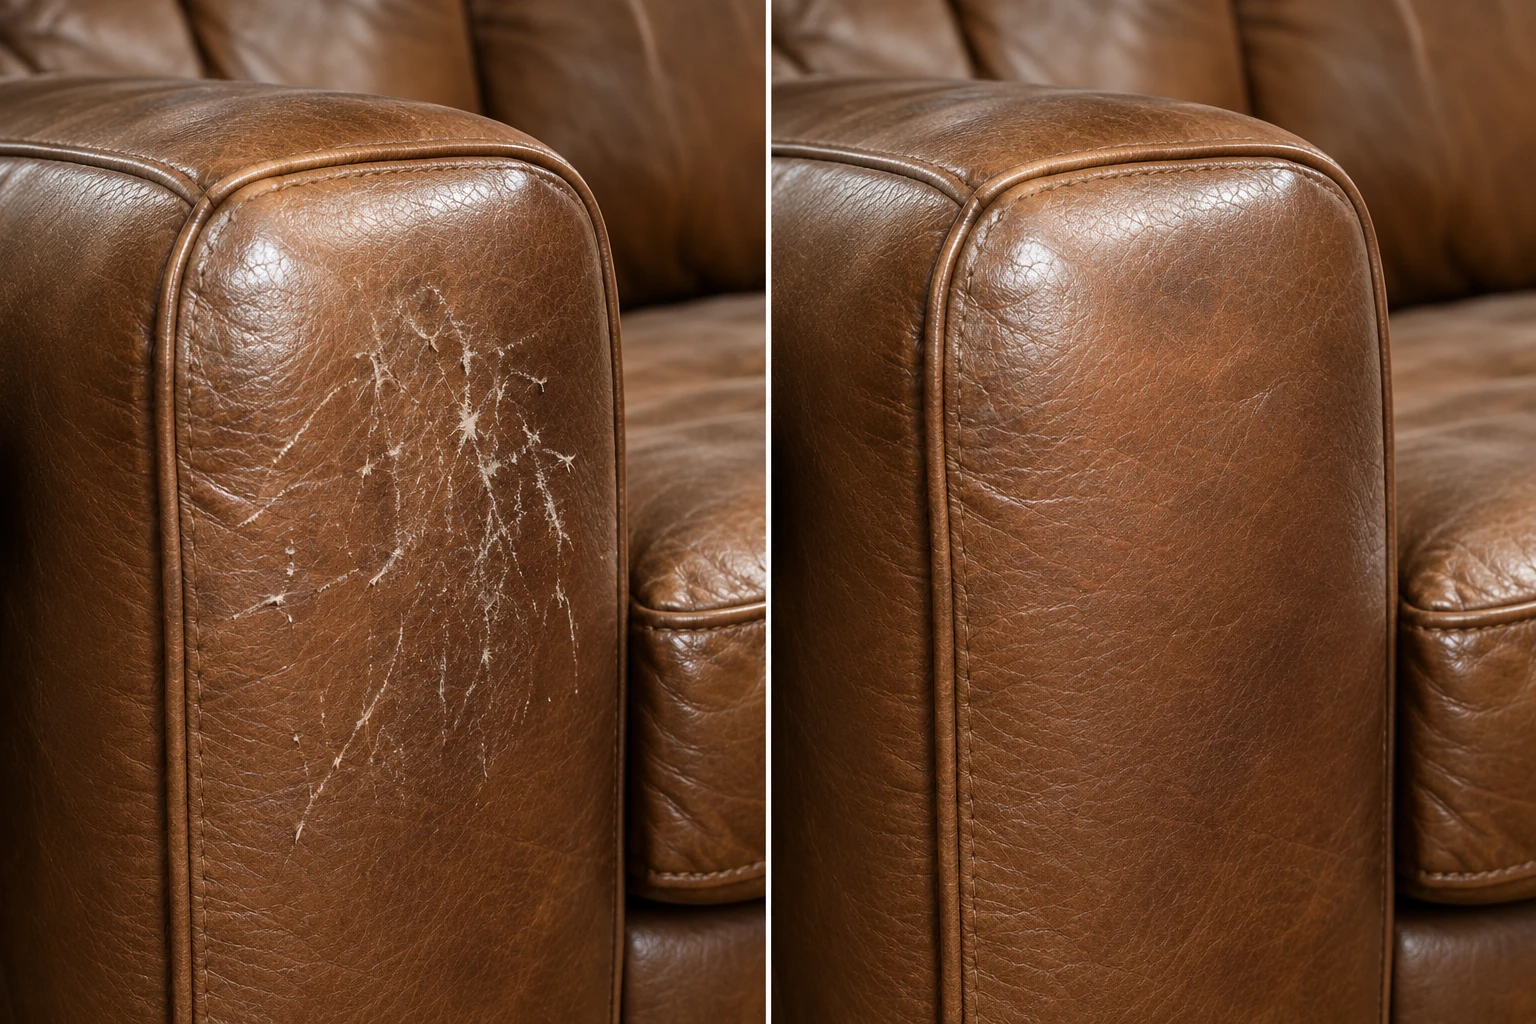
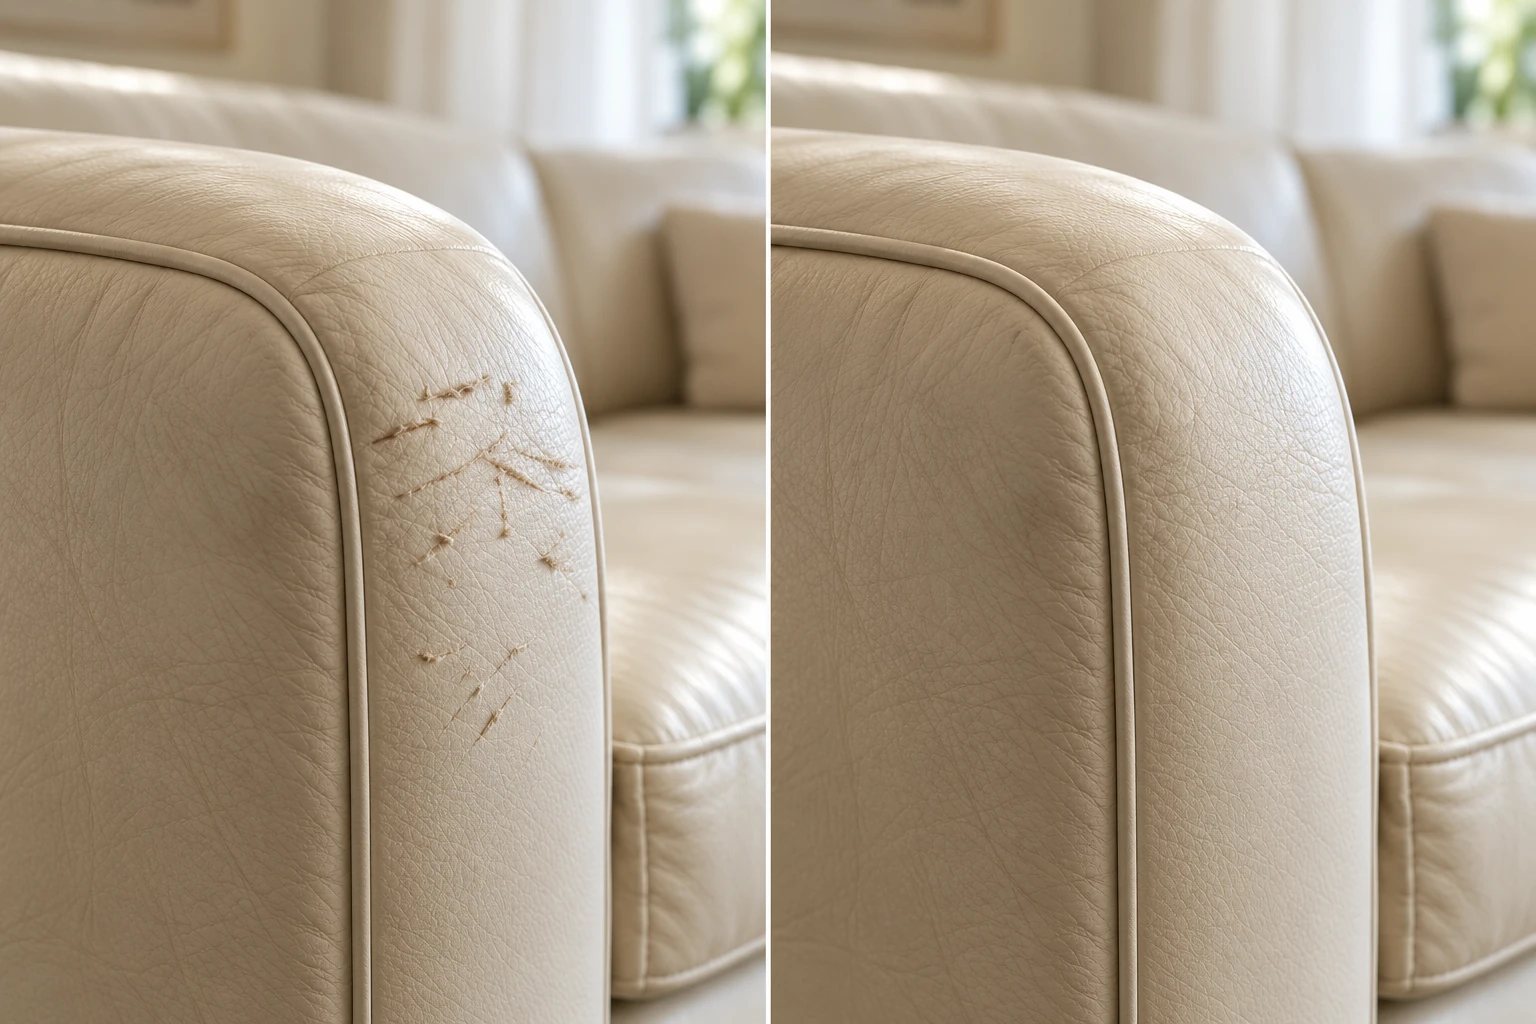
Clawed arms and gouges brought back to one surface
Light scoring only breaks the topcoat and burnishes back. Anything that lifts fibre is trimmed, filled and re-grained — then the whole panel is recoloured, because spot-touching a scratched arm always shows.
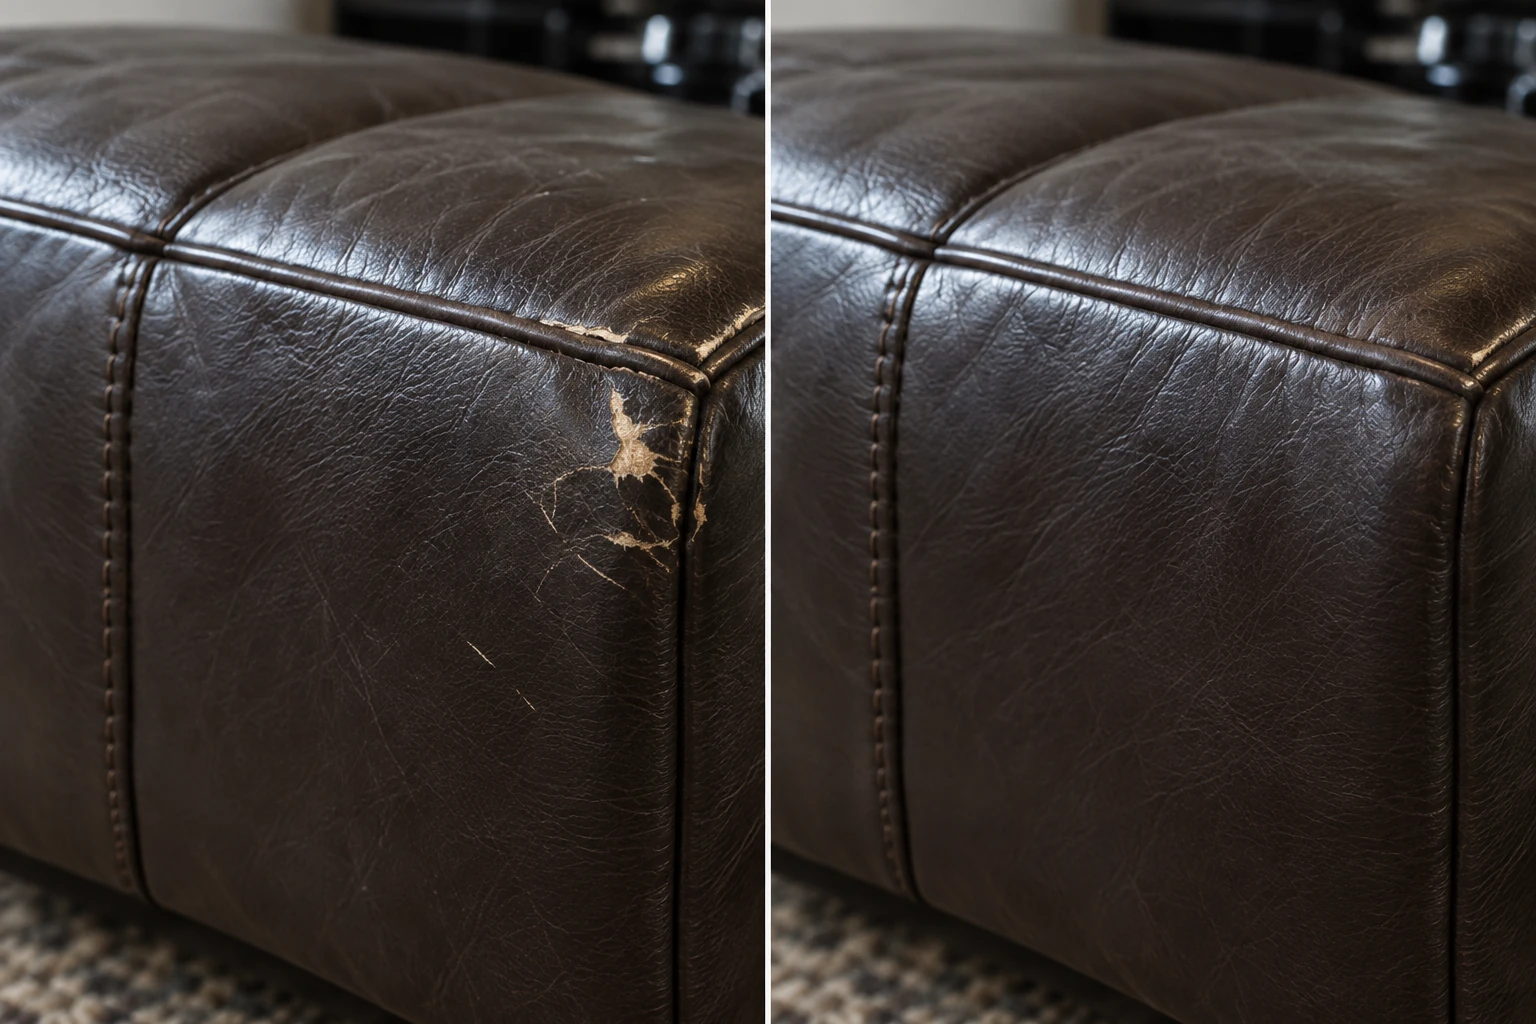
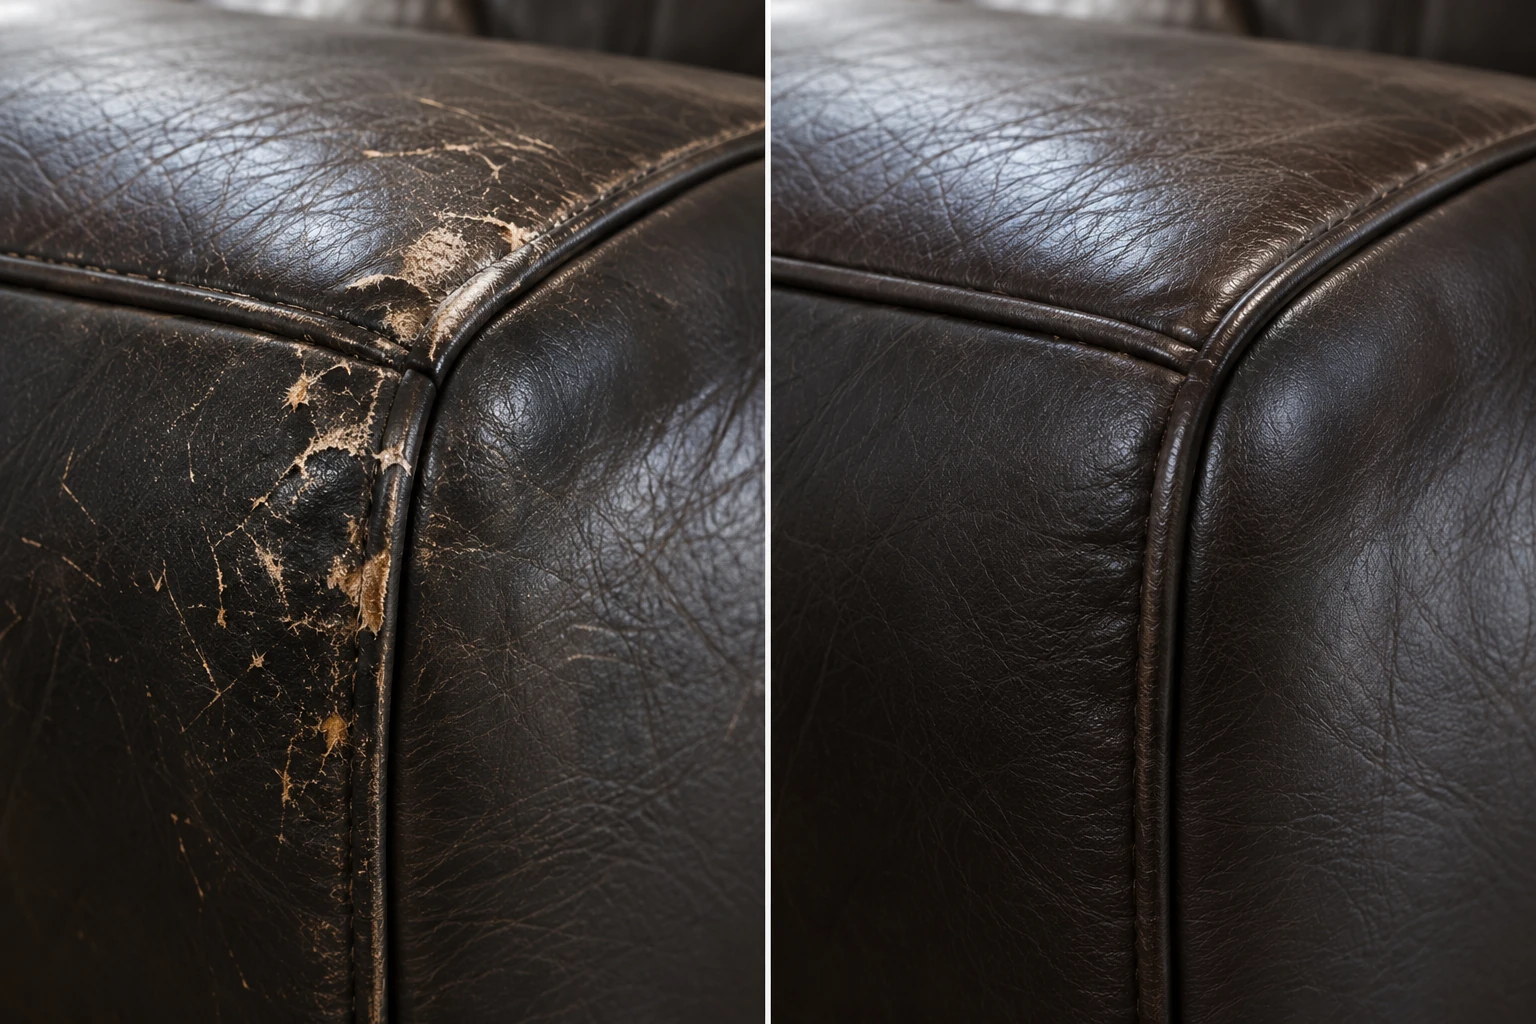
Faded and patchy hide brought back to one even tone
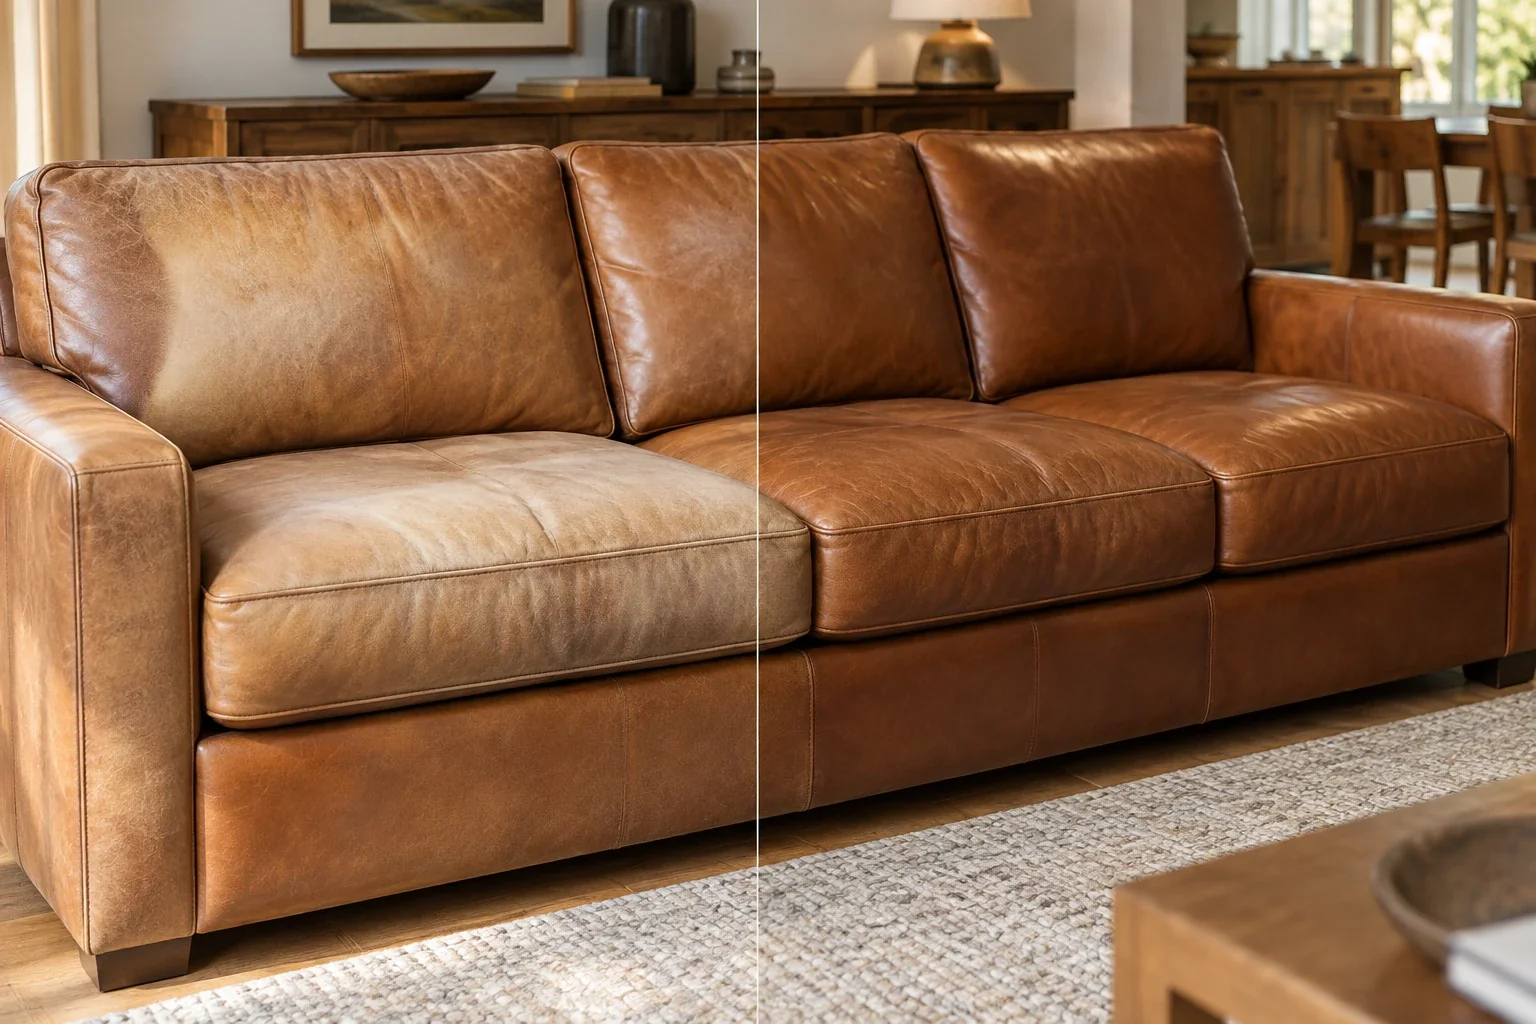
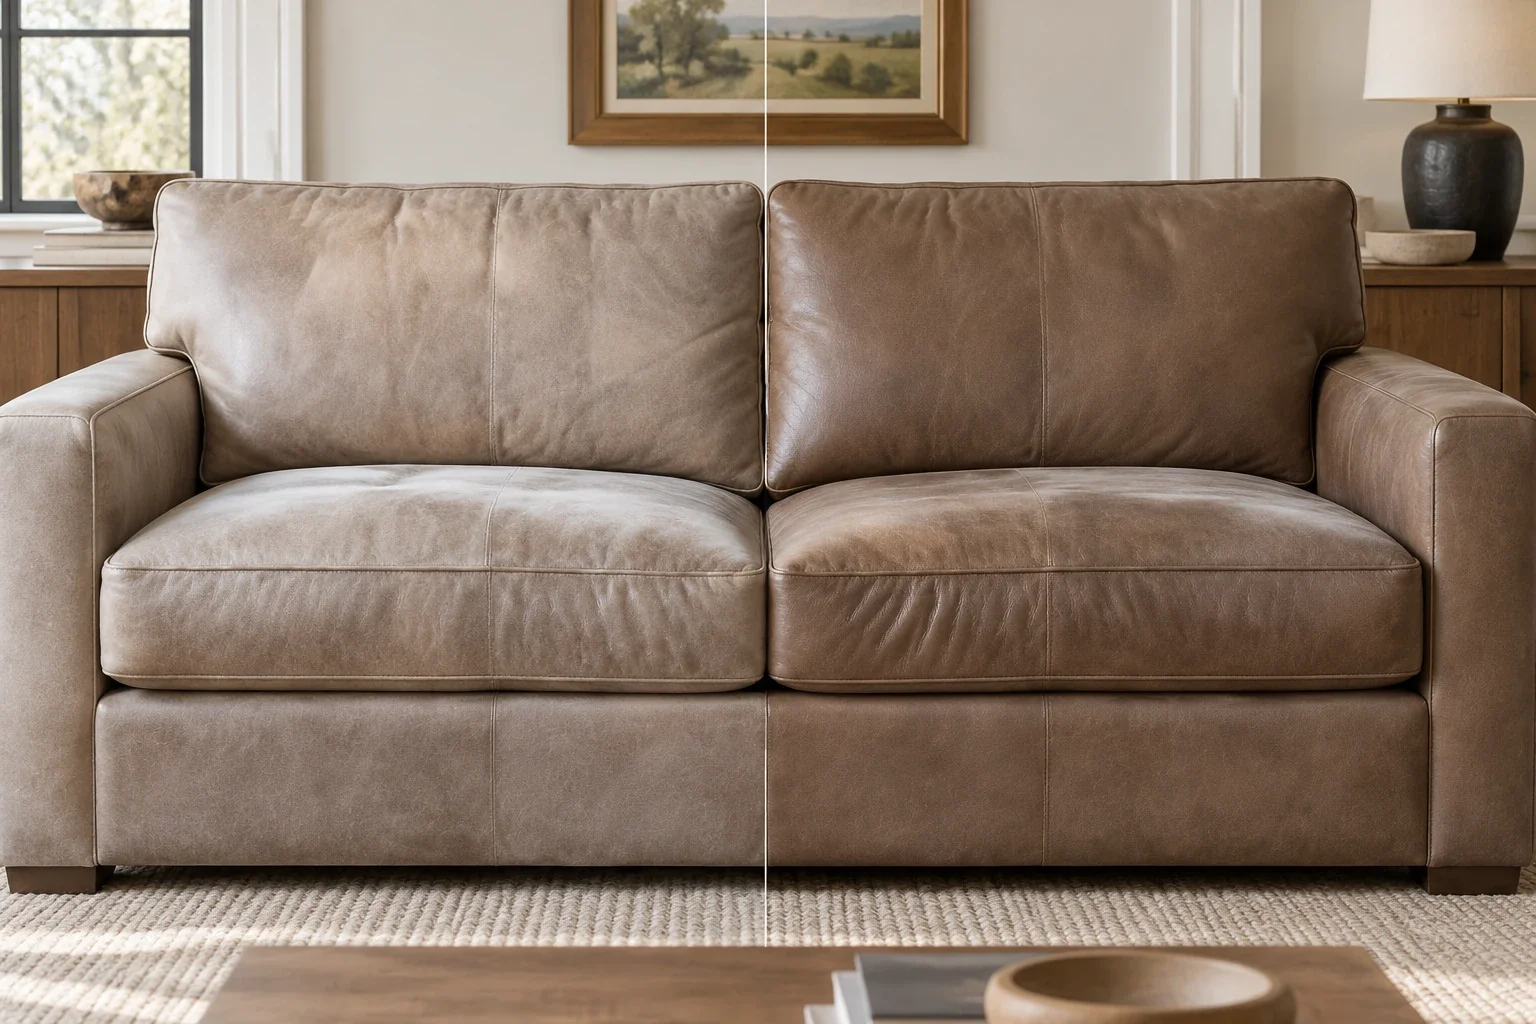
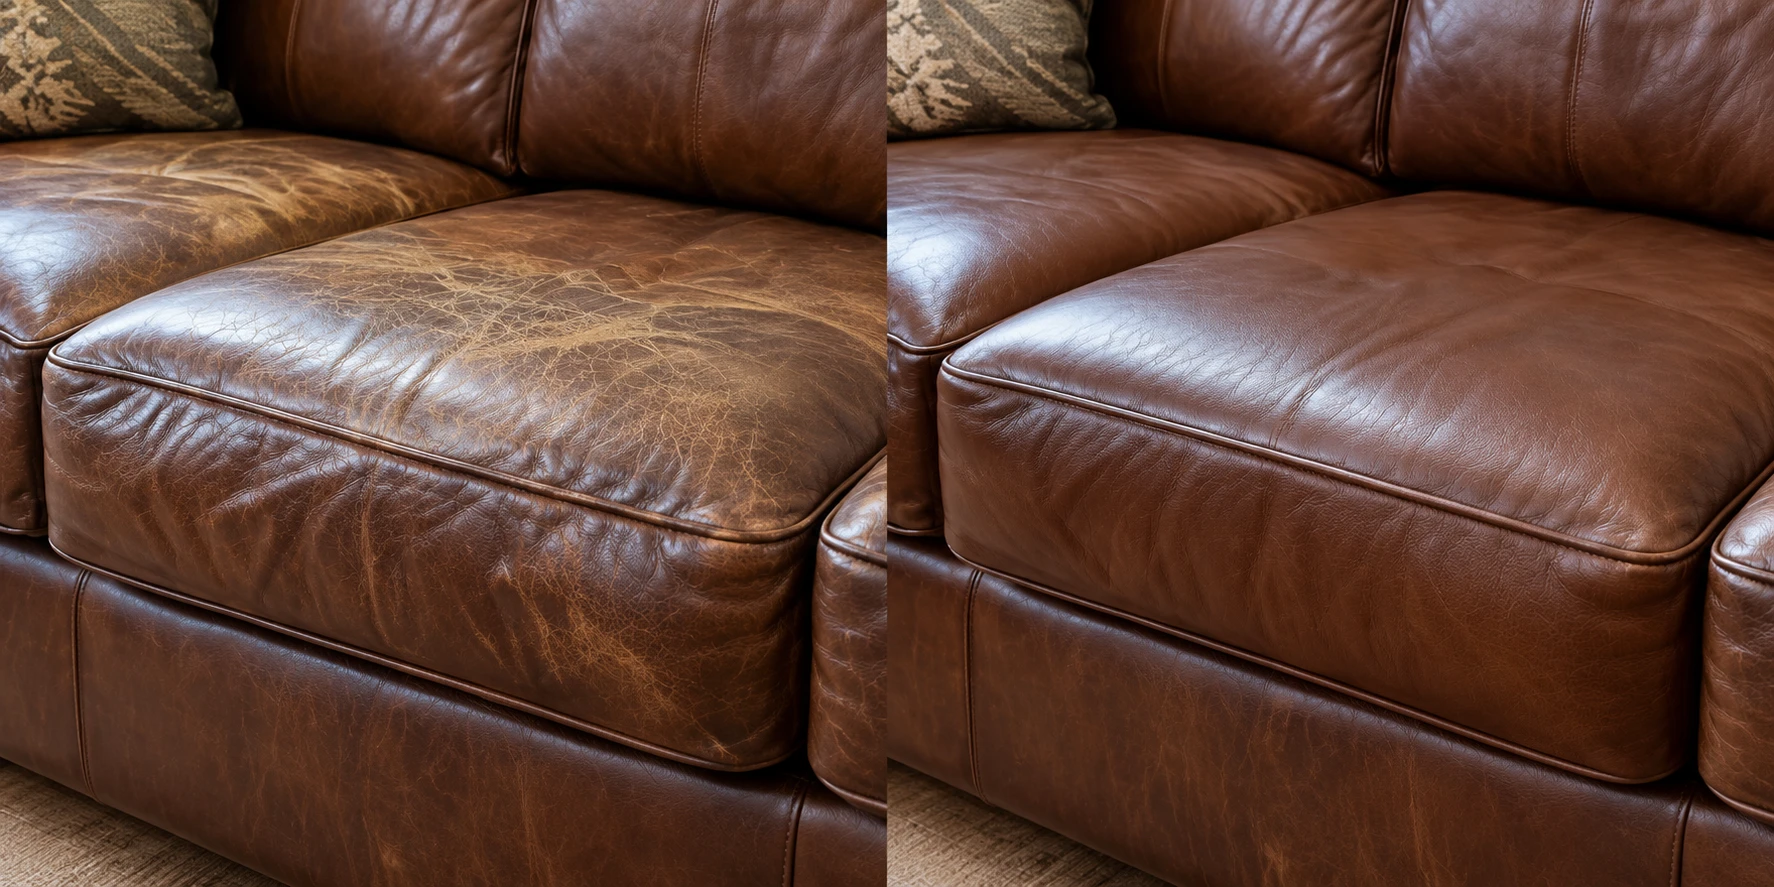
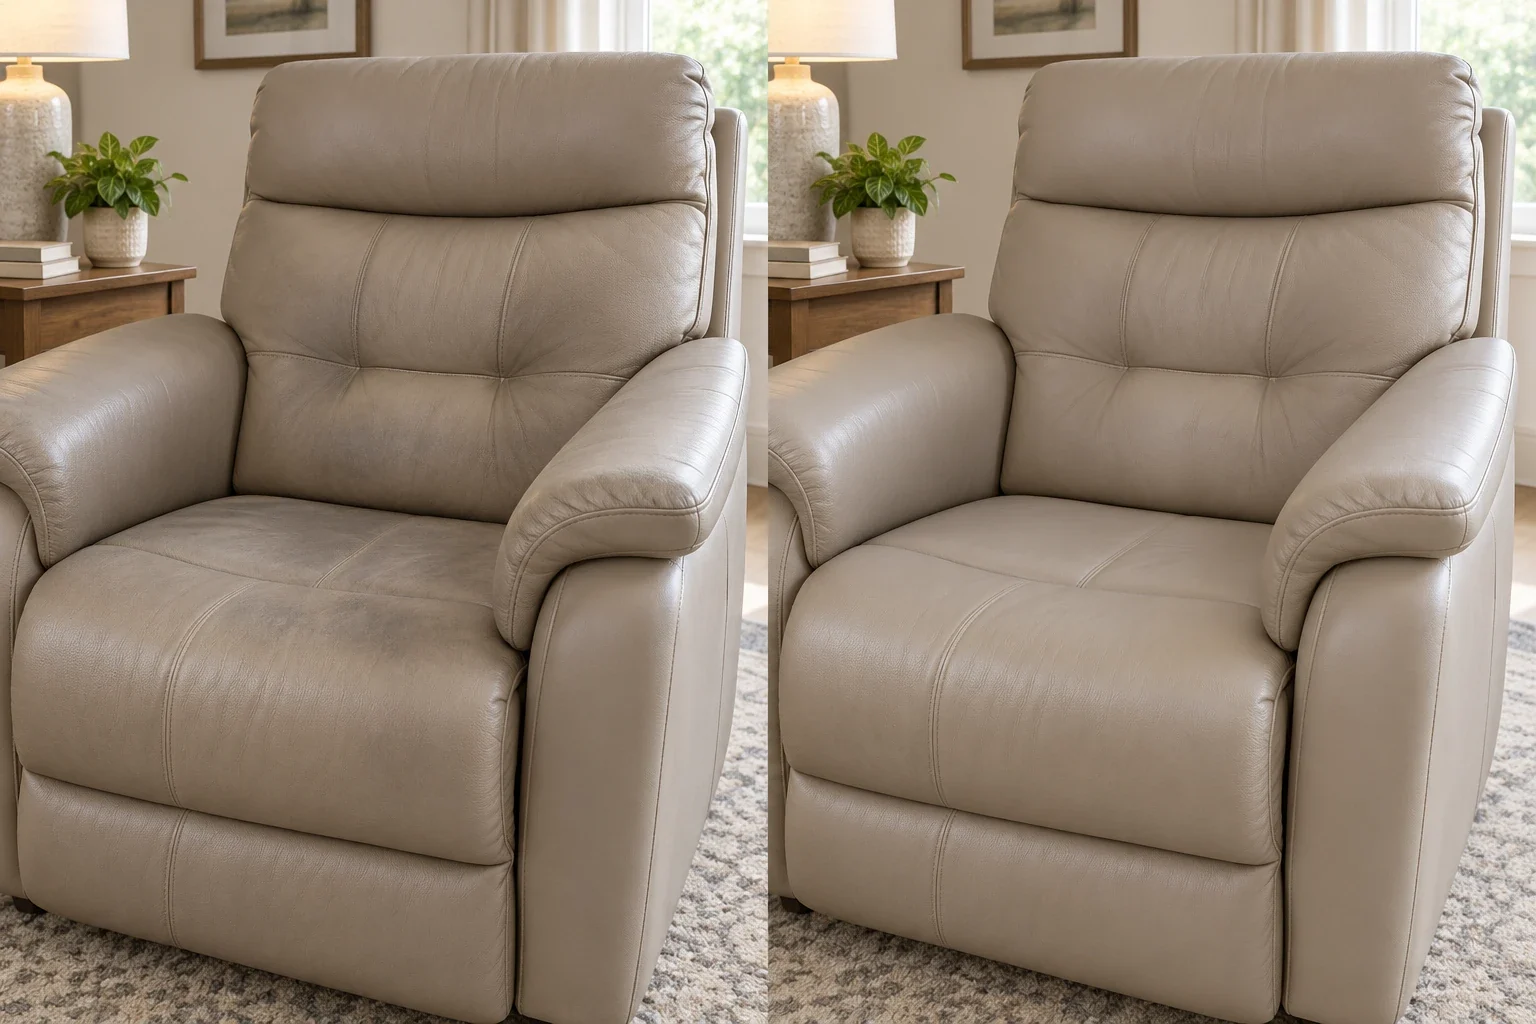
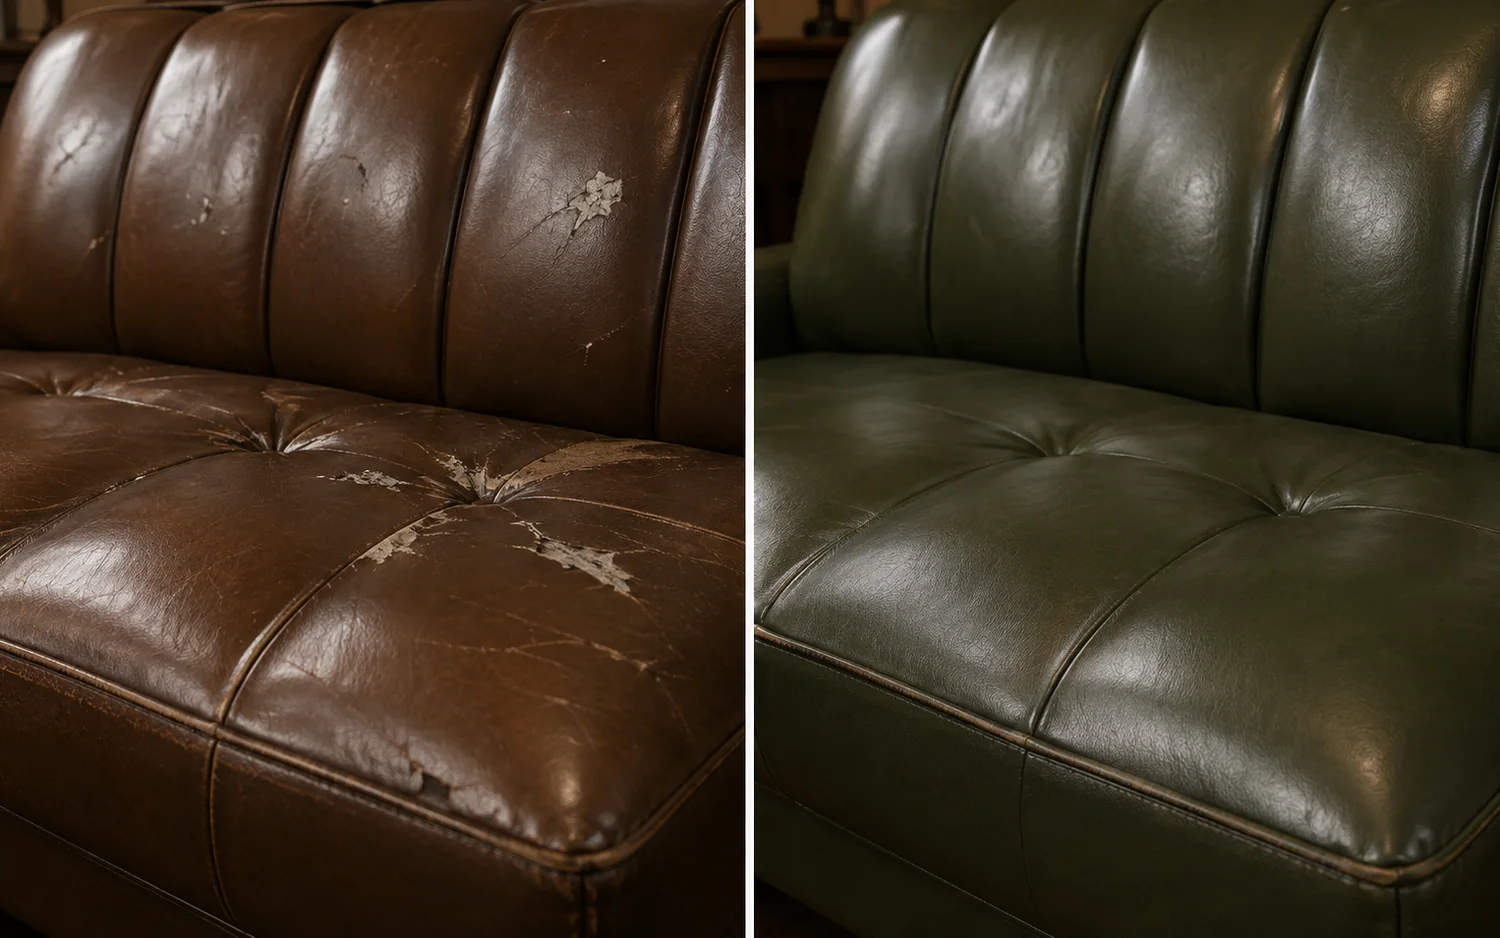
A leather repair before and after on colour always covers the whole piece, never one cushion. The old finish is cleaned and keyed, pigment is matched wet against a hidden panel, then sprayed thin and sealed. Two of the frames below were shot halfway through the spray, so the old tone sits against the new on one piece.
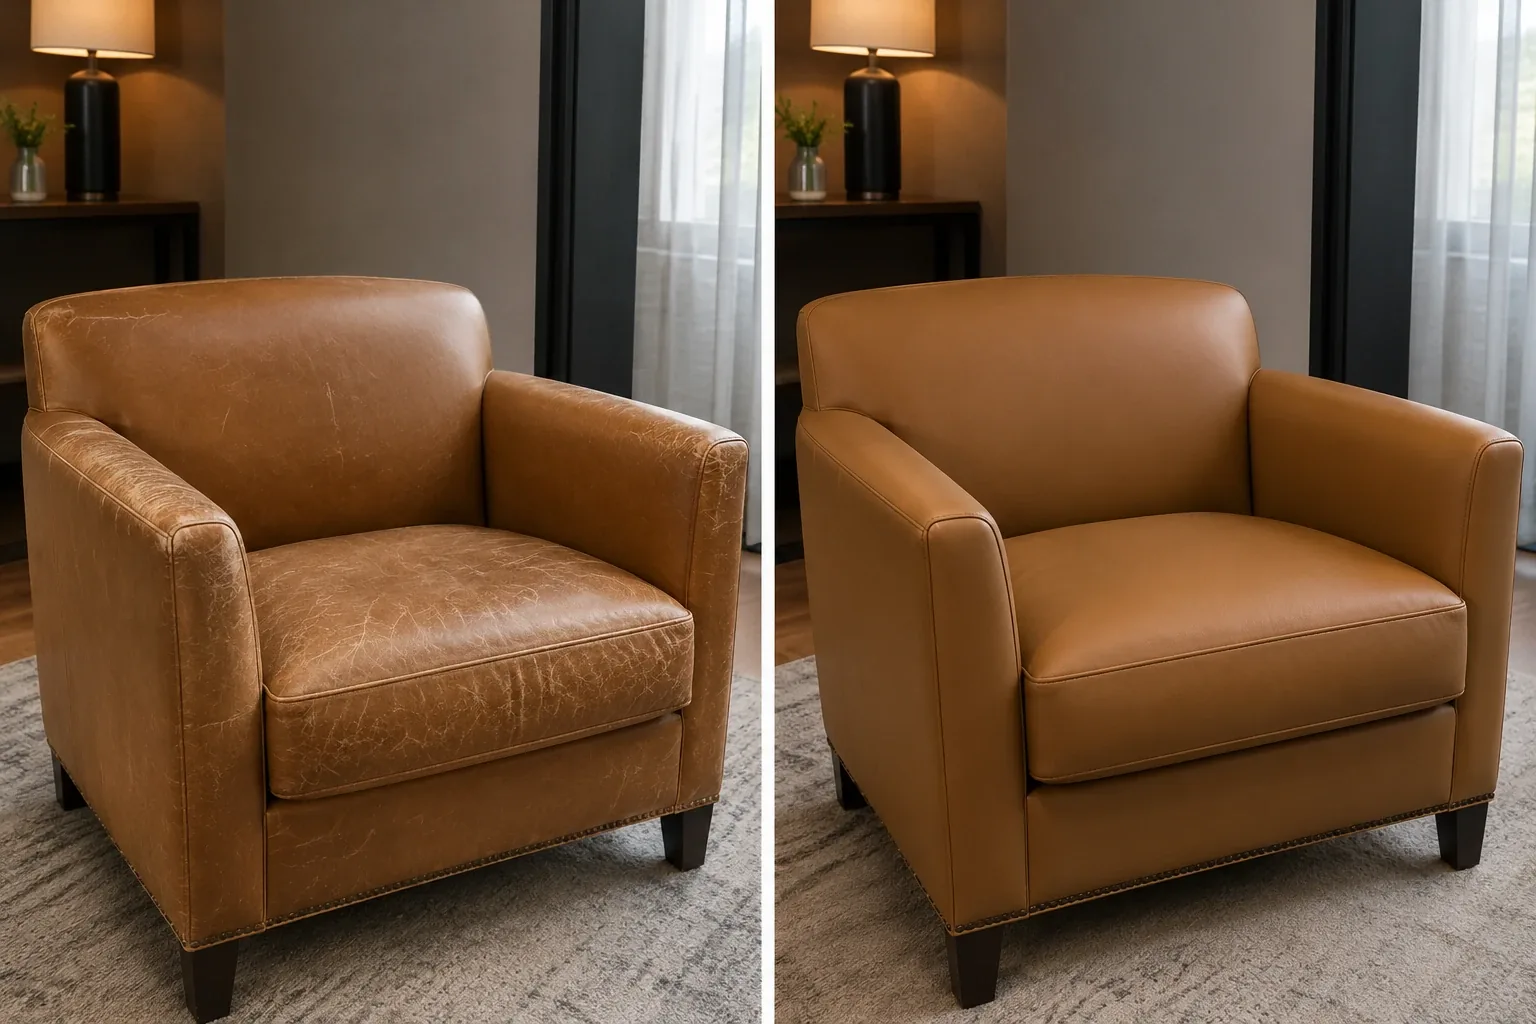
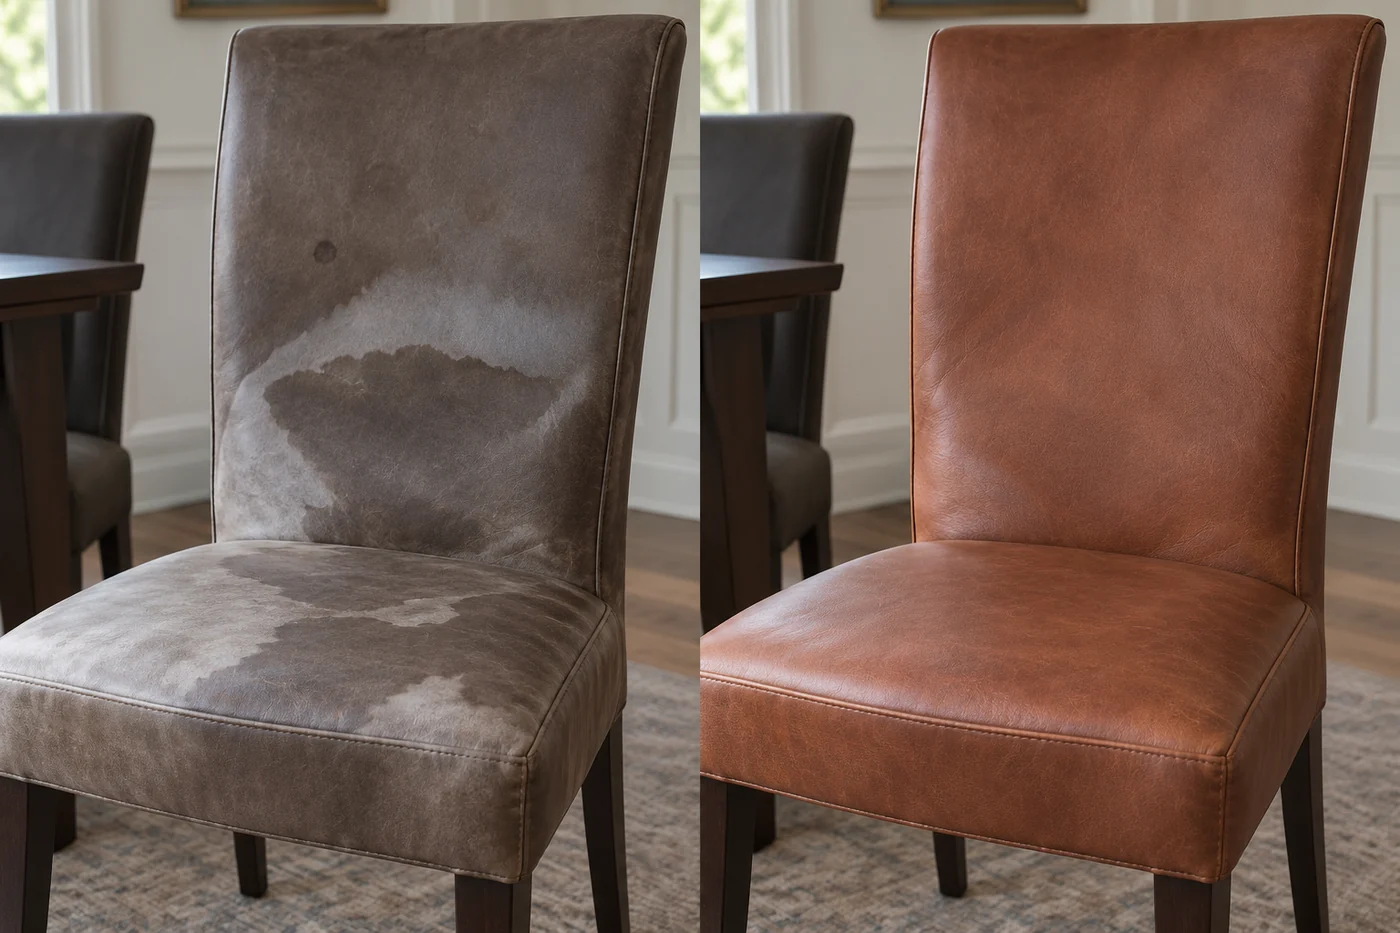
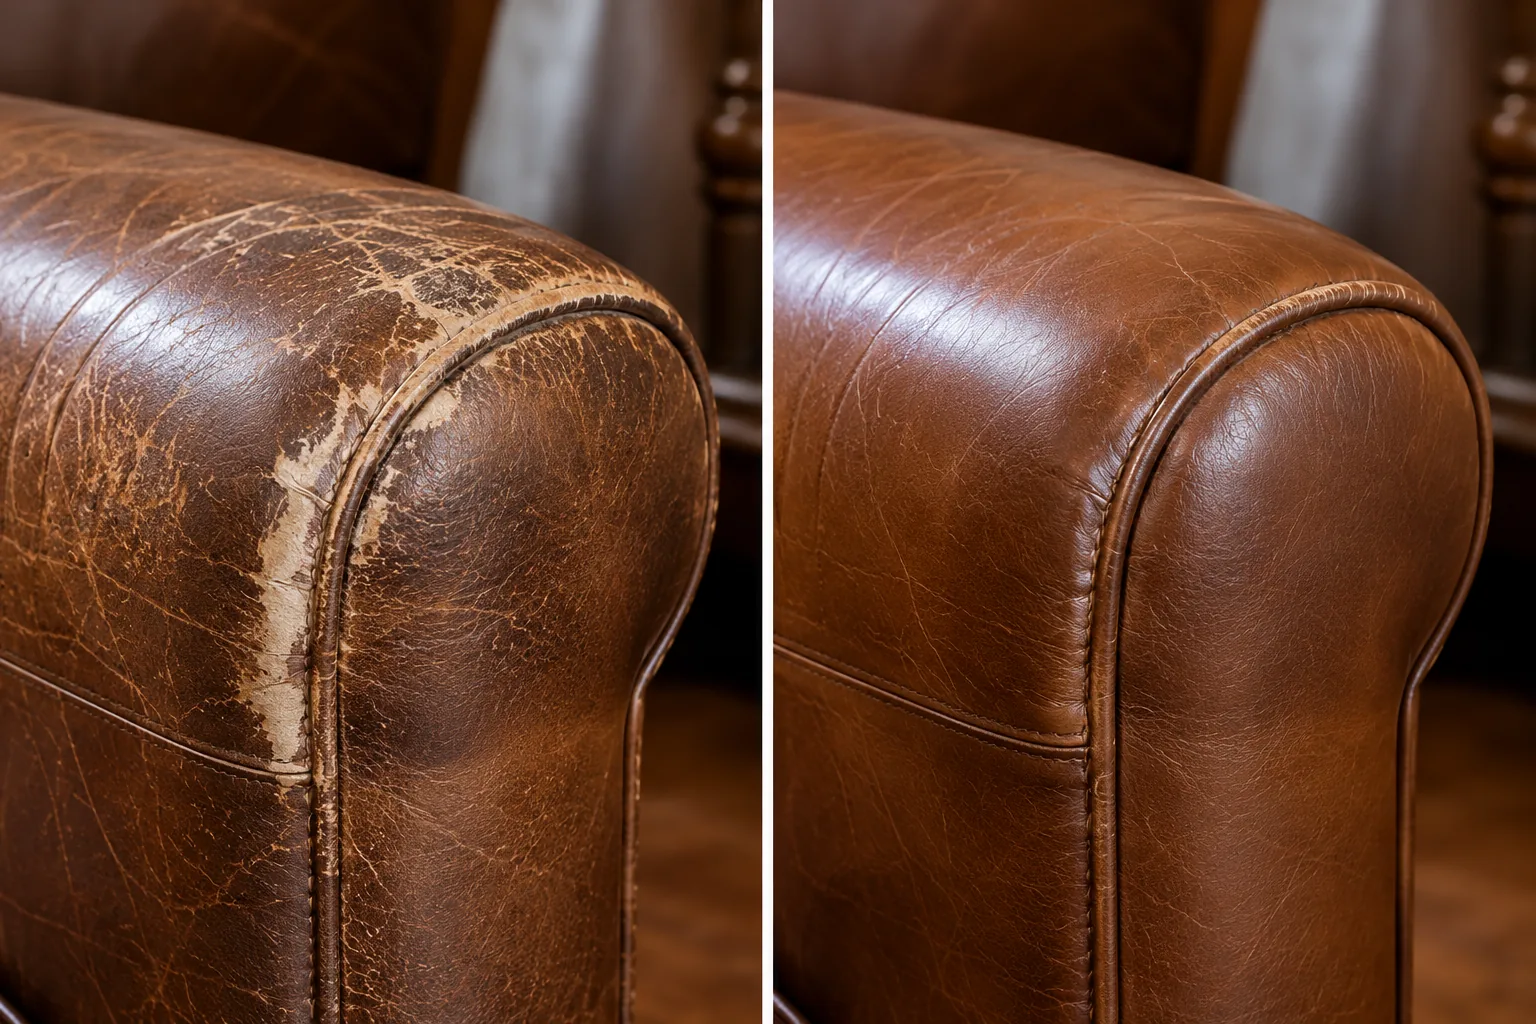
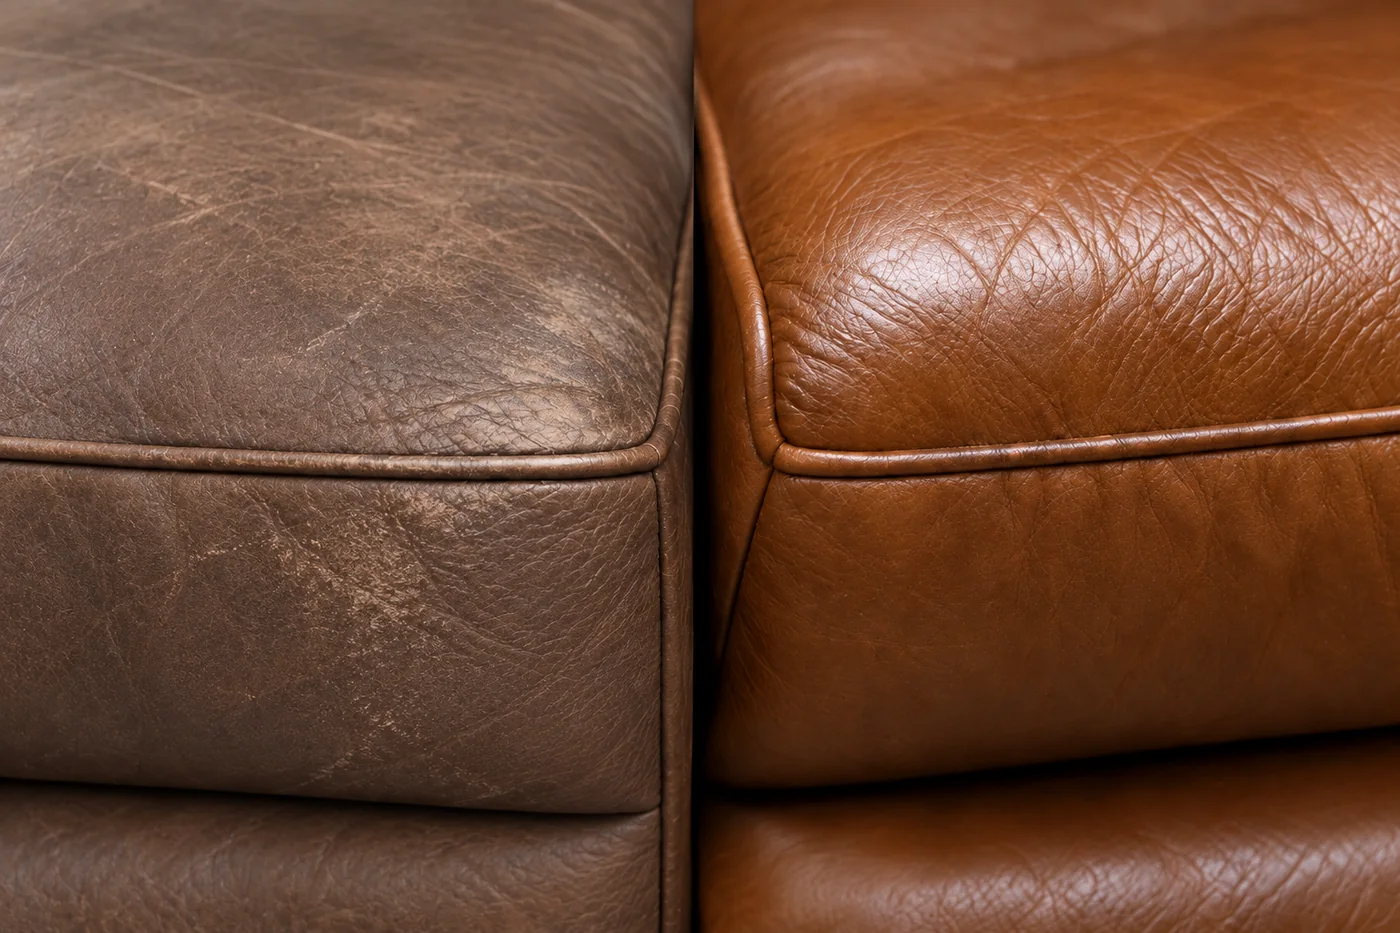
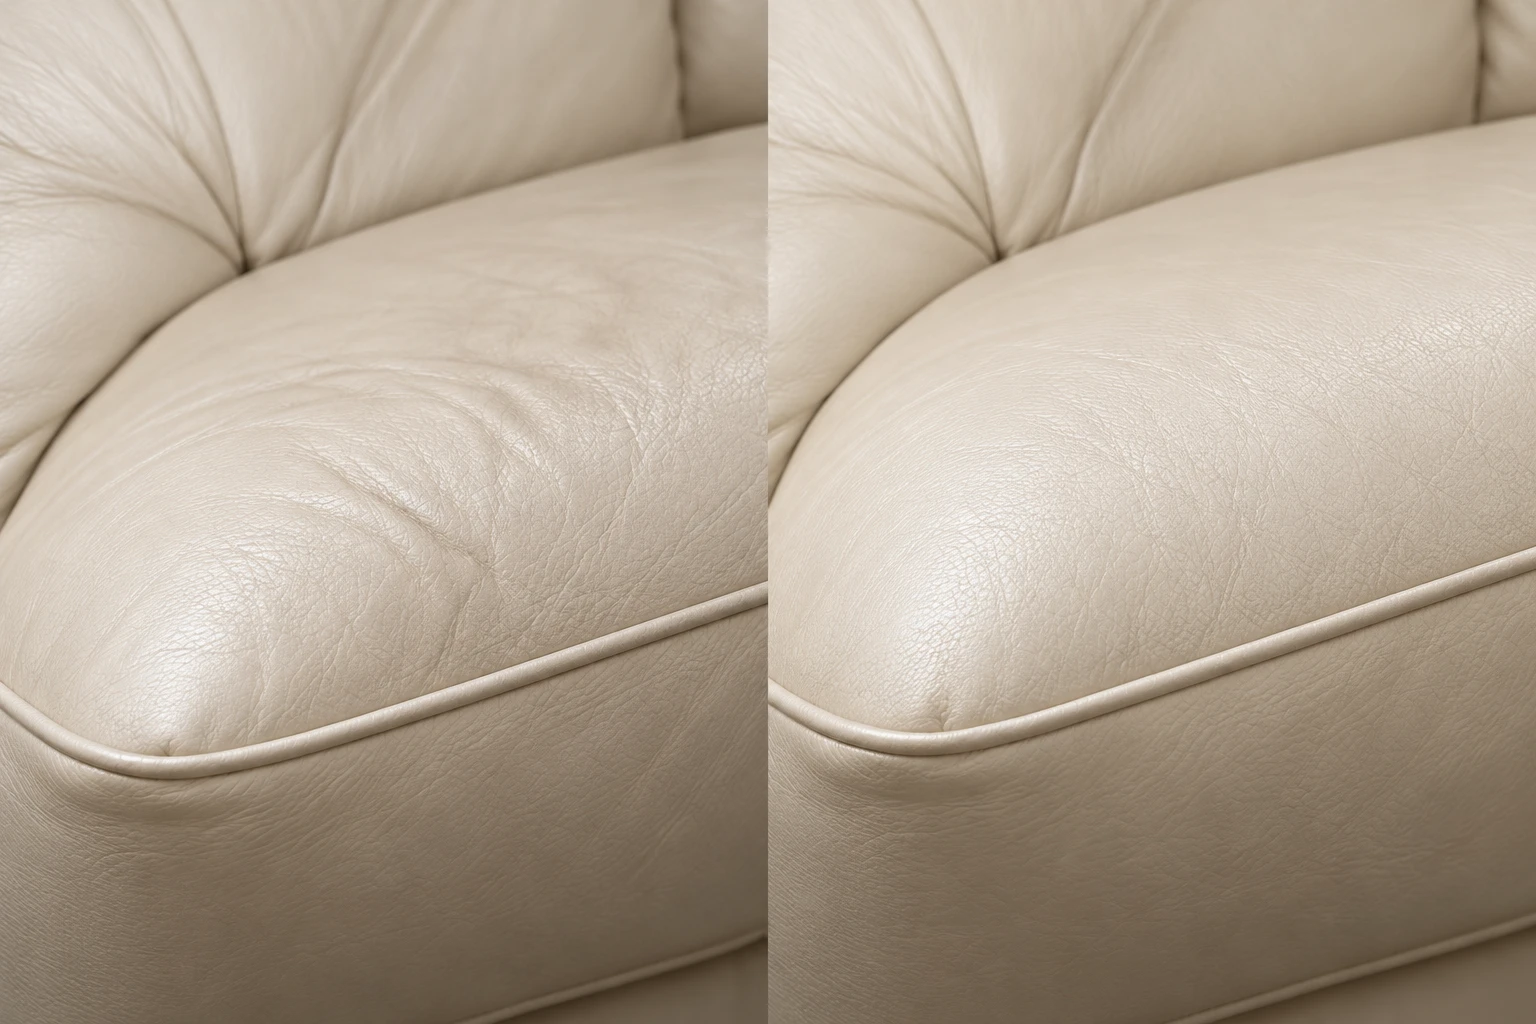
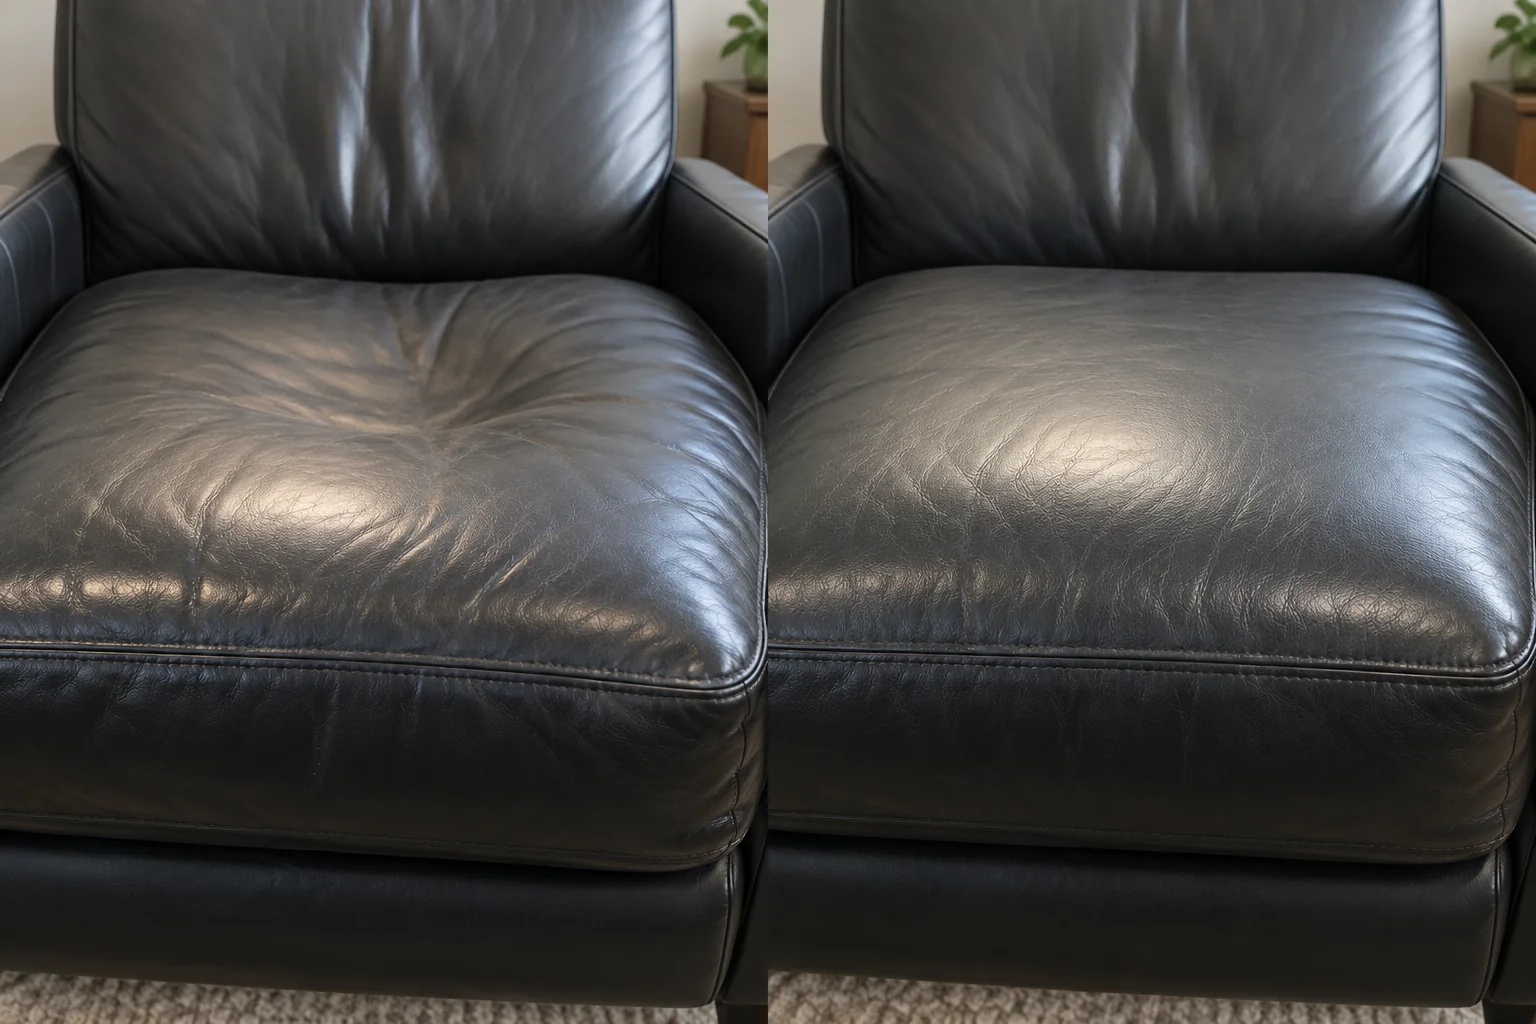
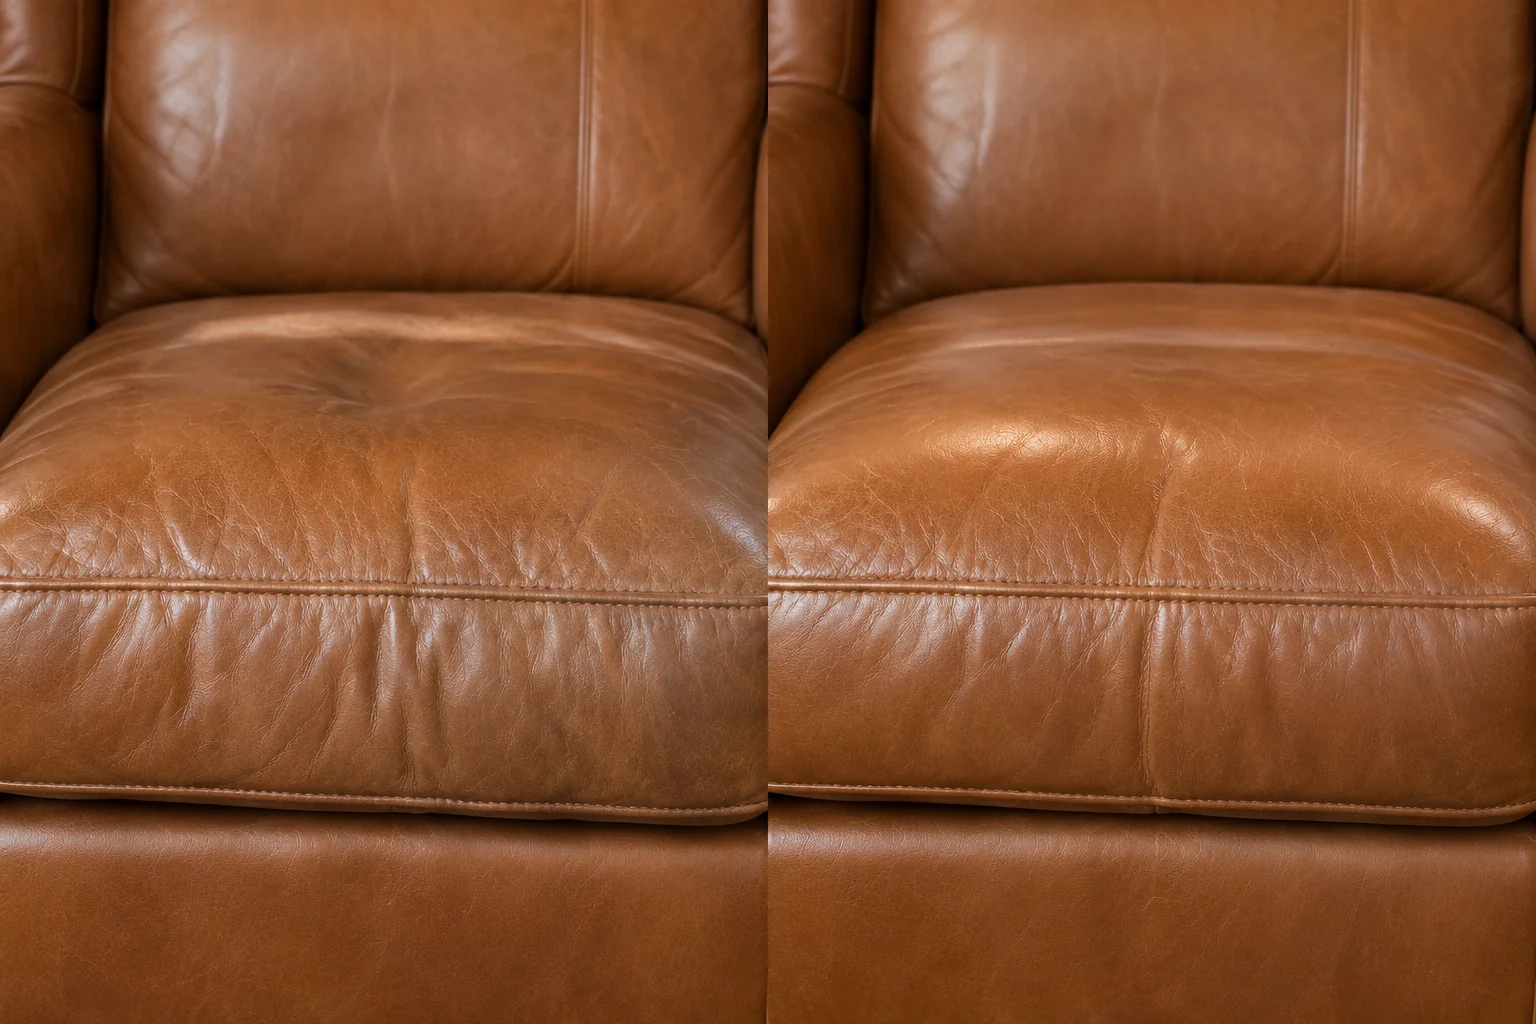
Flat, sunken seats given their shape back
In a cushion leather repair before and after, what changed is the fill, not the hide. The cover comes off, the core is replaced or wrapped, the front edge is re-crowned, and the cover goes back under tension.
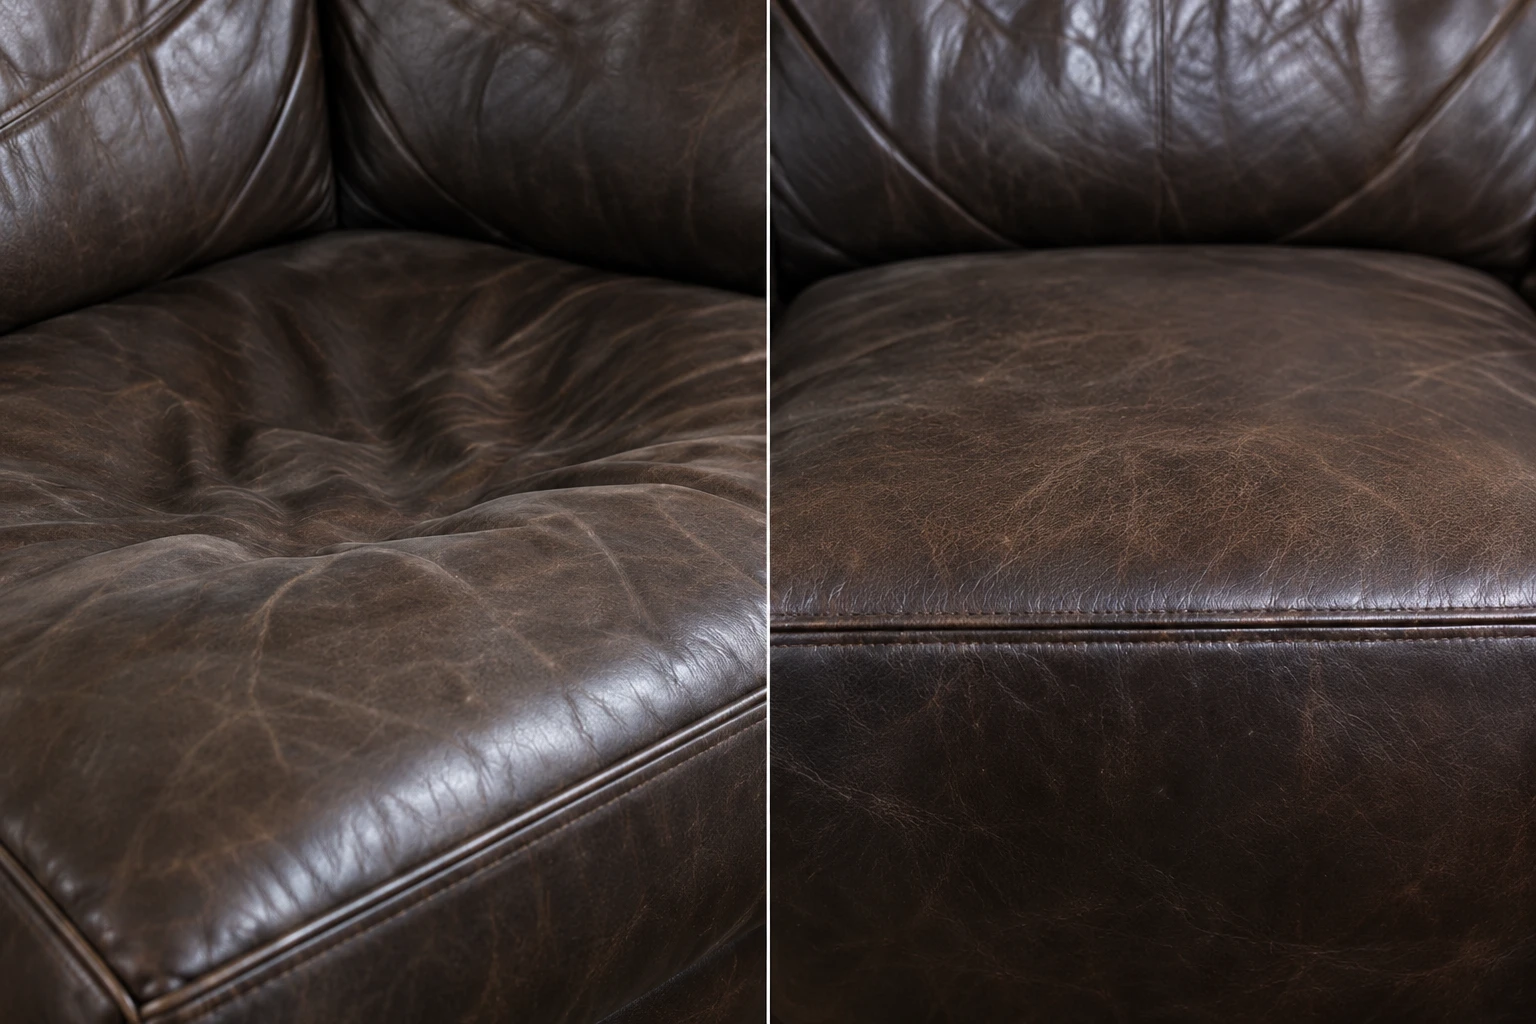
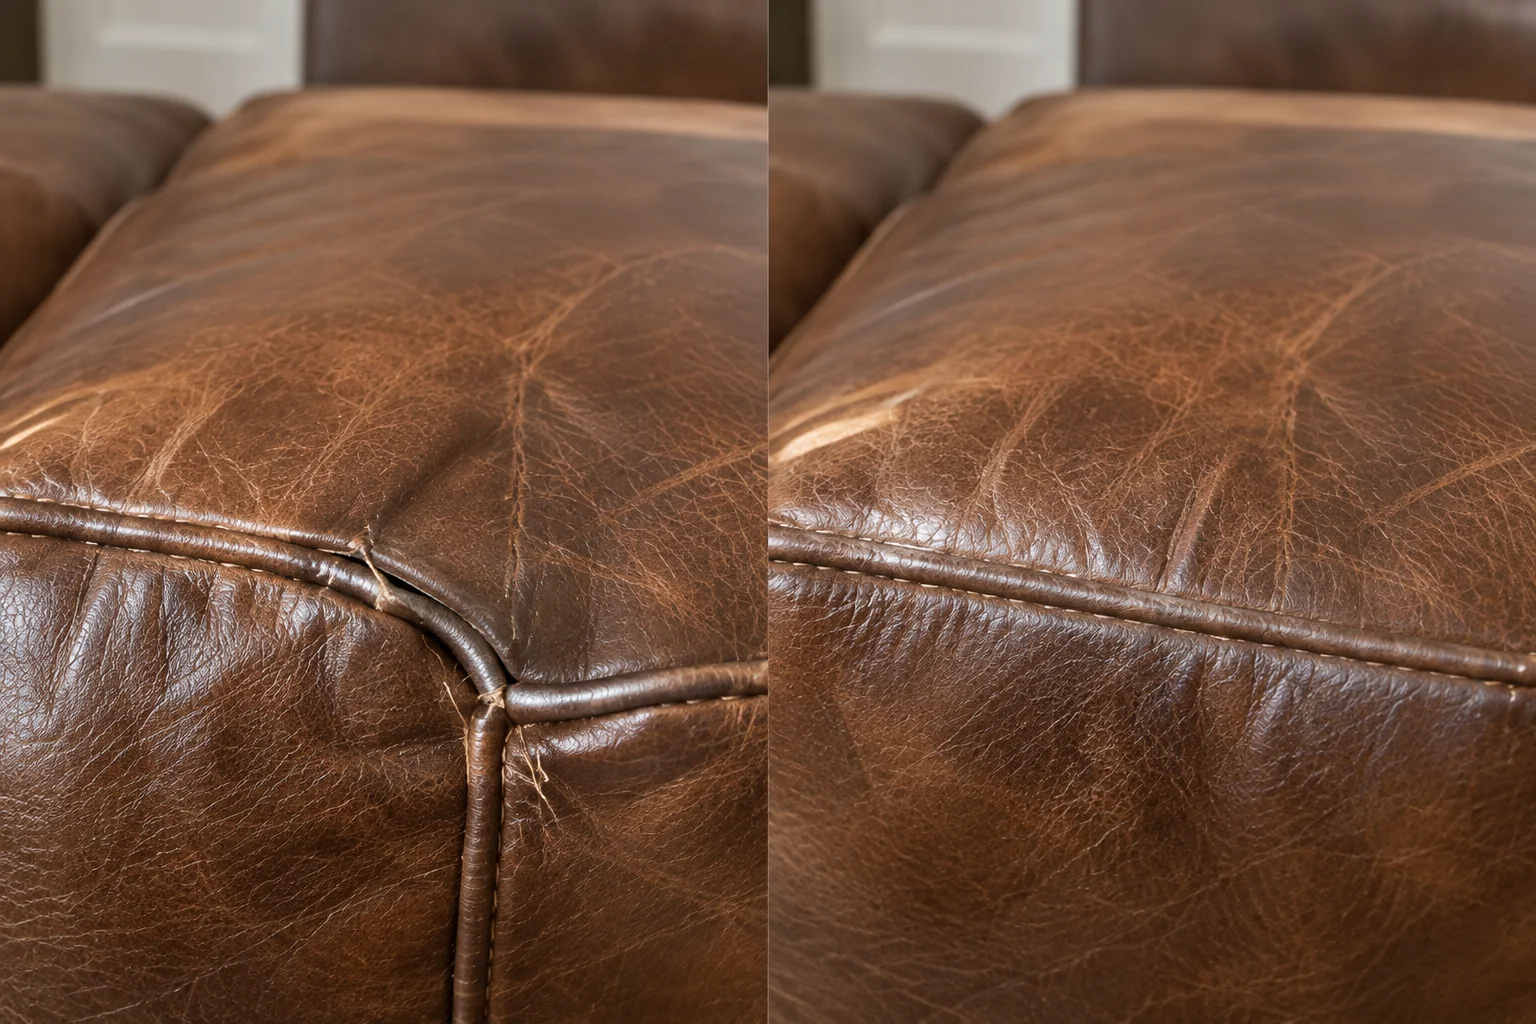
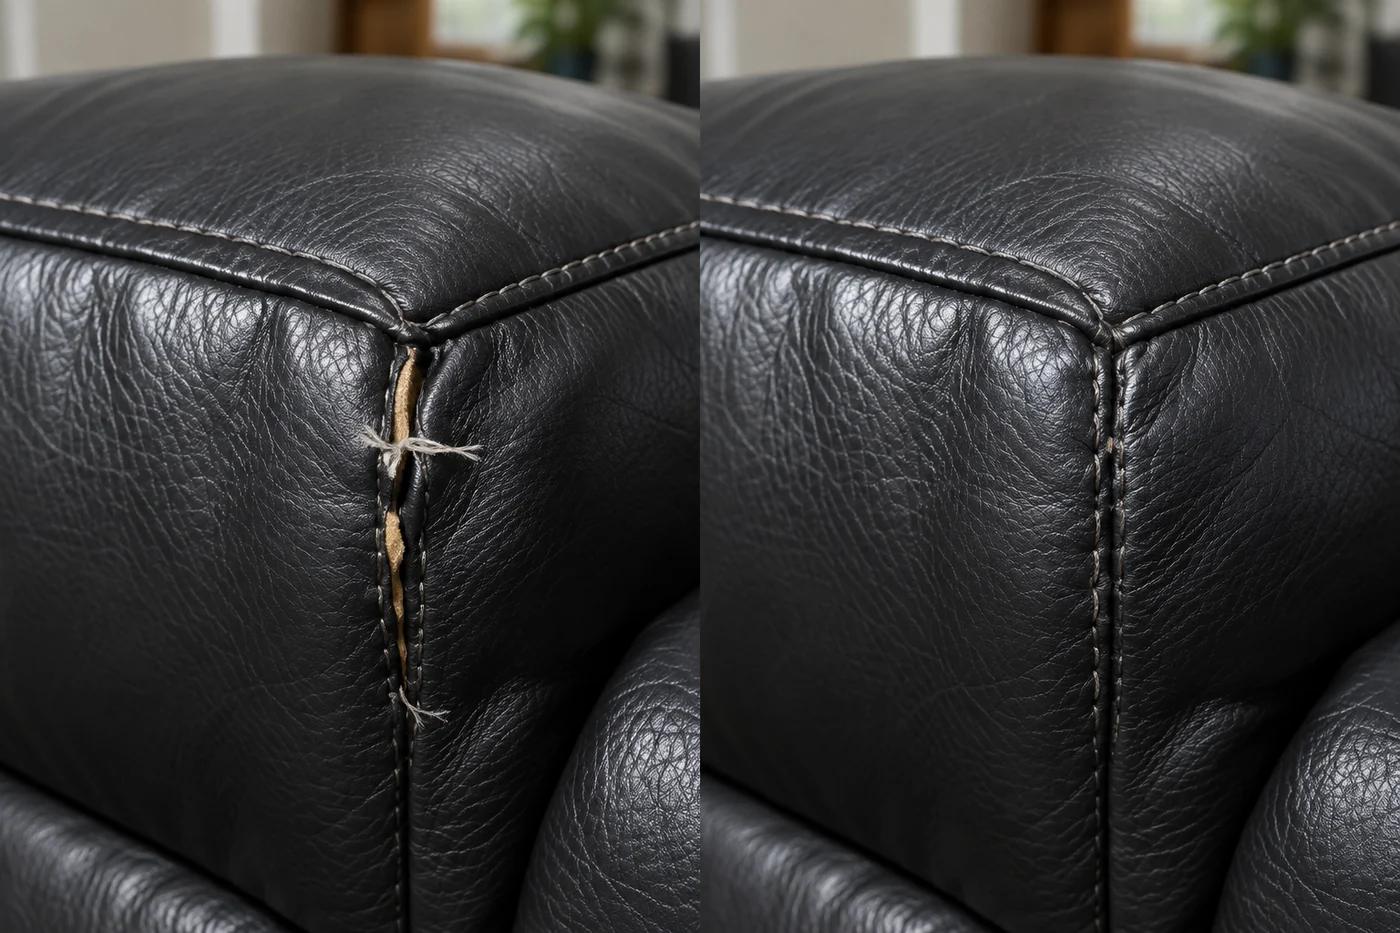
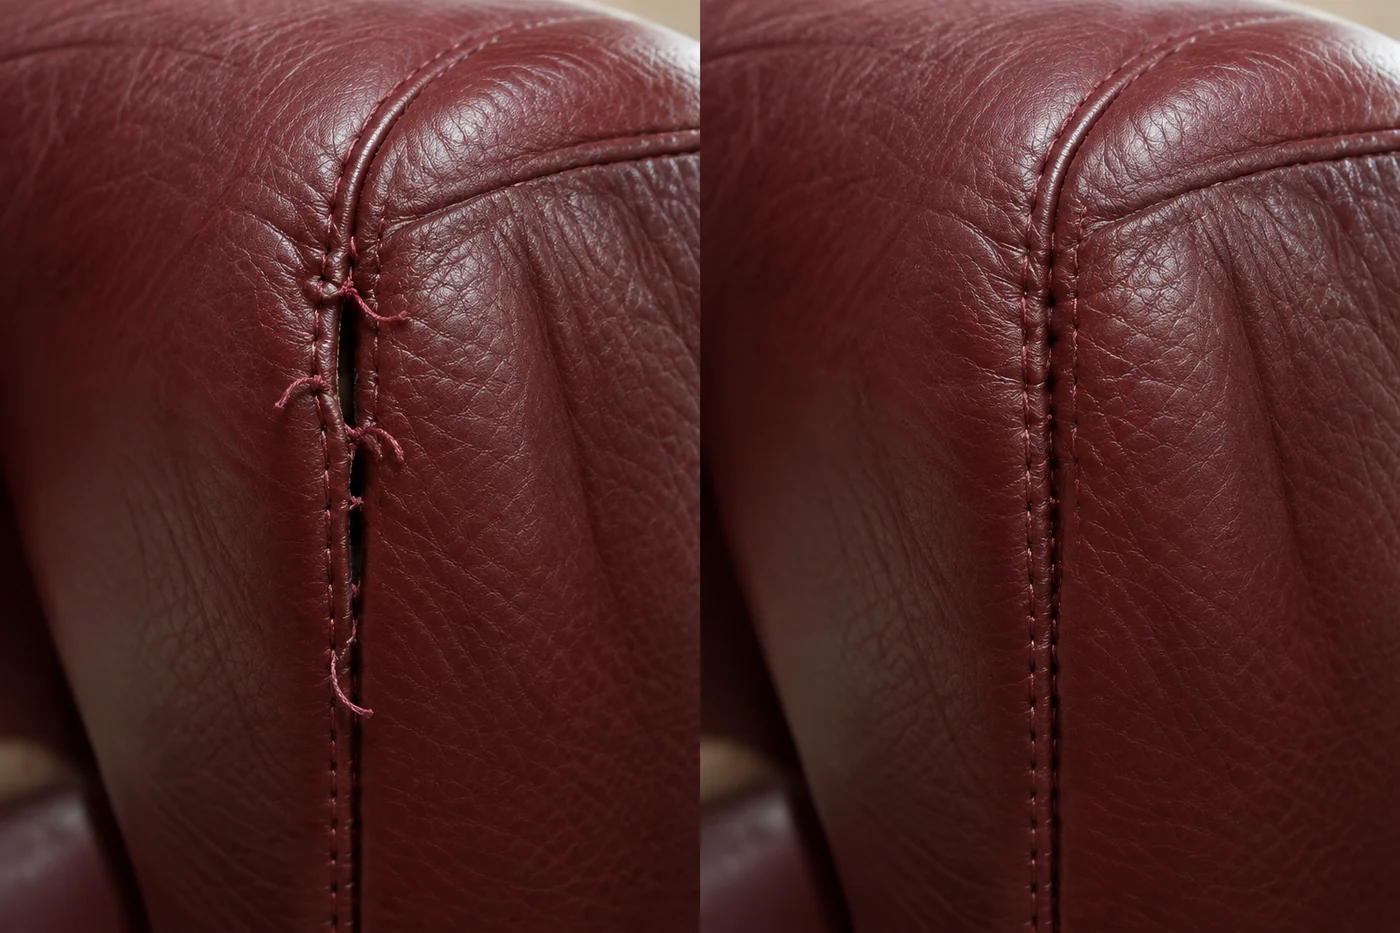
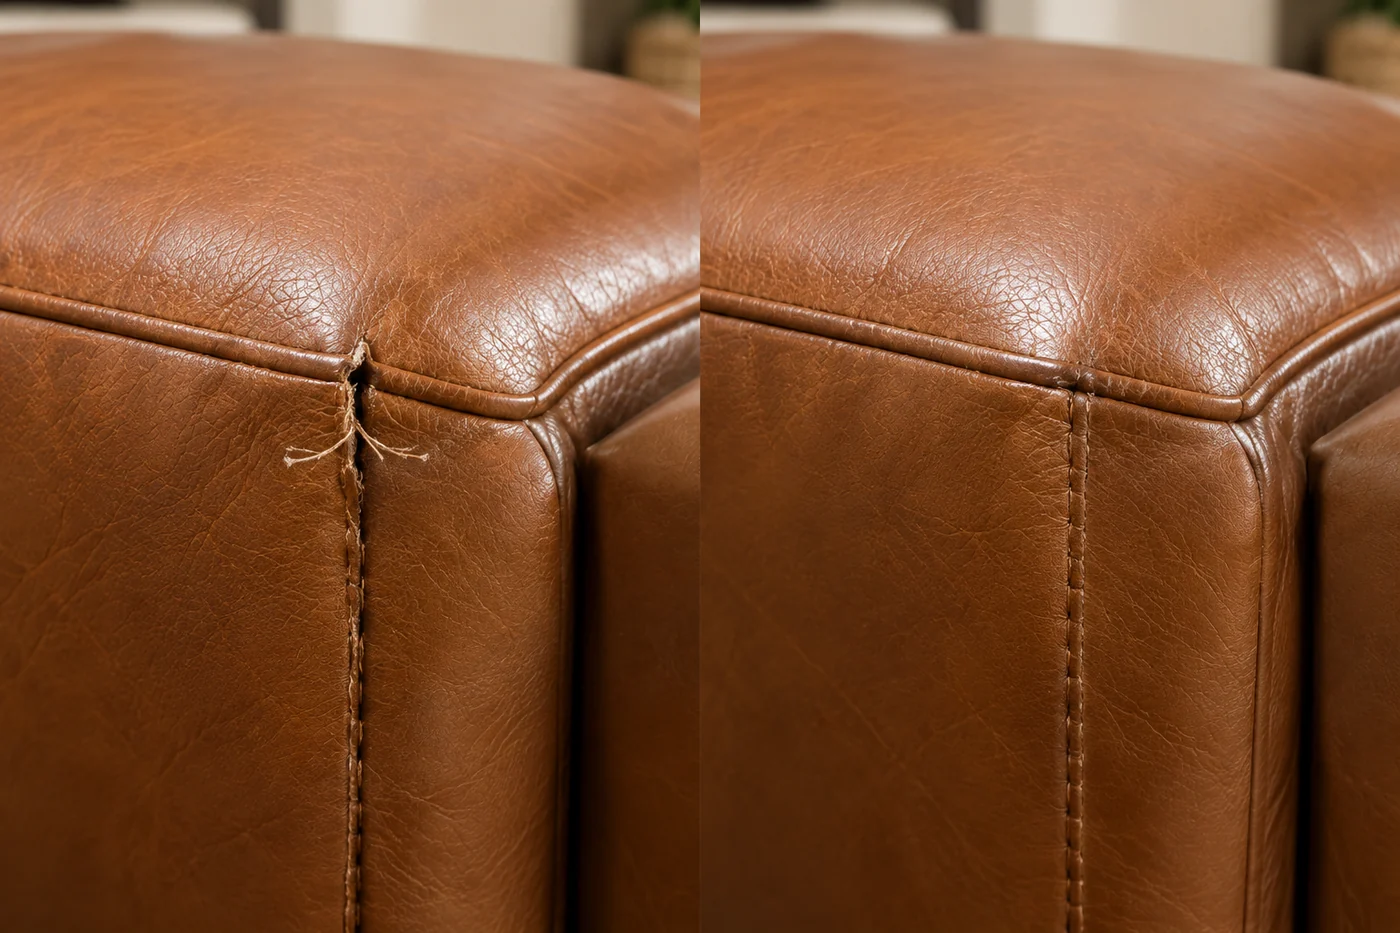
Burst stitch lines resewn through the original holes
A seam usually fails because the thread rotted, not the leather. Where the panels are sound, the line is resewn through its own needle holes, so the new stitching lands where the old one sat.
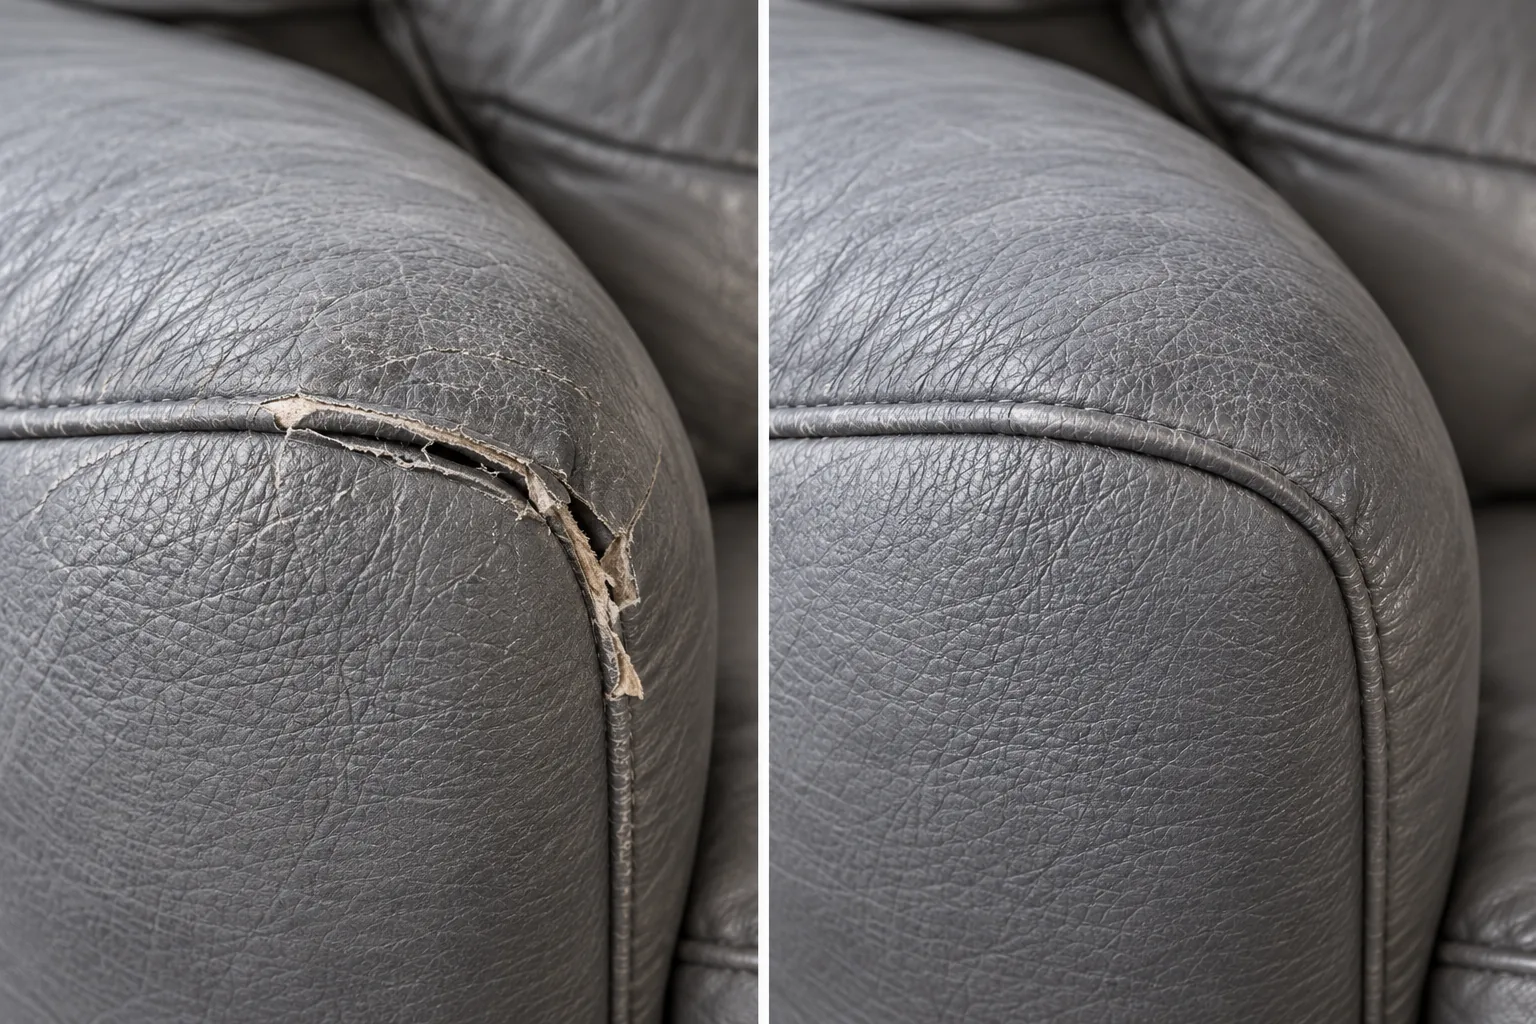
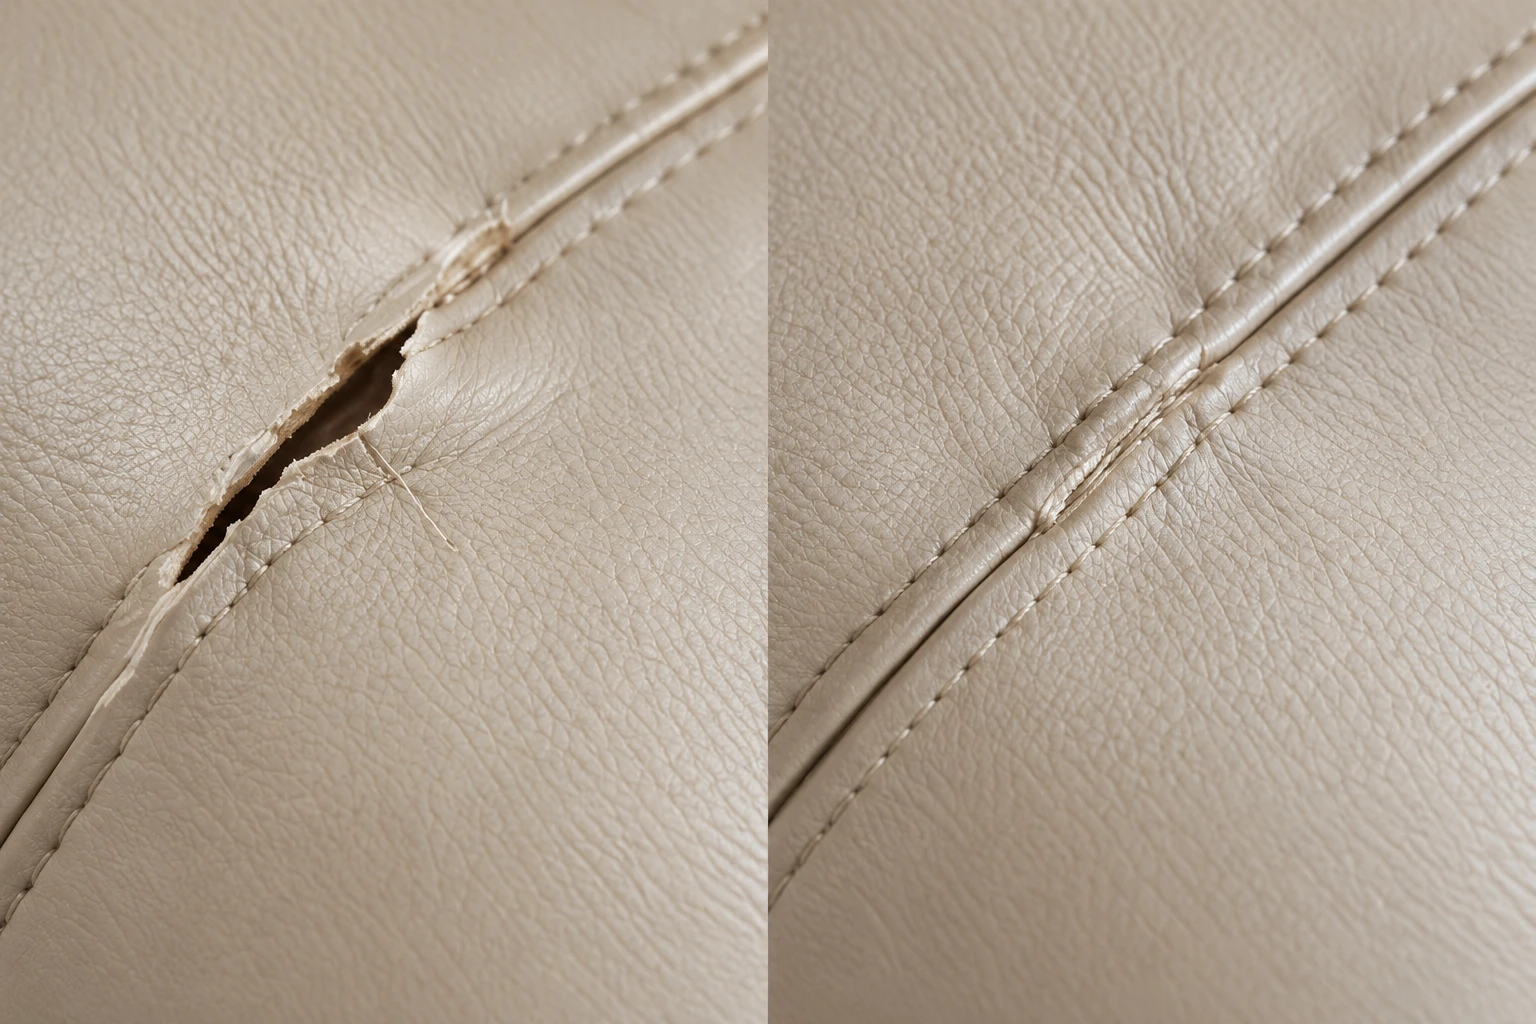
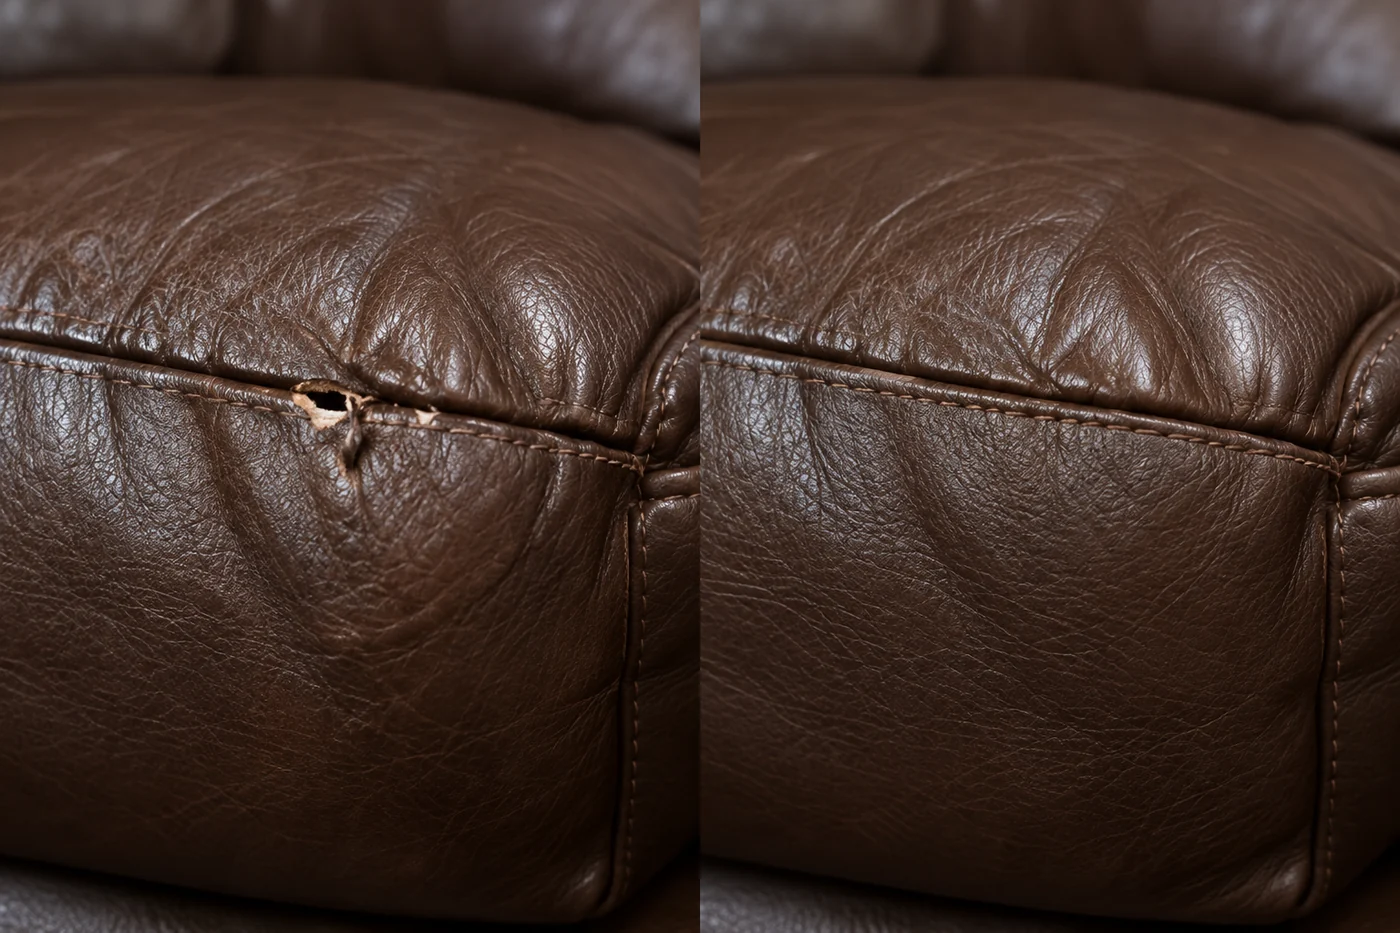
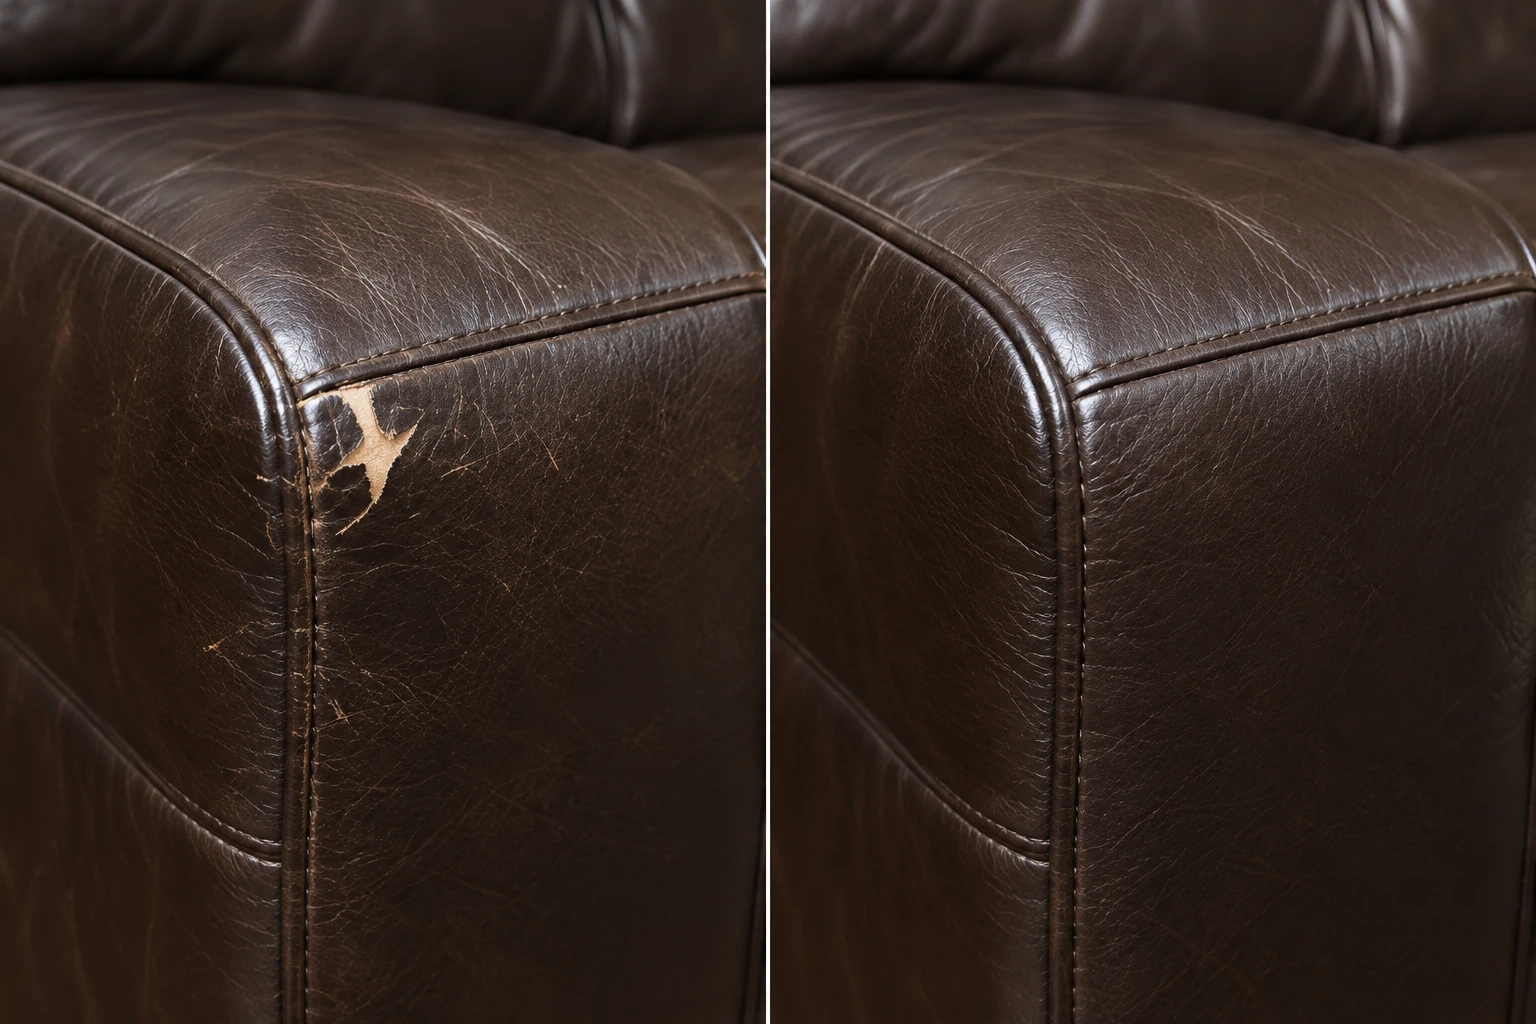
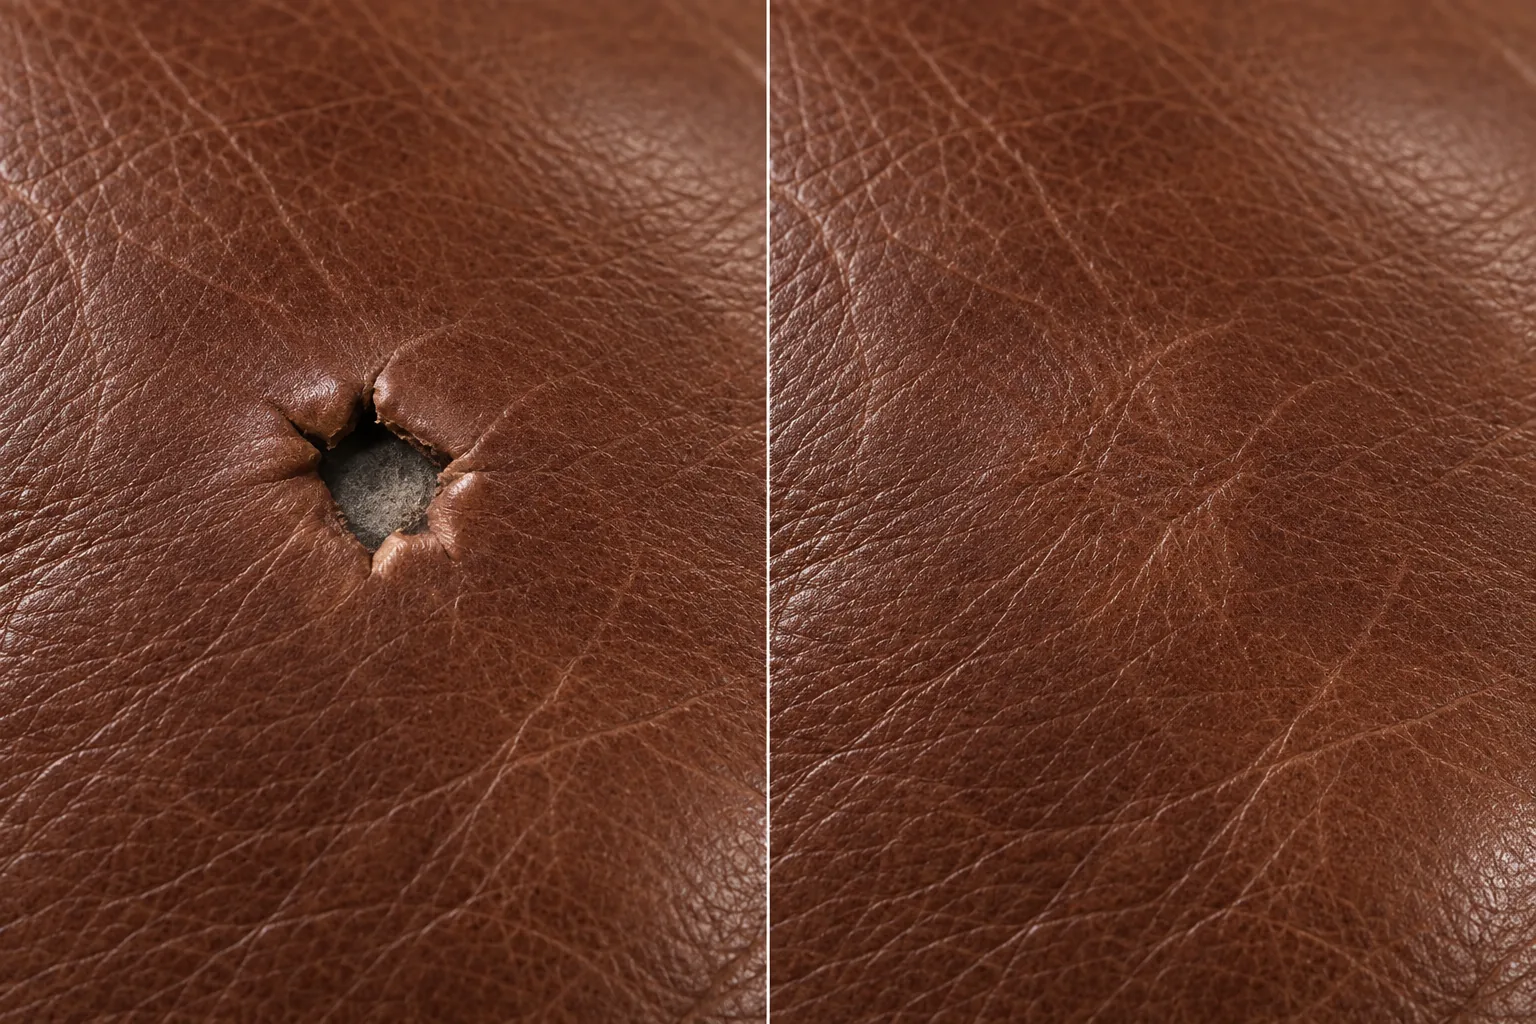
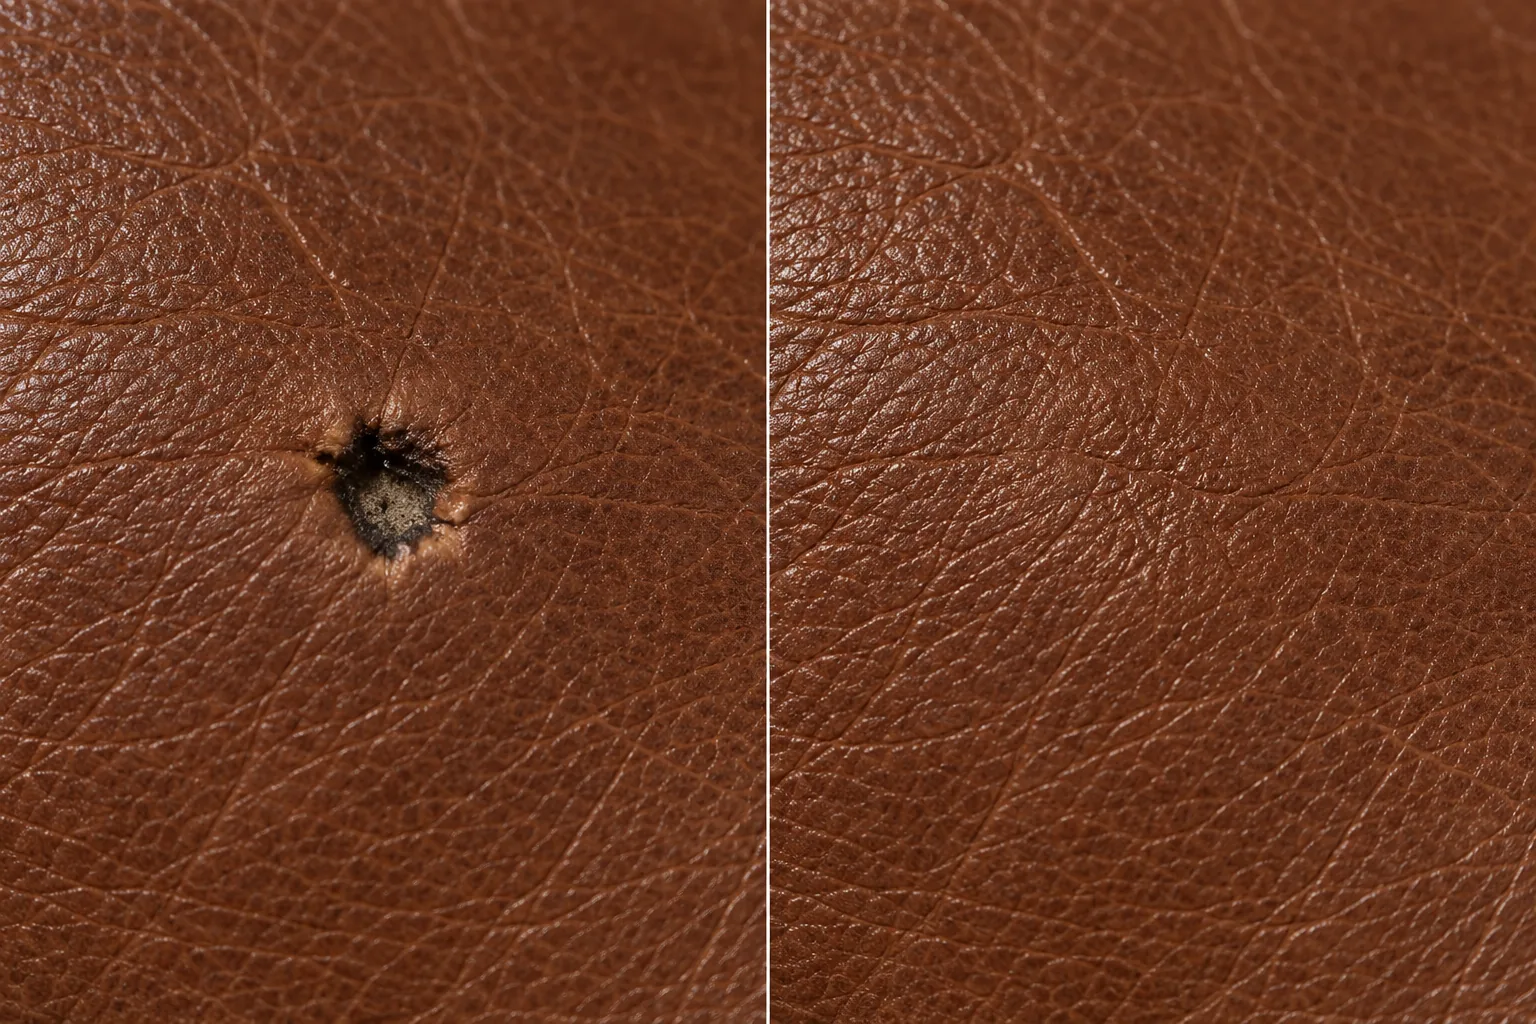
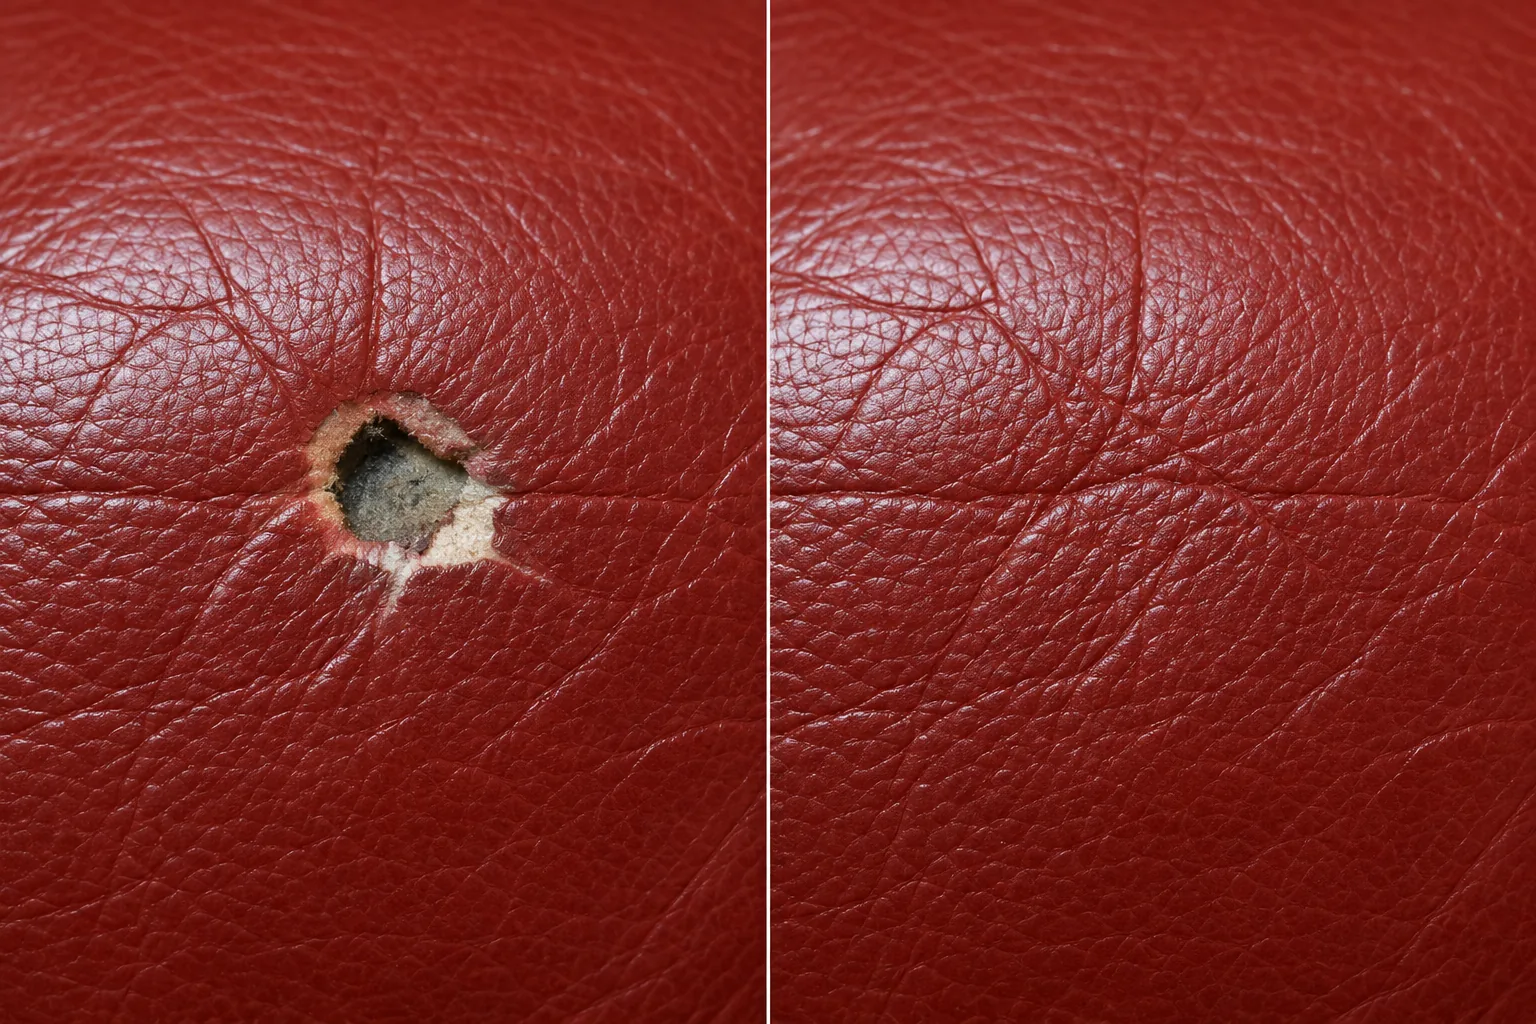
Holes filled level and the grain pressed back in
Scorched fibre is cut away first — it will not take filler. A backing goes under the hole, filler builds up in layers until it sits flush, and a grain pad presses the surrounding texture into the last coat. Judge a burn leather repair before and after at a low angle: flush, or not flush.
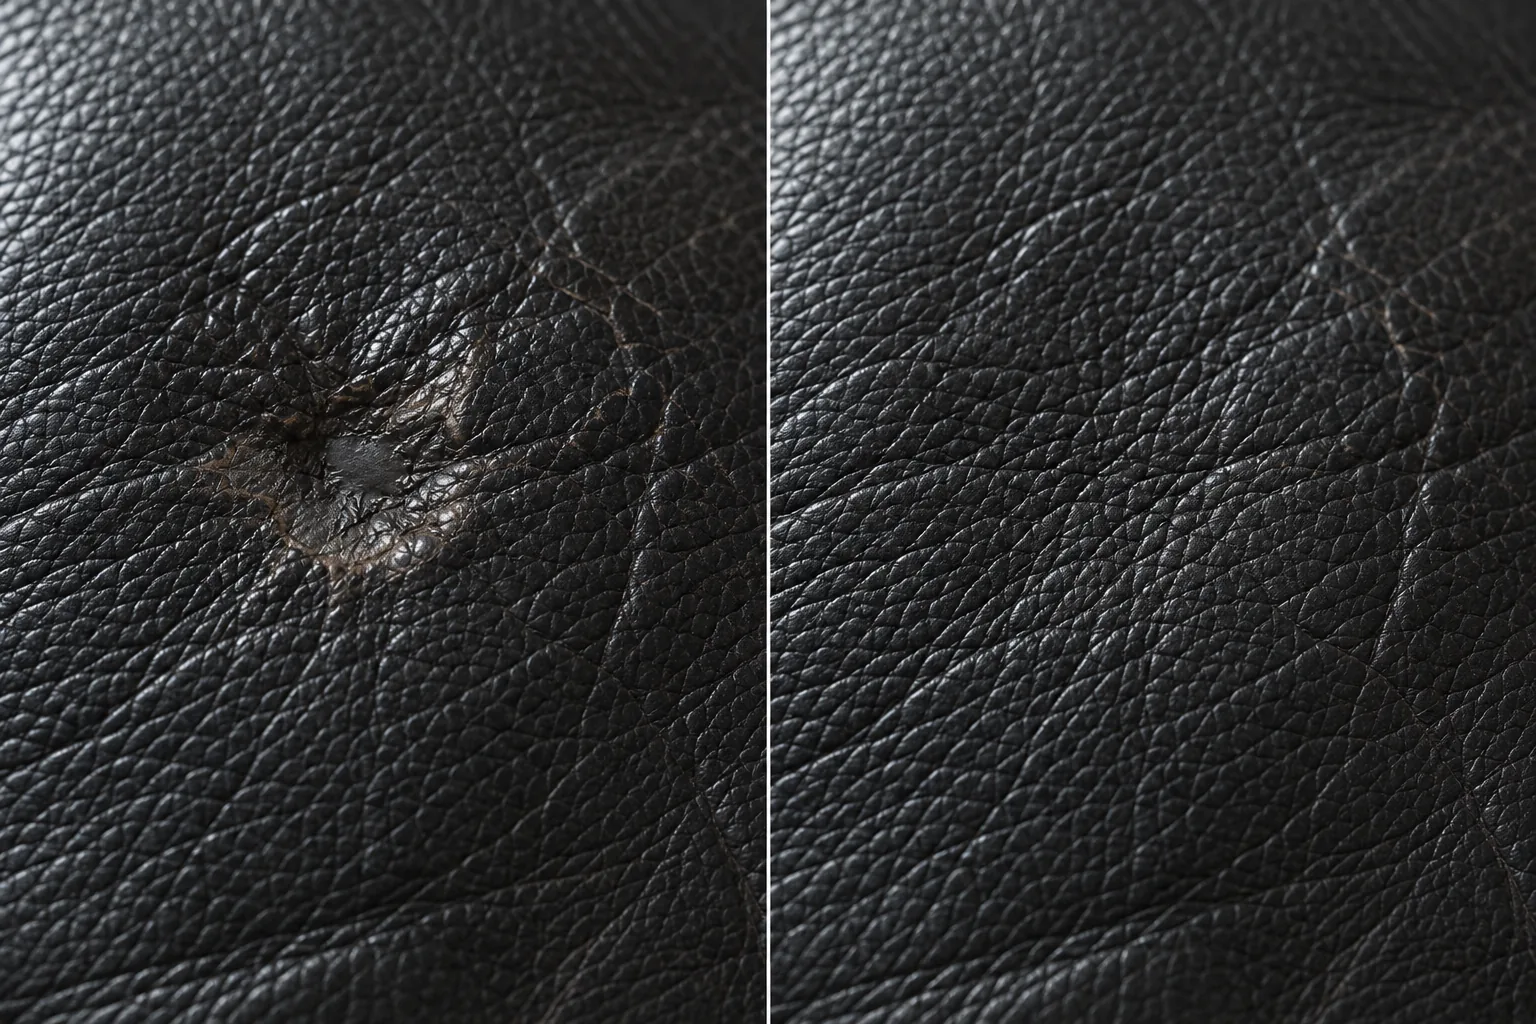
When a section is past filling, it gets replaced
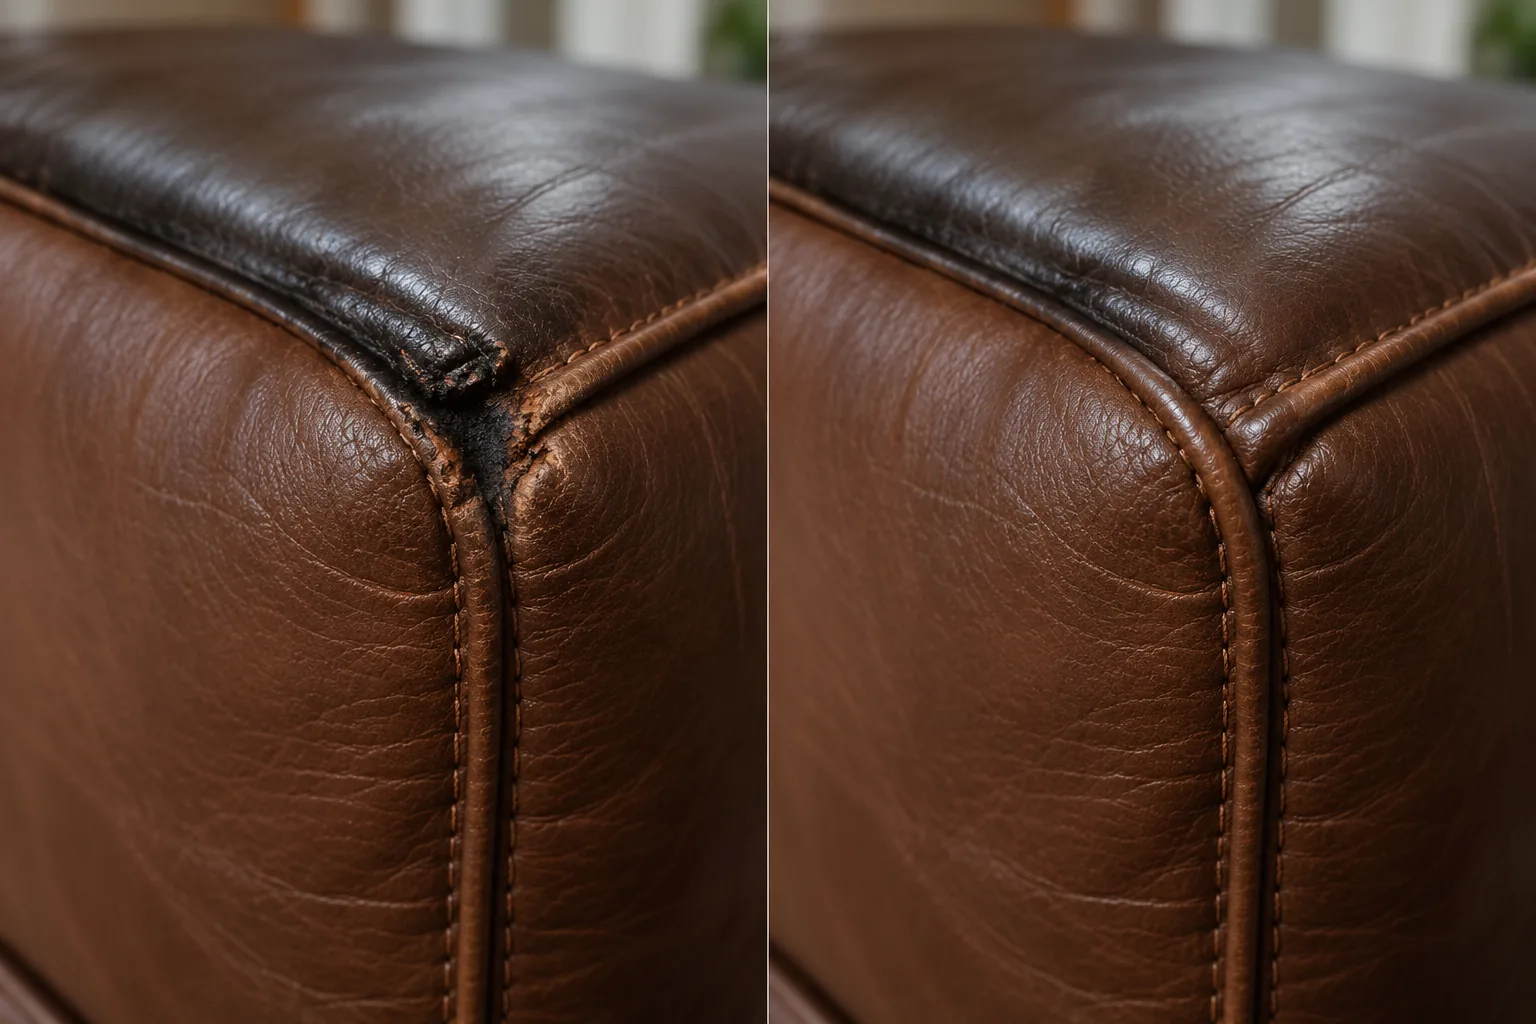
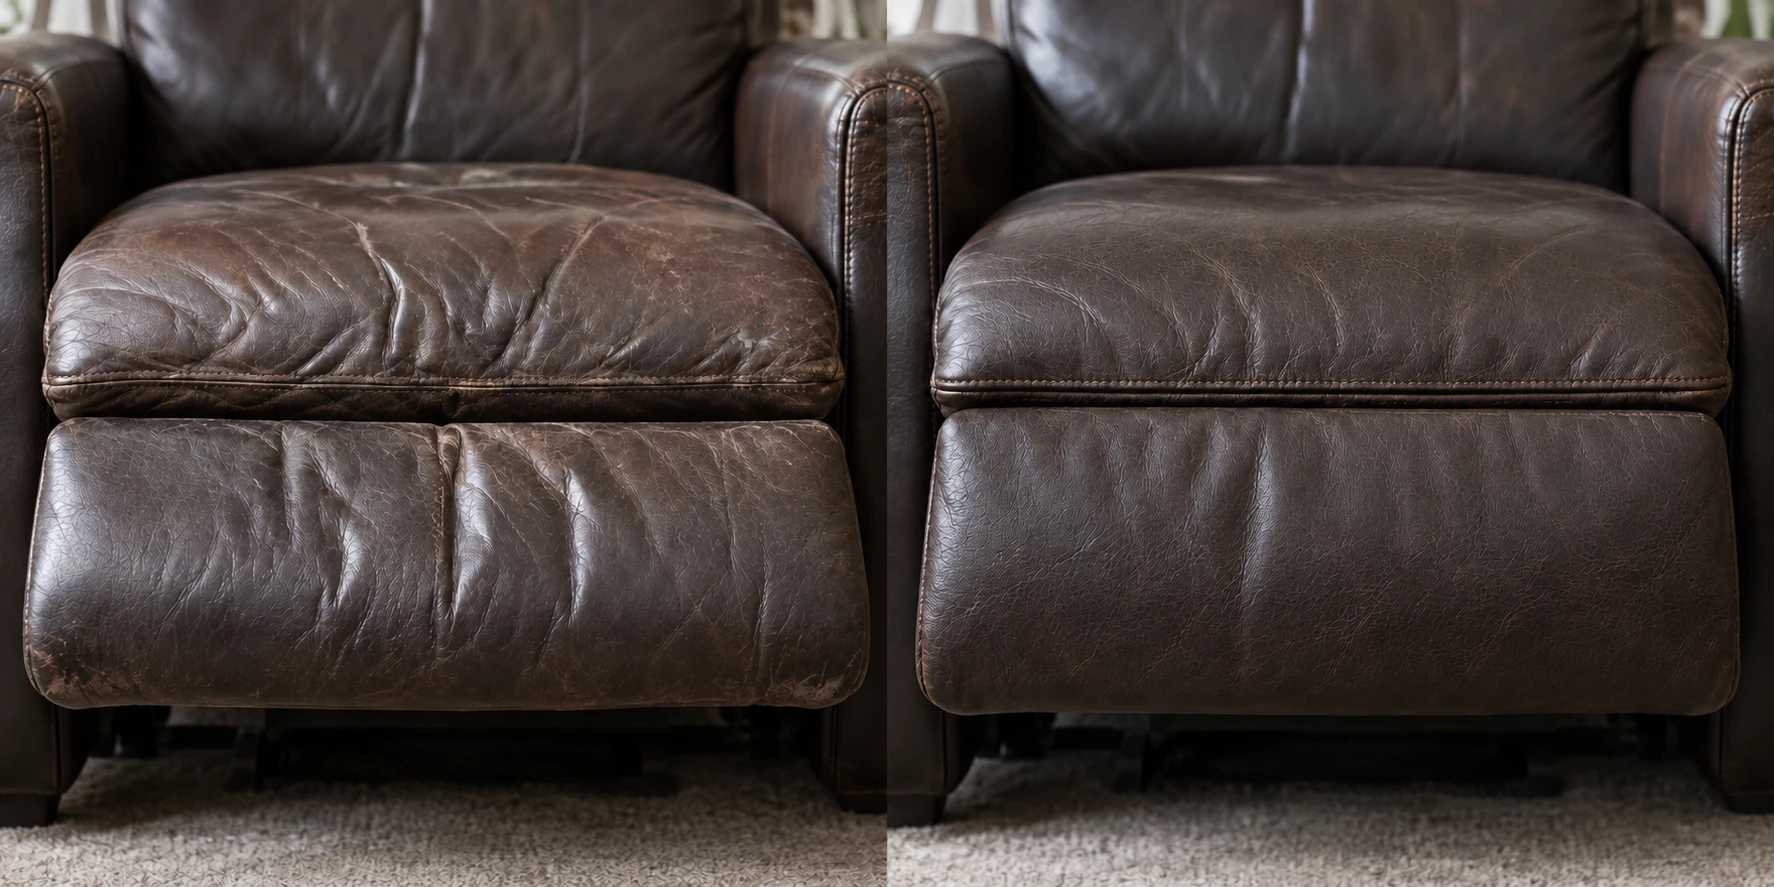
Some panels are too far gone to fill — recliner footrests, ottoman tops, the outside arm that took the sun. That section alone is cut out and a new piece fitted to the original pattern. In a panel leather repair before and after the new hide has to match sheen as well as colour. Upholstery hide from makers like Muirhead is milled to set grain and sheen ranges, so a match is chosen from a batch rather than guessed at.
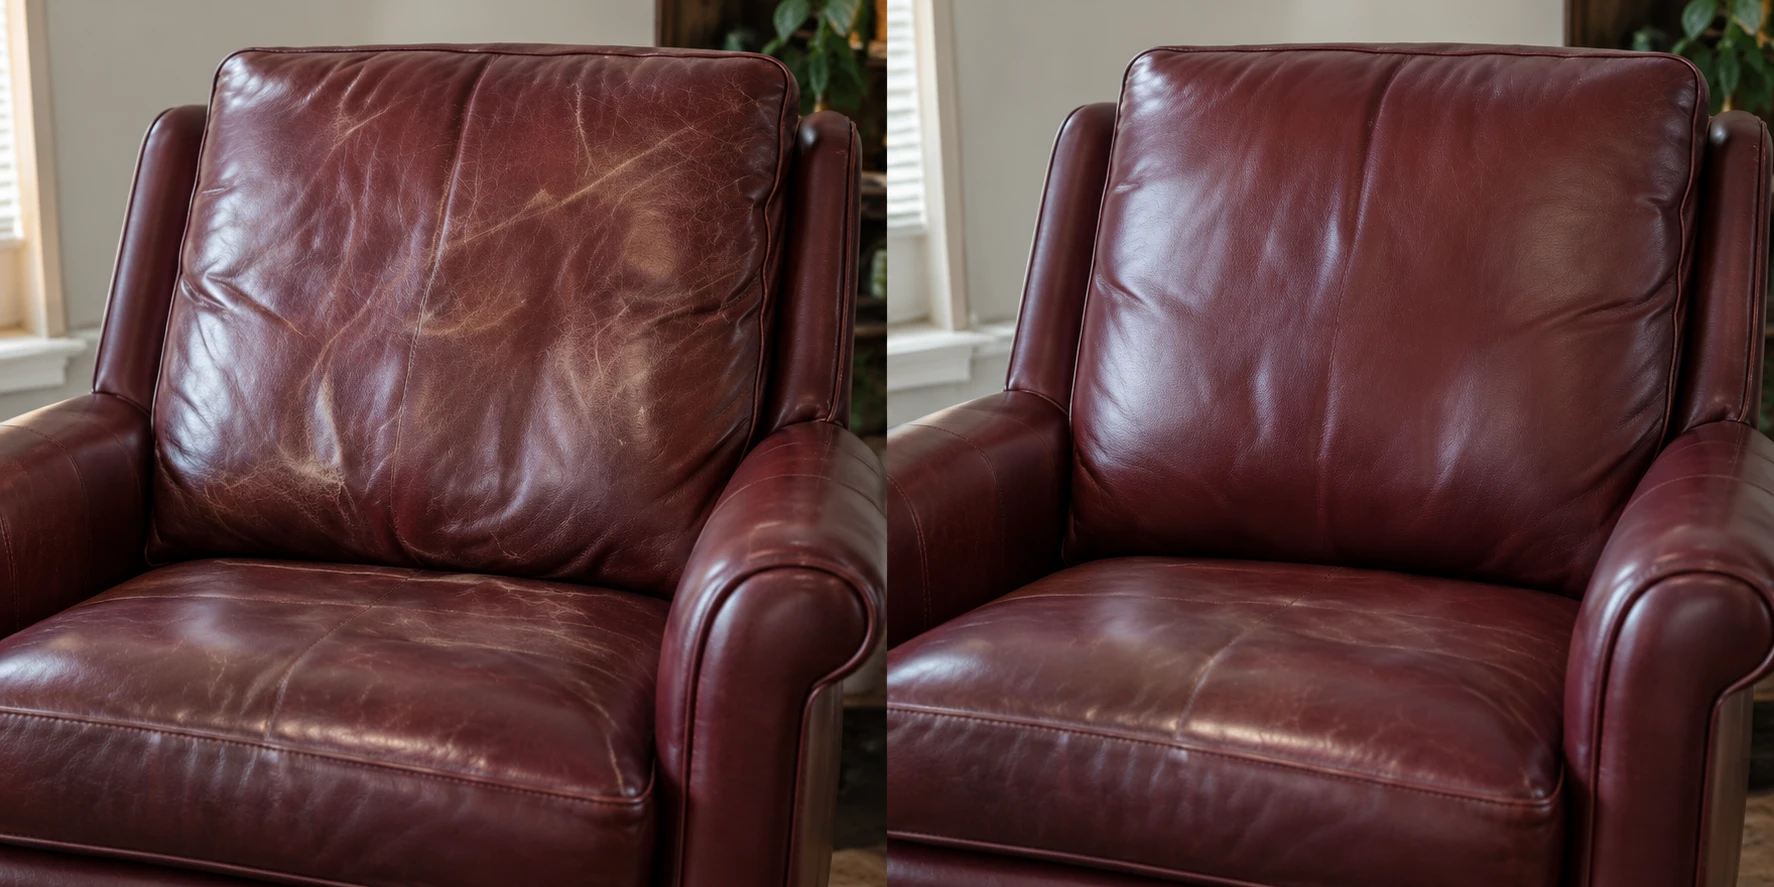
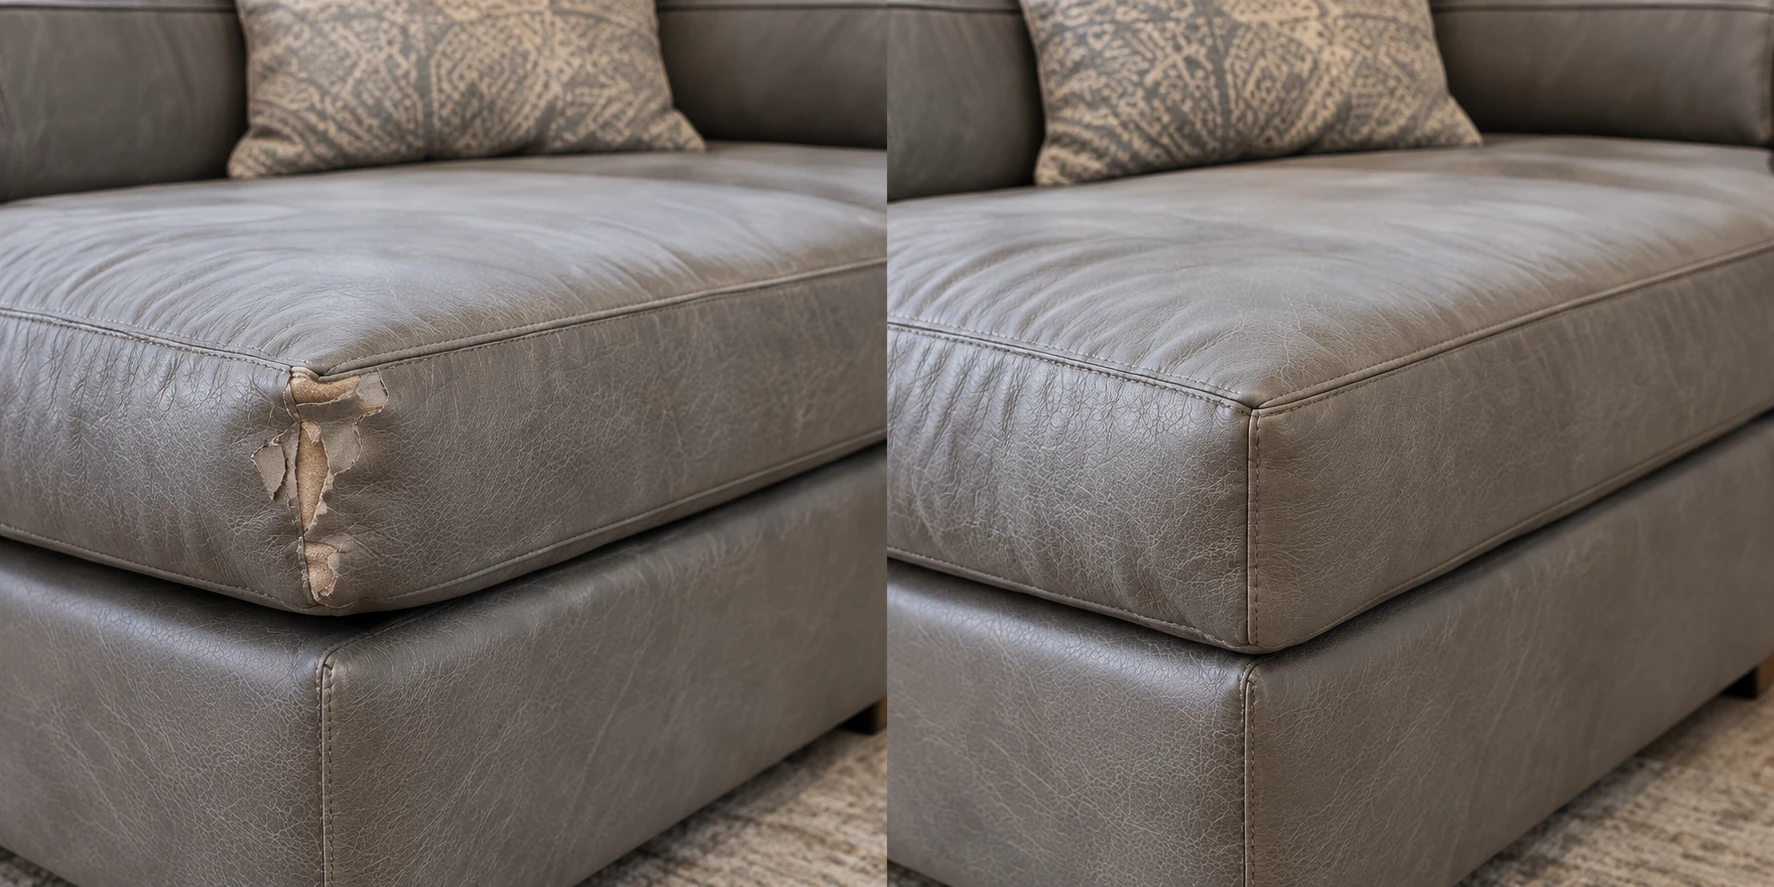
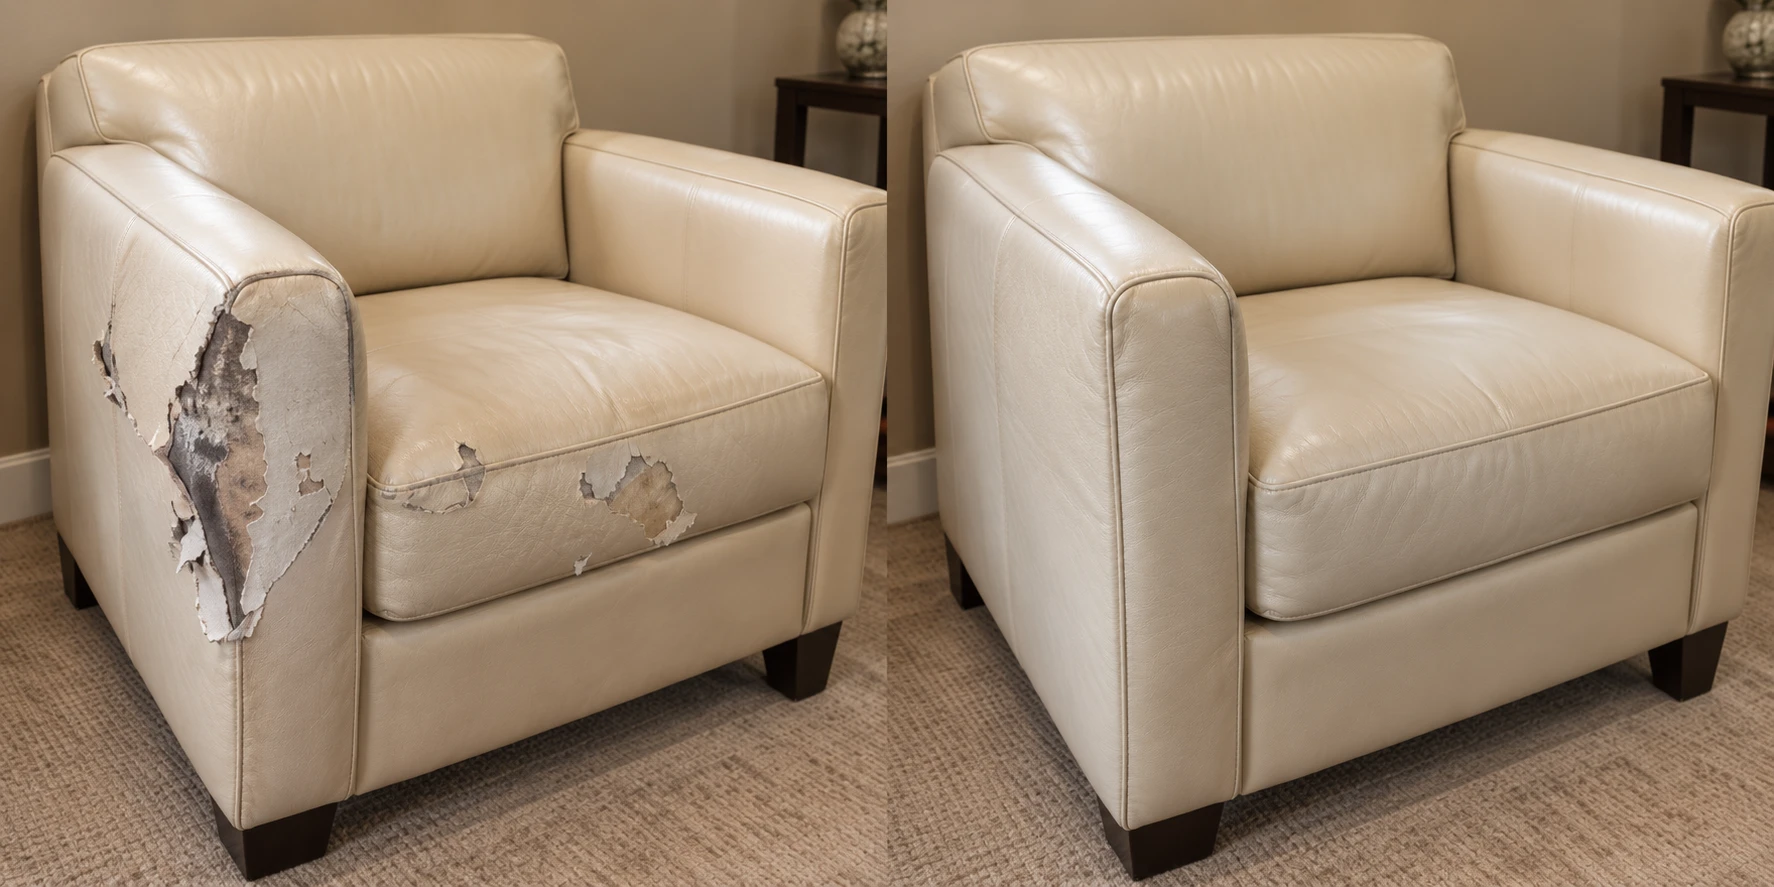
Frames worth keeping, covered from scratch
When the hide has failed everywhere at once, refinishing stops making sense. The old cover comes off, springs and webbing are checked, and the frame is covered again in new material to its own pattern.

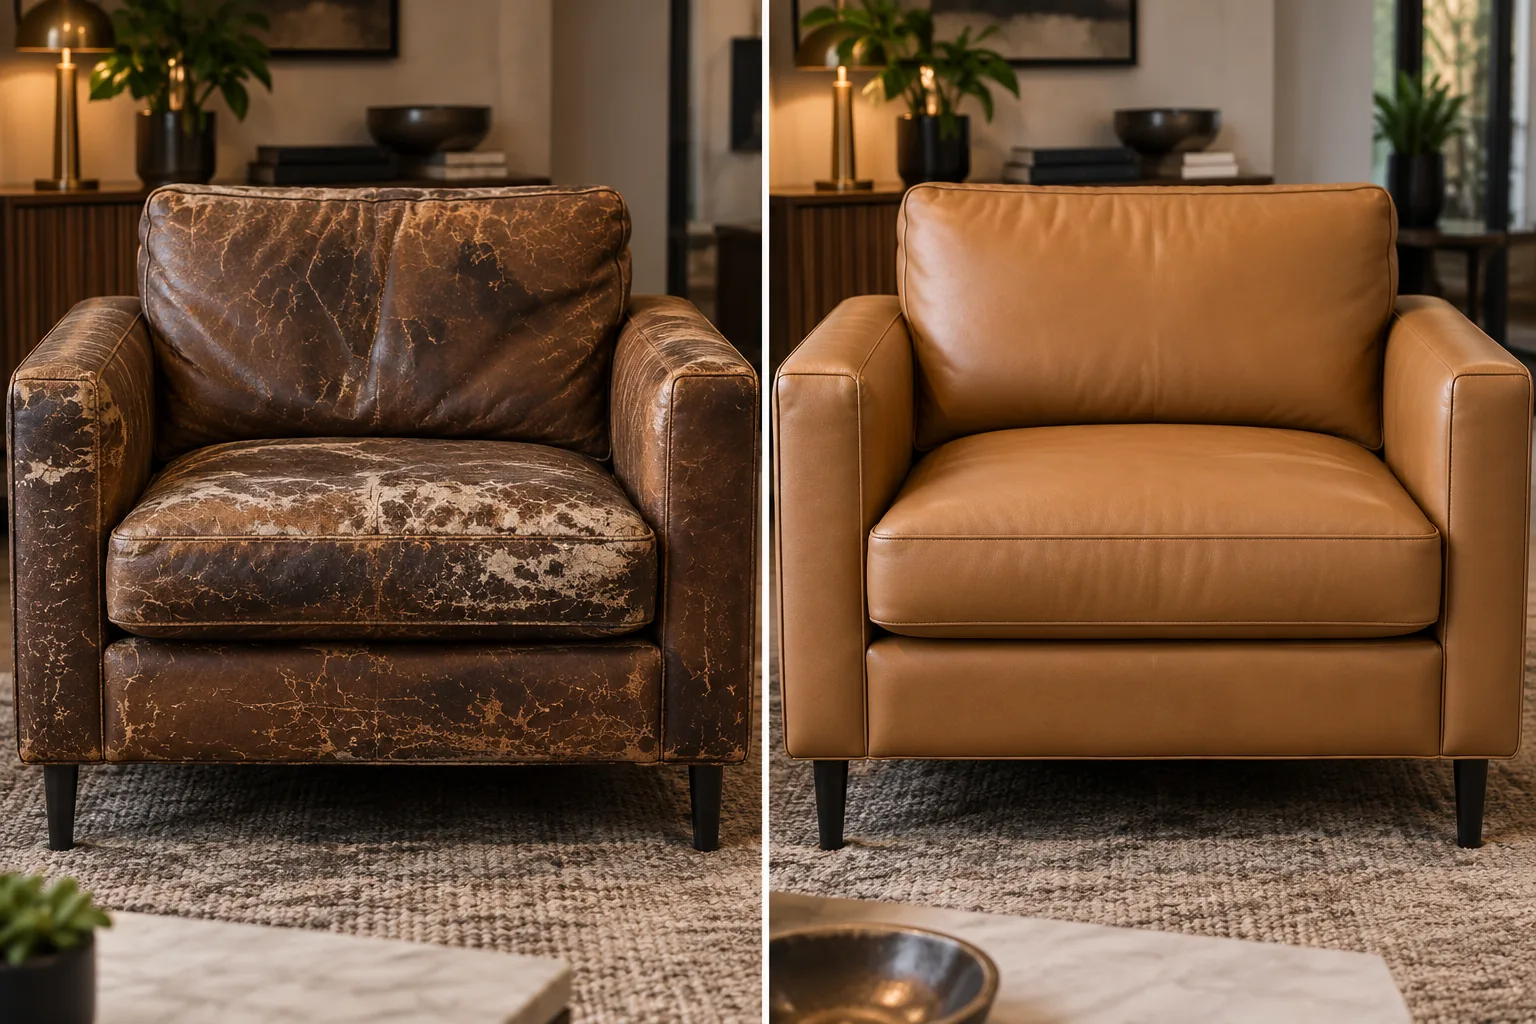
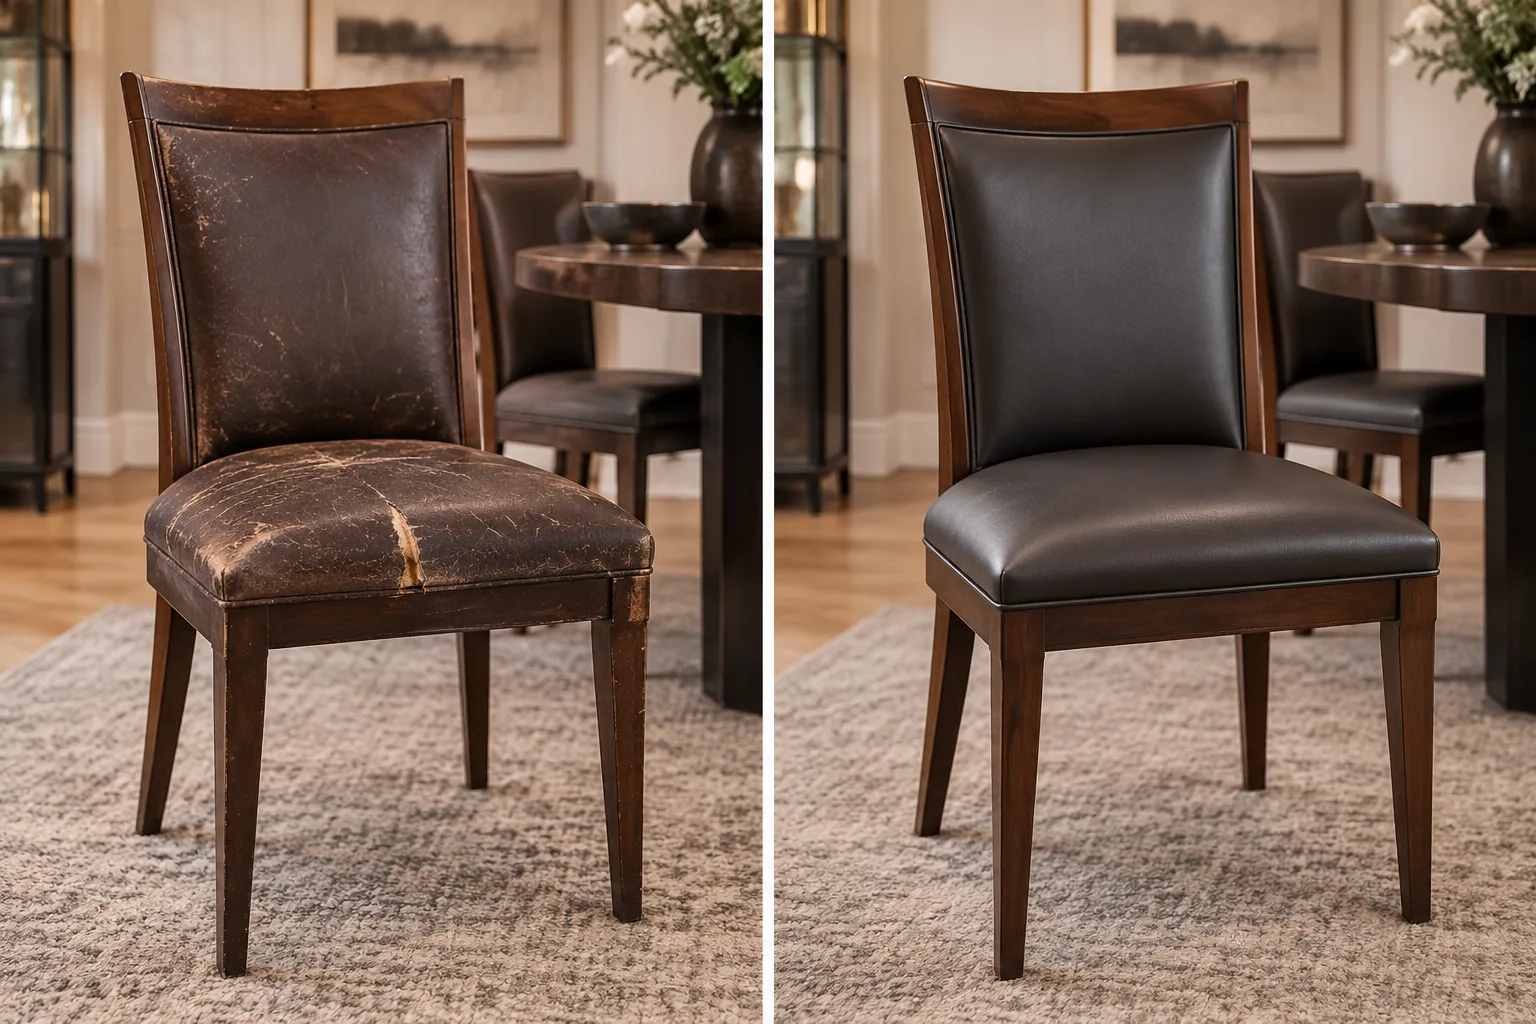
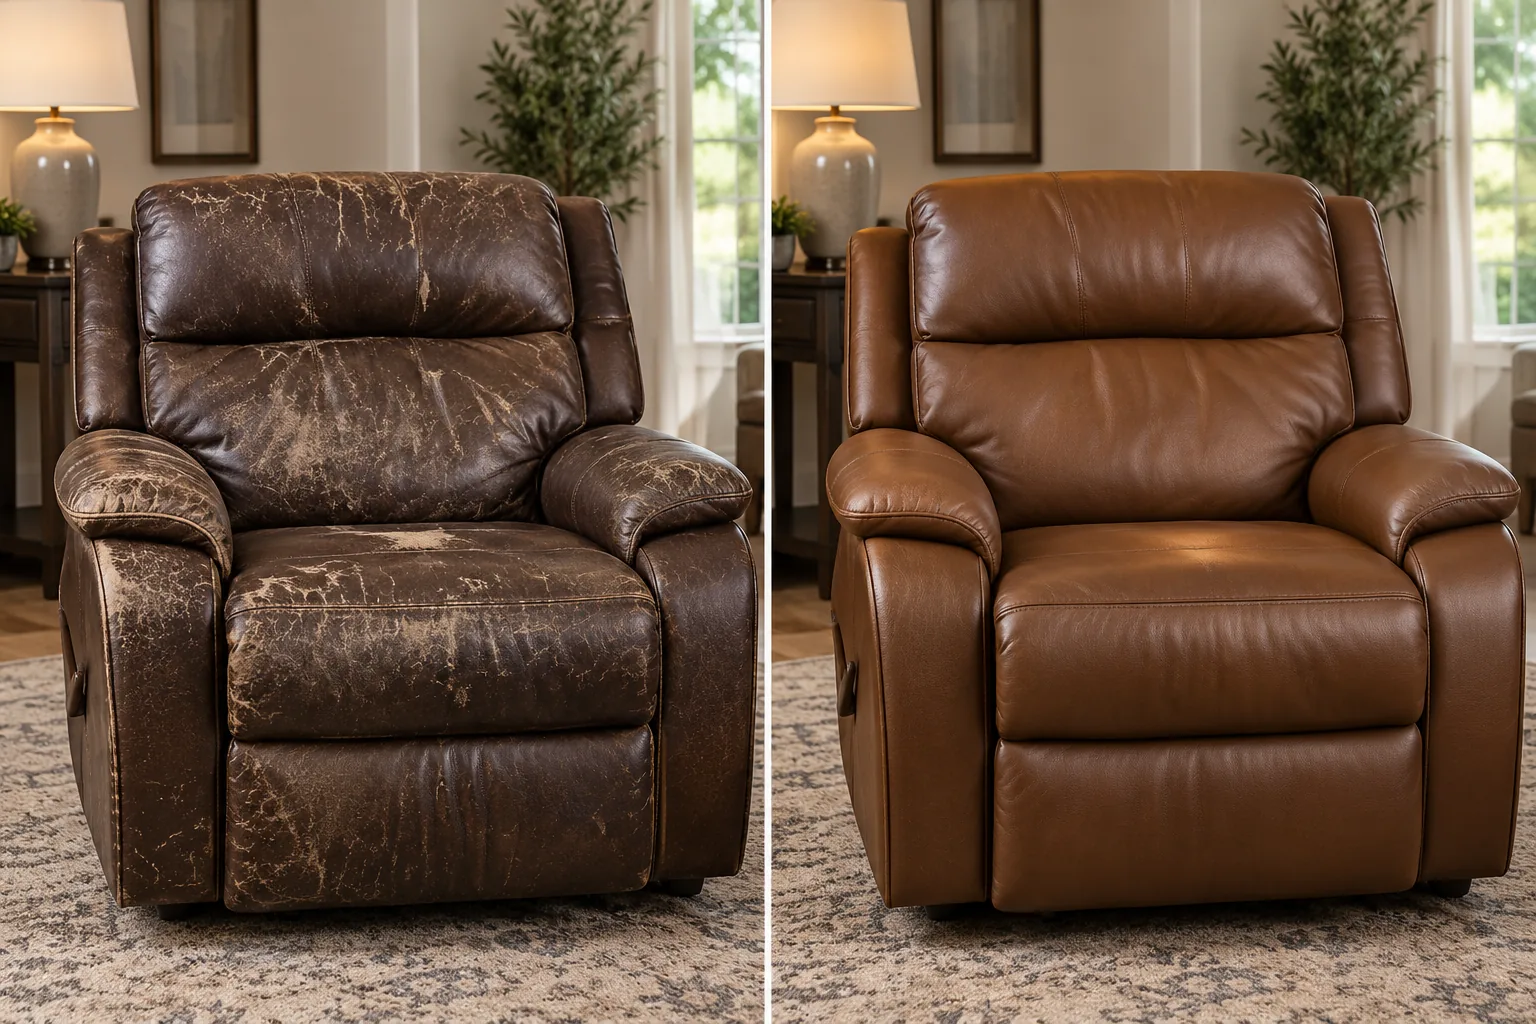
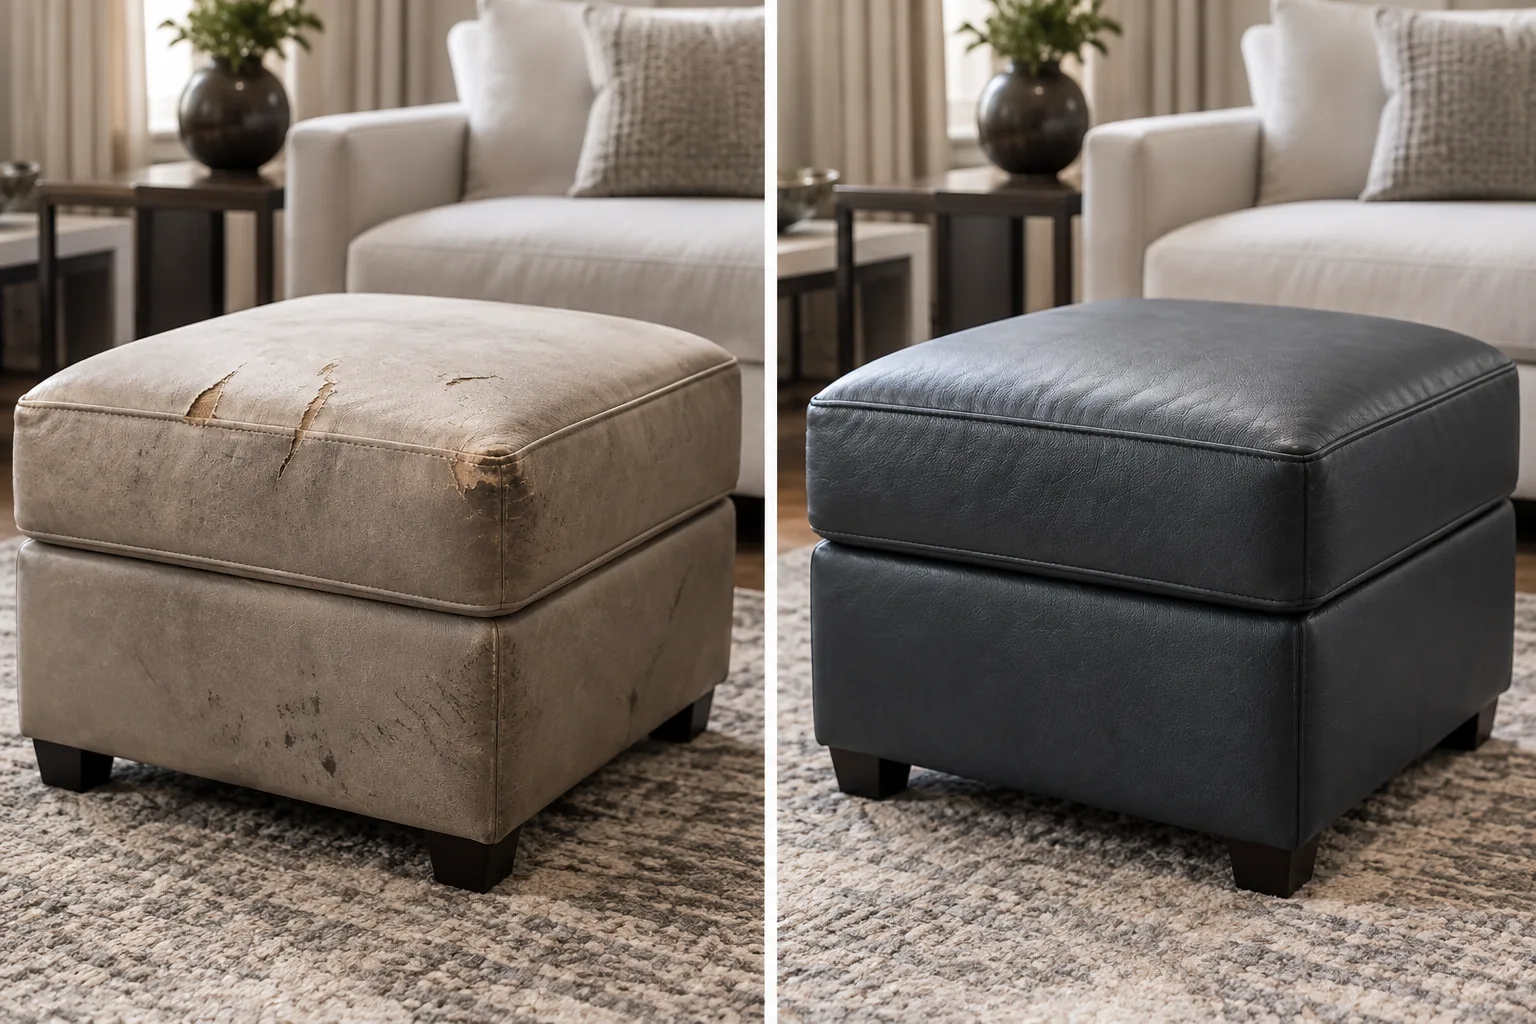
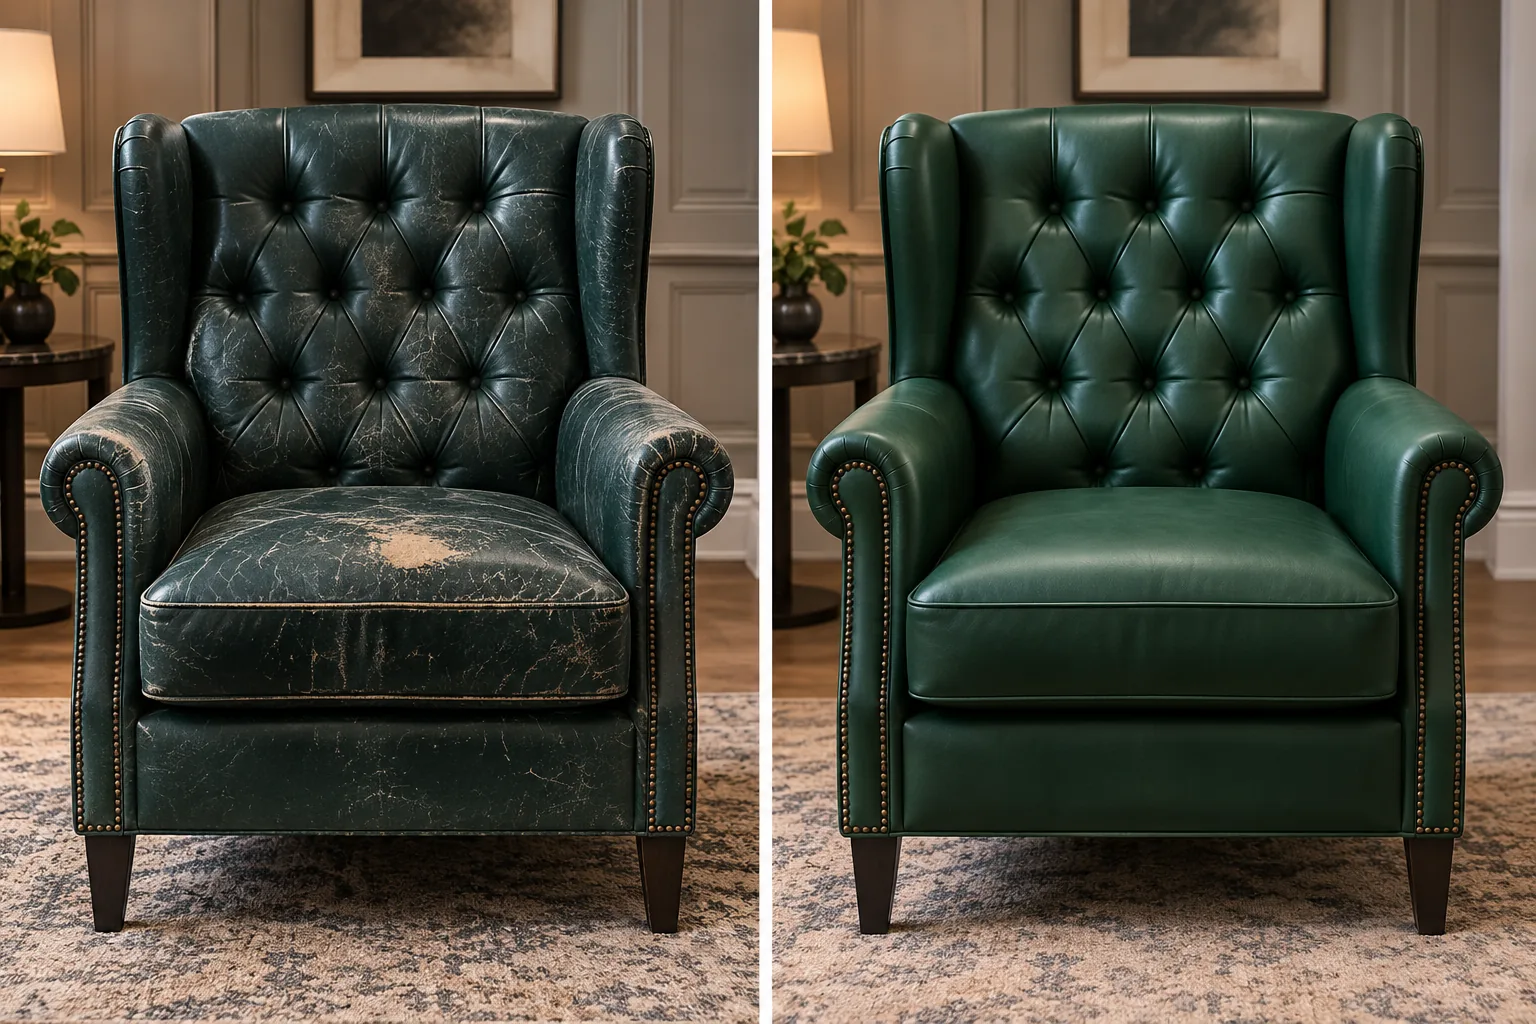
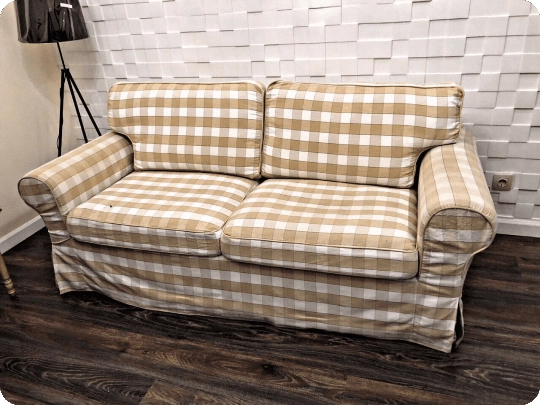
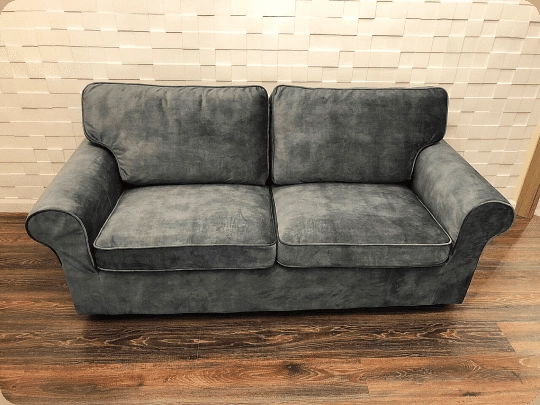
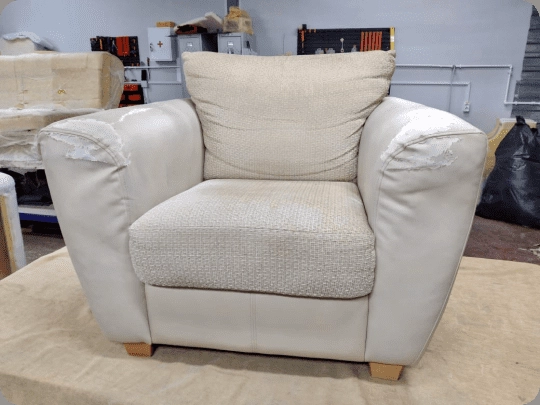
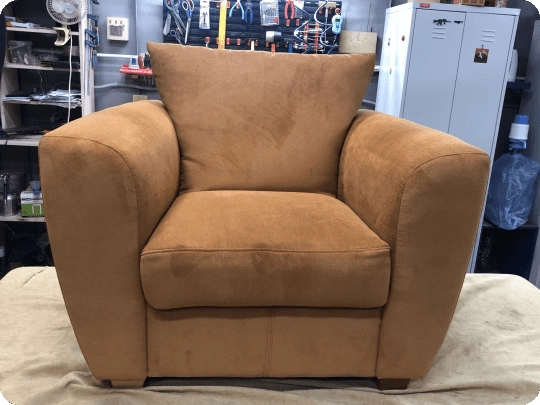
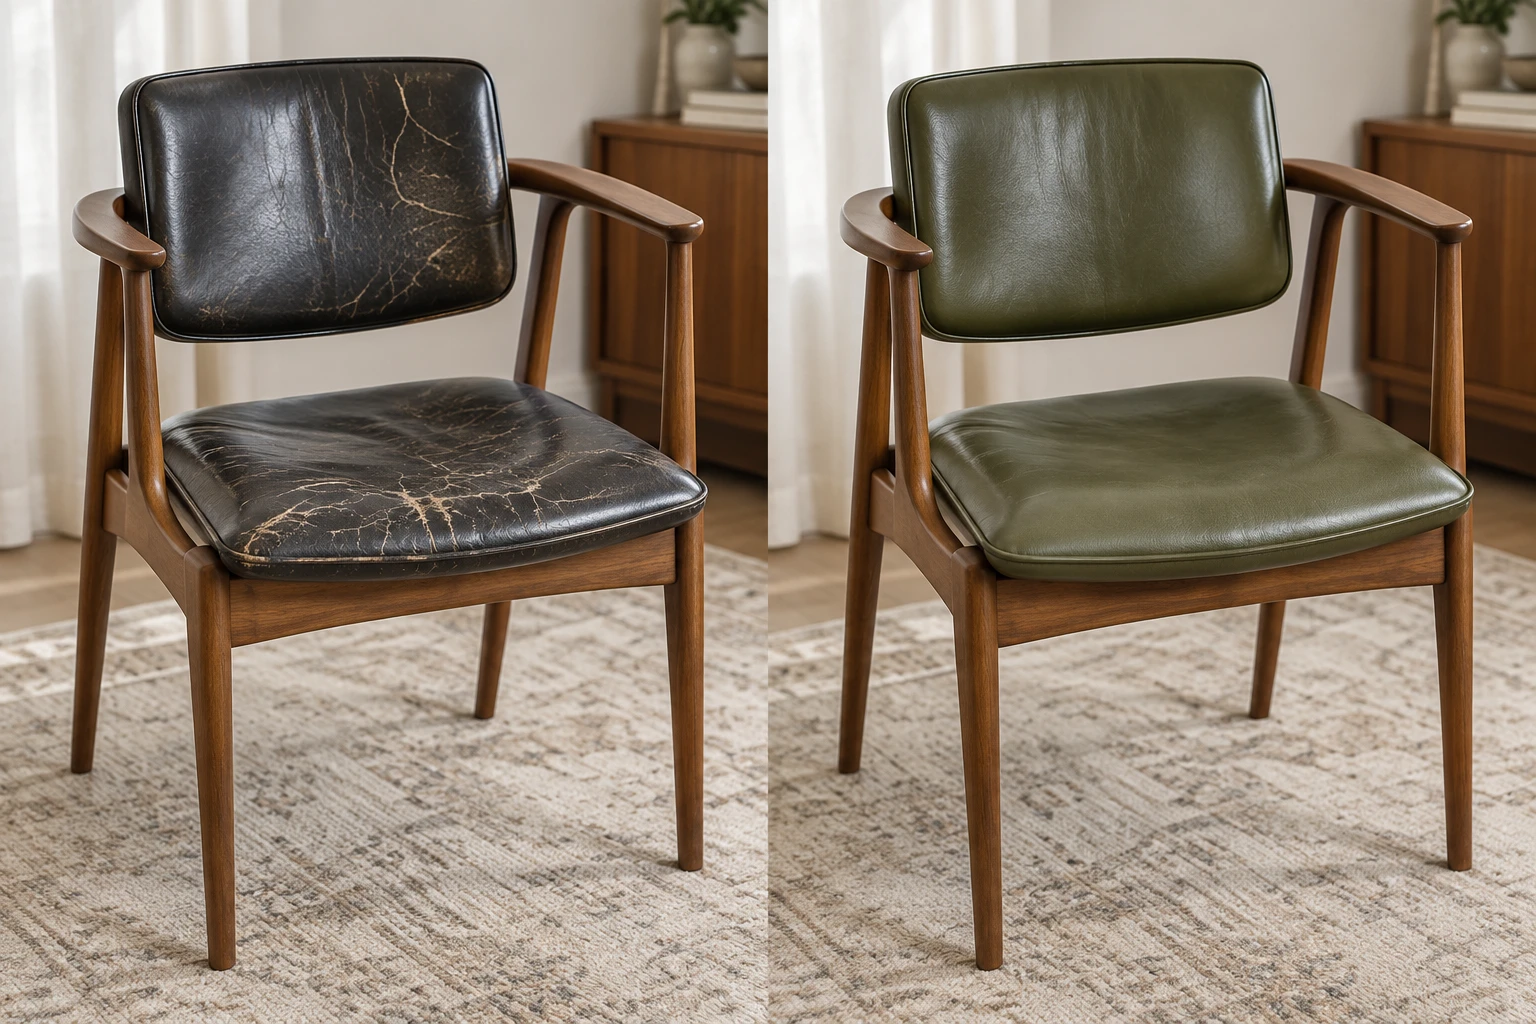
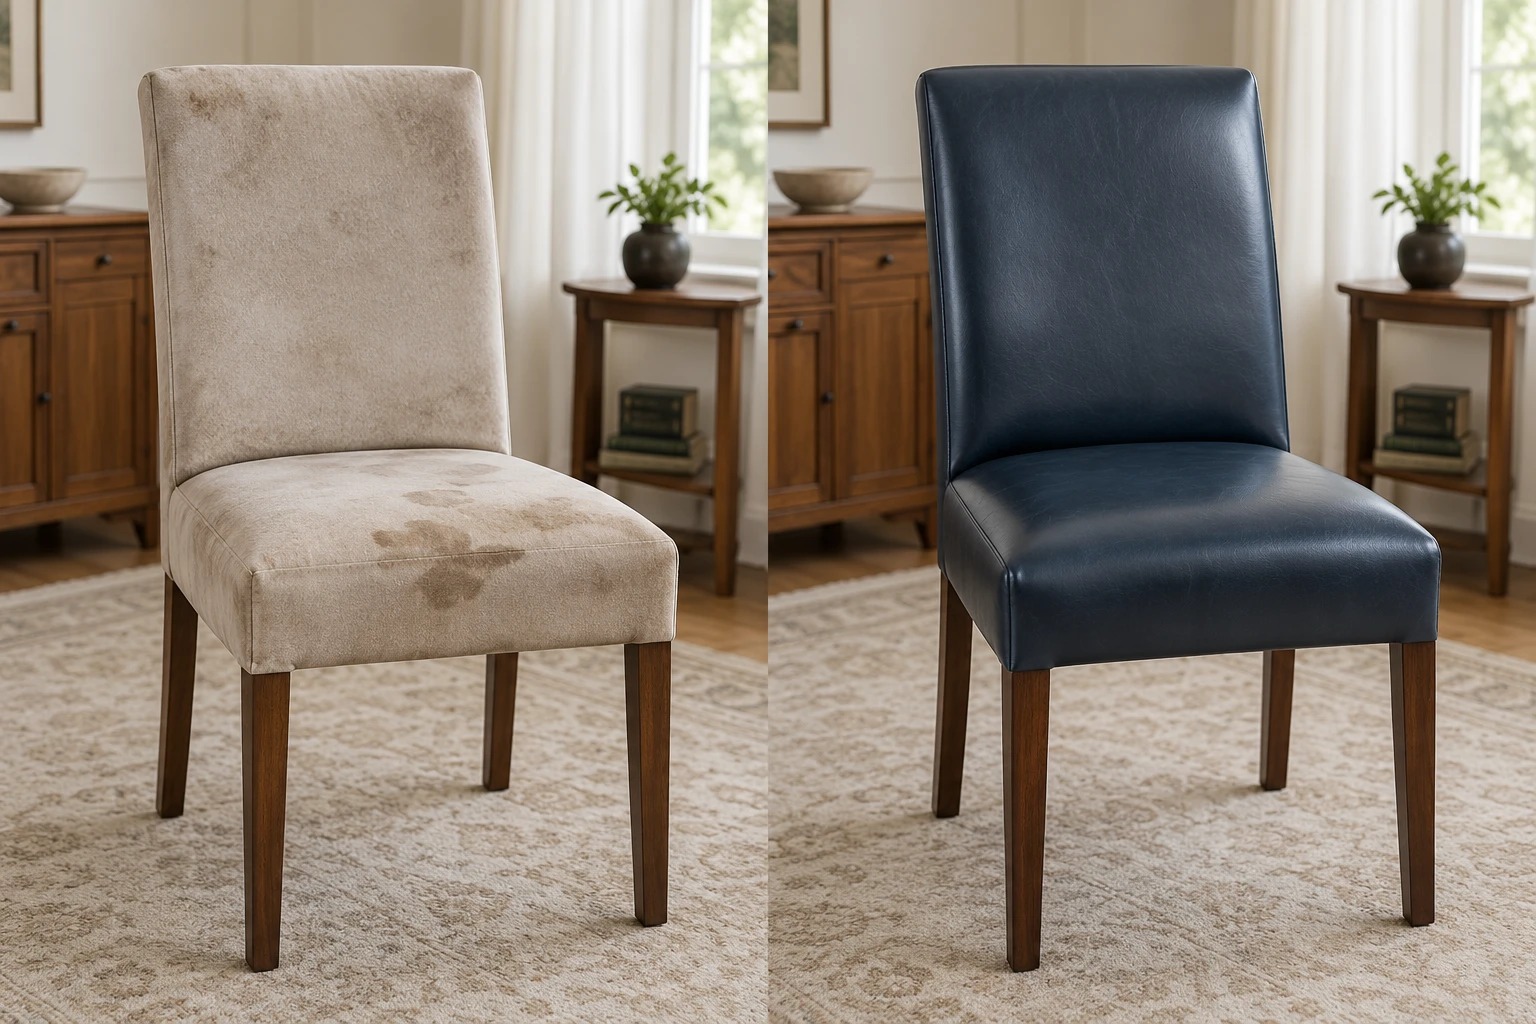
Six jobs from customers' own homes and the workshop bench, each shot before and after from the same spot. A leather repair before and after does not always end in leather: where the hide had gone past saving the frame was covered again in fabric, and the captions below say so.
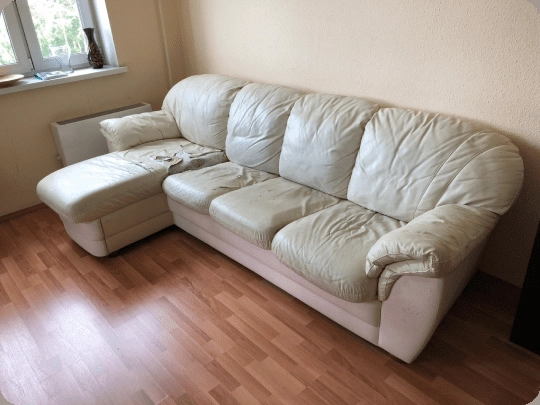
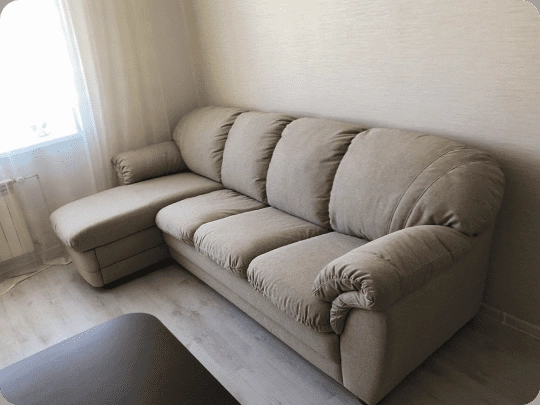
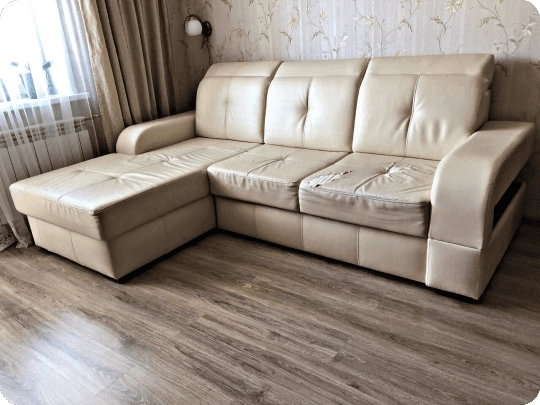
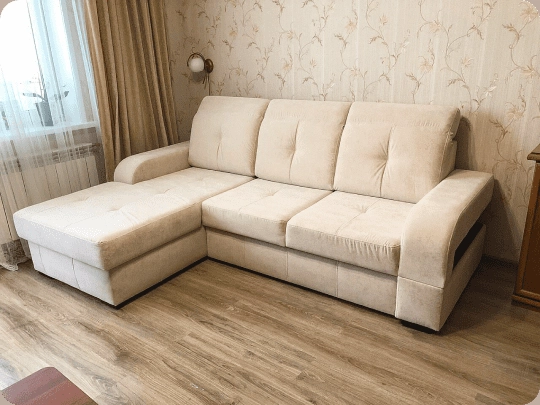
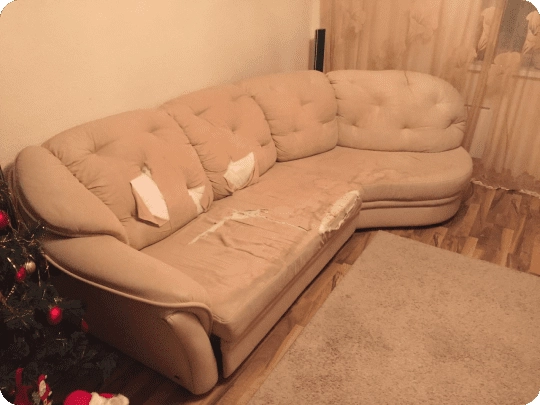
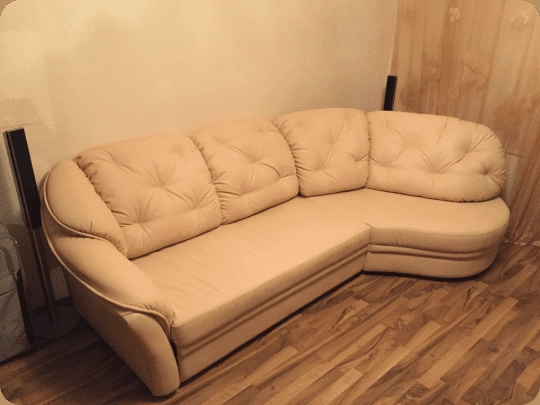
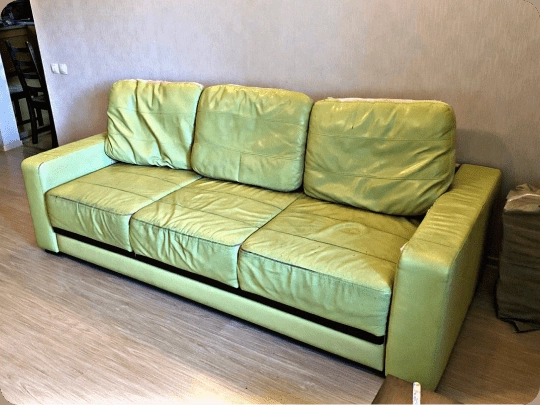
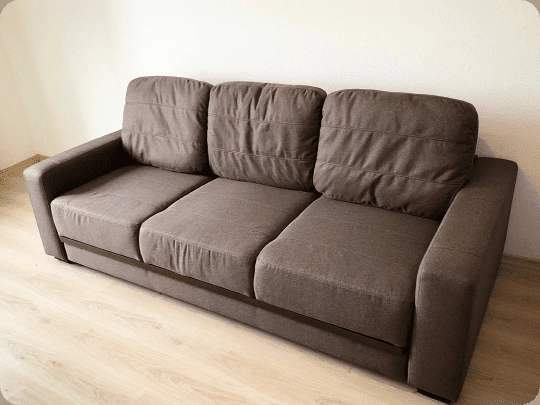
Leather repair before and after, done in the home
Home pieces are worked on where they stand. Furniture is masked, the room is protected, and the finish is built up in thin coats so it dries between passes. Each leather repair before and after here shows the whole piece rather than a close-up, so you can see what the repair looks like from across a room.
Restaurants, hotels and offices, worked around opening hours
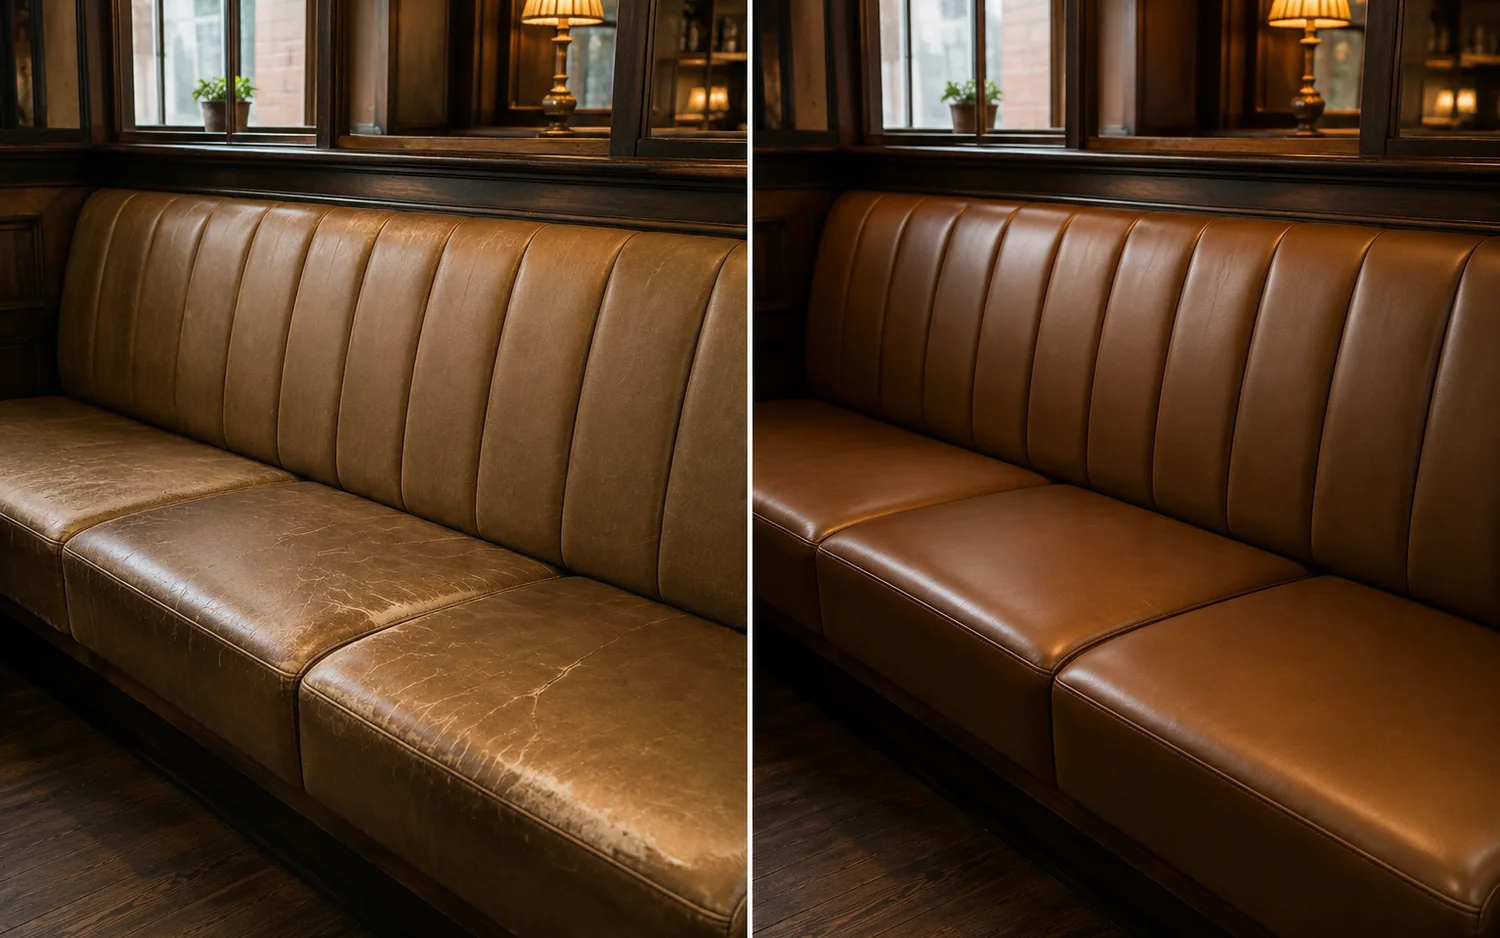
Contract seating fails faster and it fails in runs, so the unit of work is the room rather than the single chair. Booths and banquettes are done in place overnight; loose chairs and stools go in batches. Every leather repair before and after below is commercial seating in service.
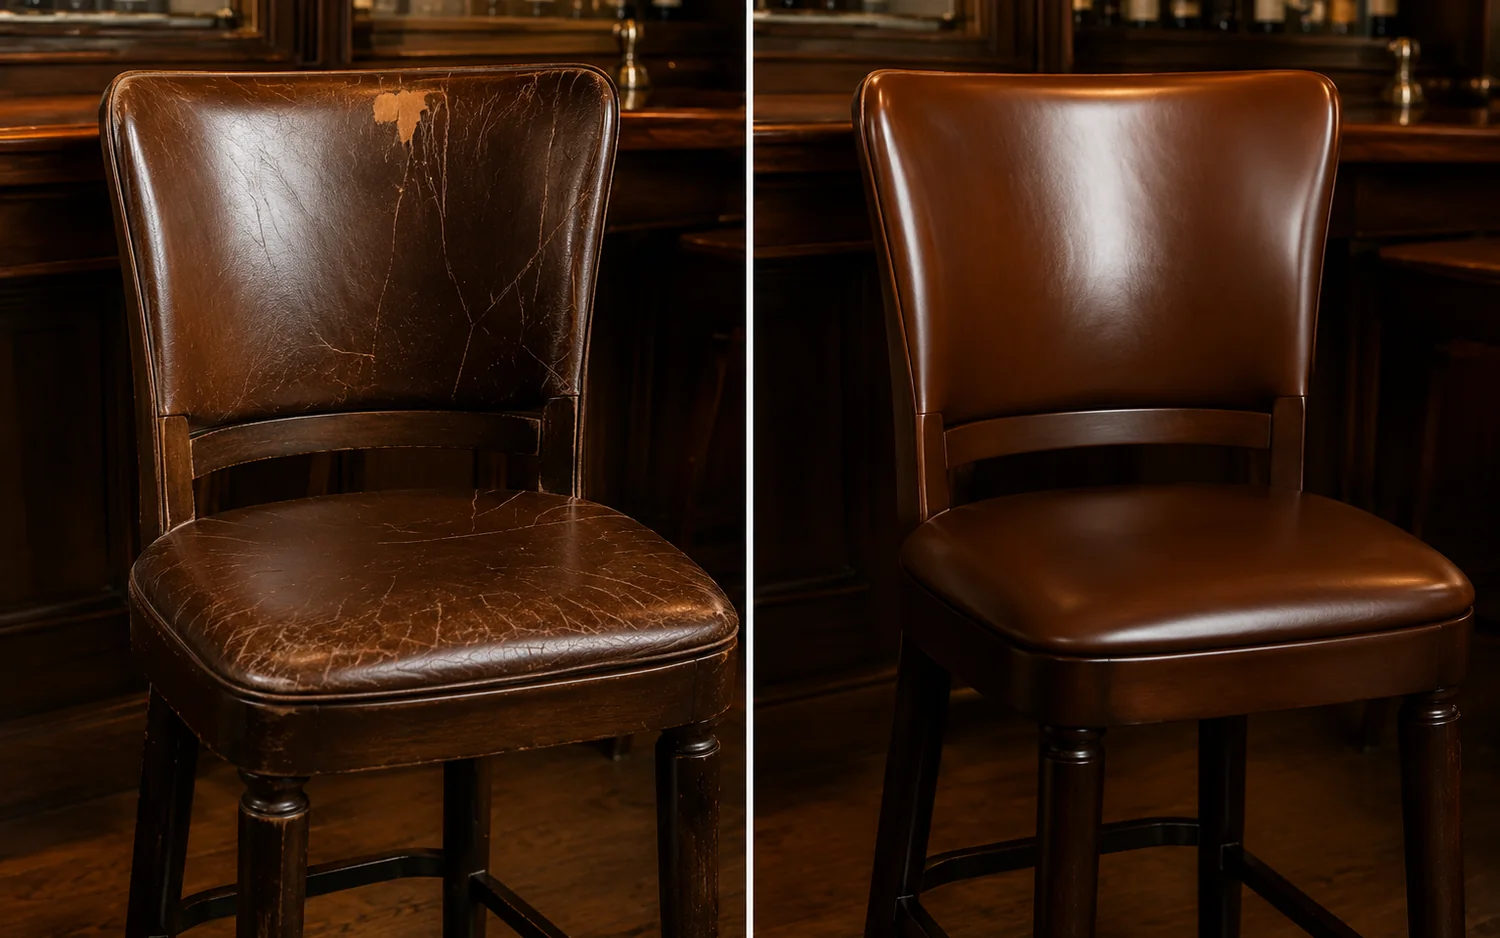
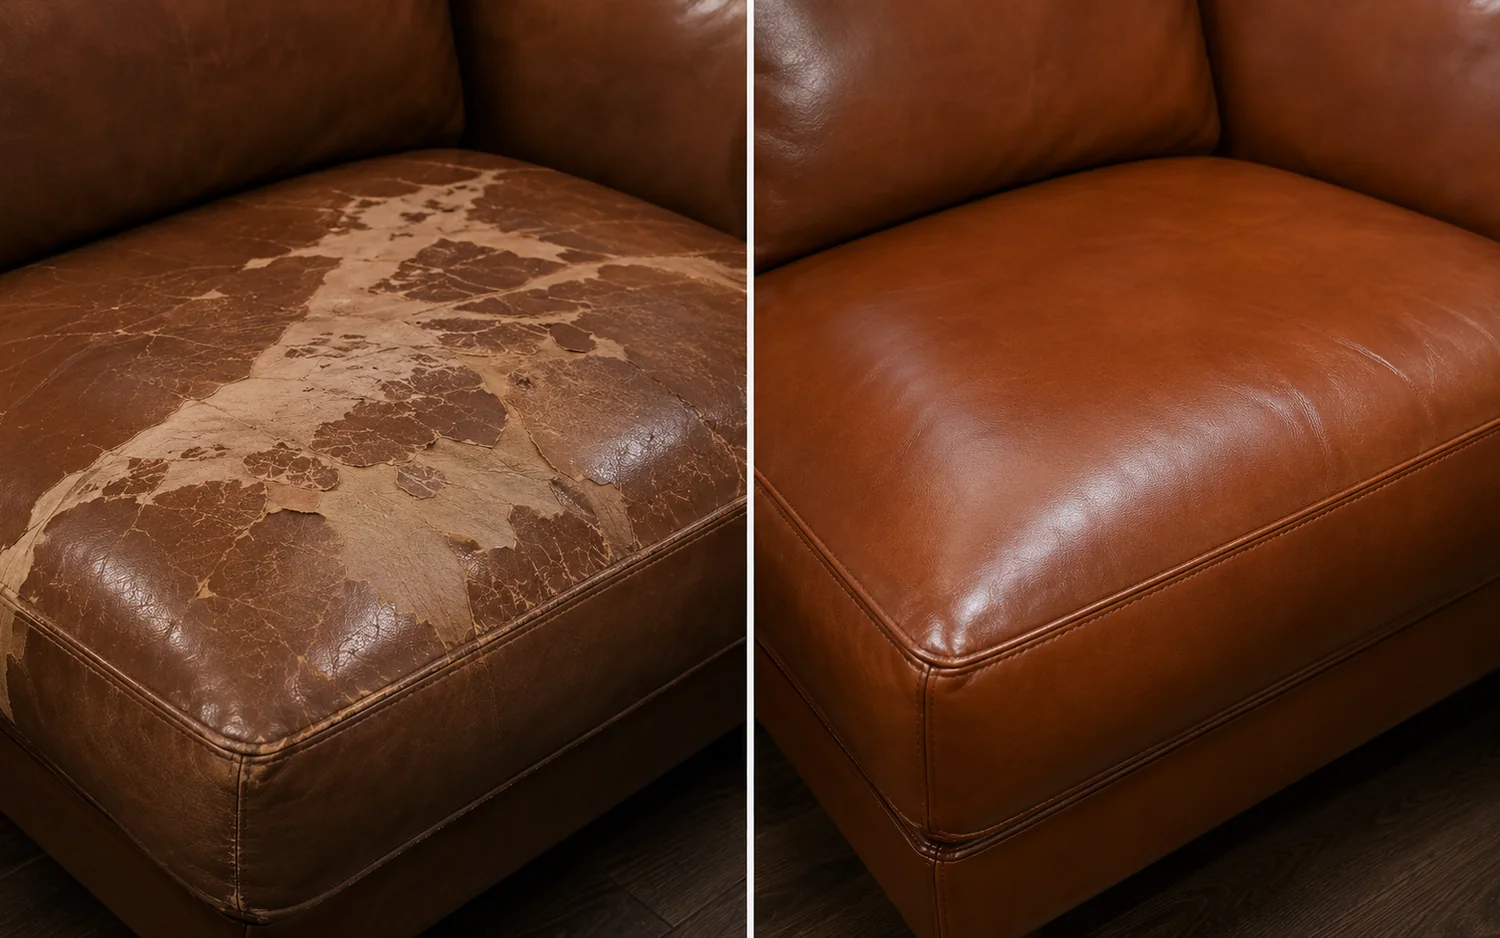
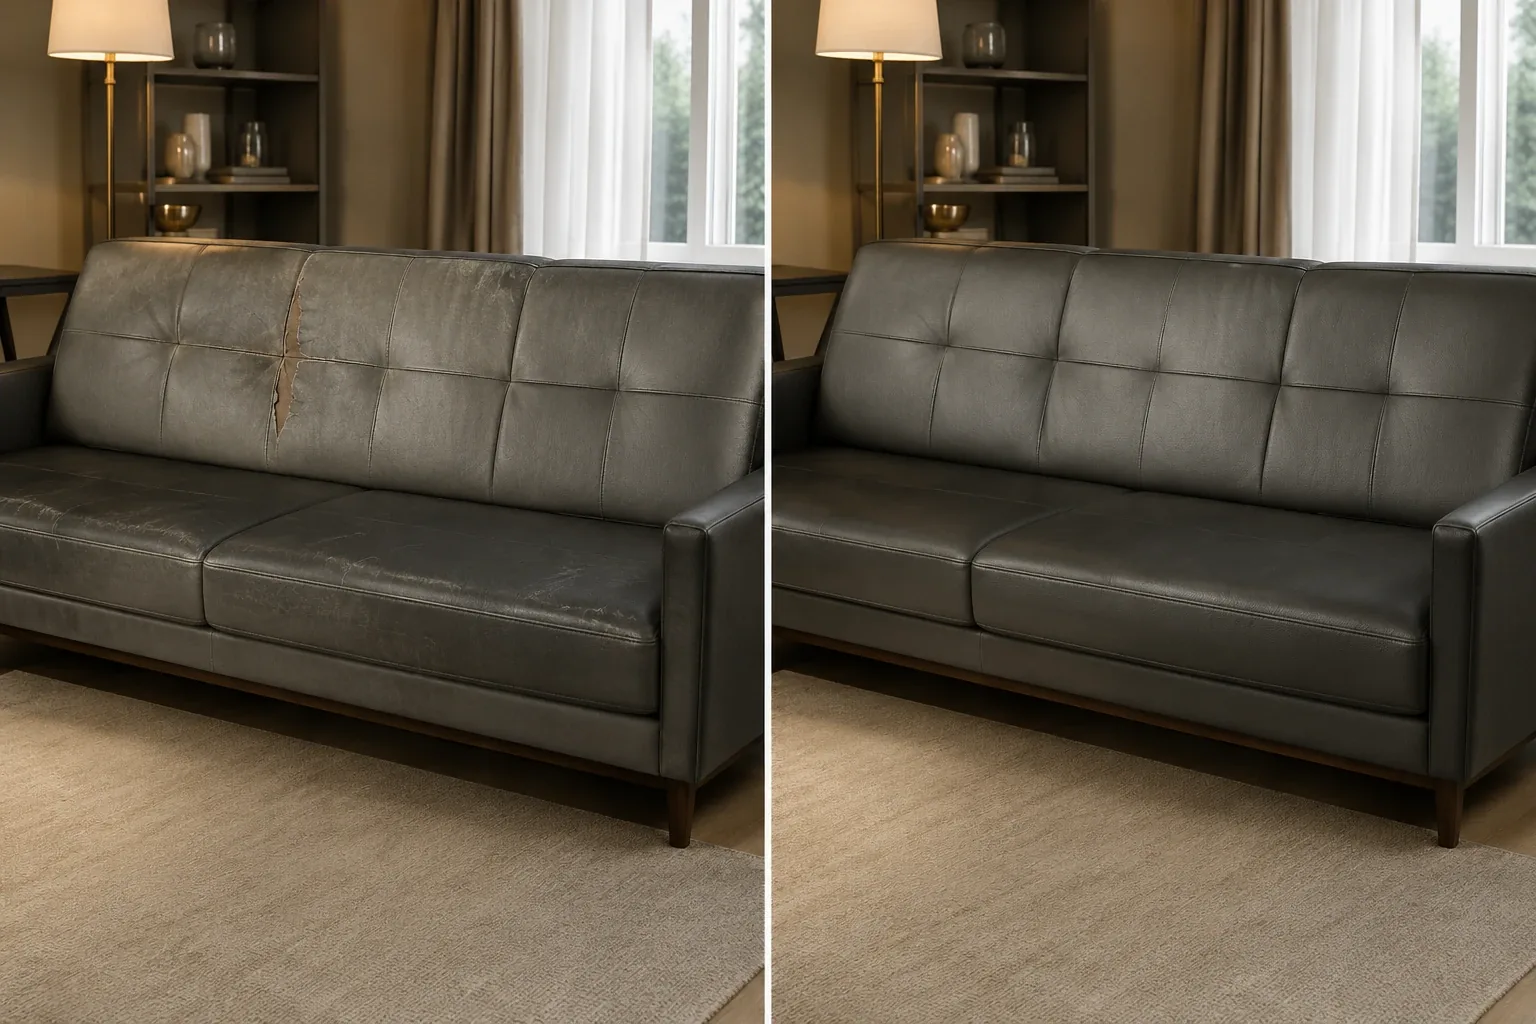
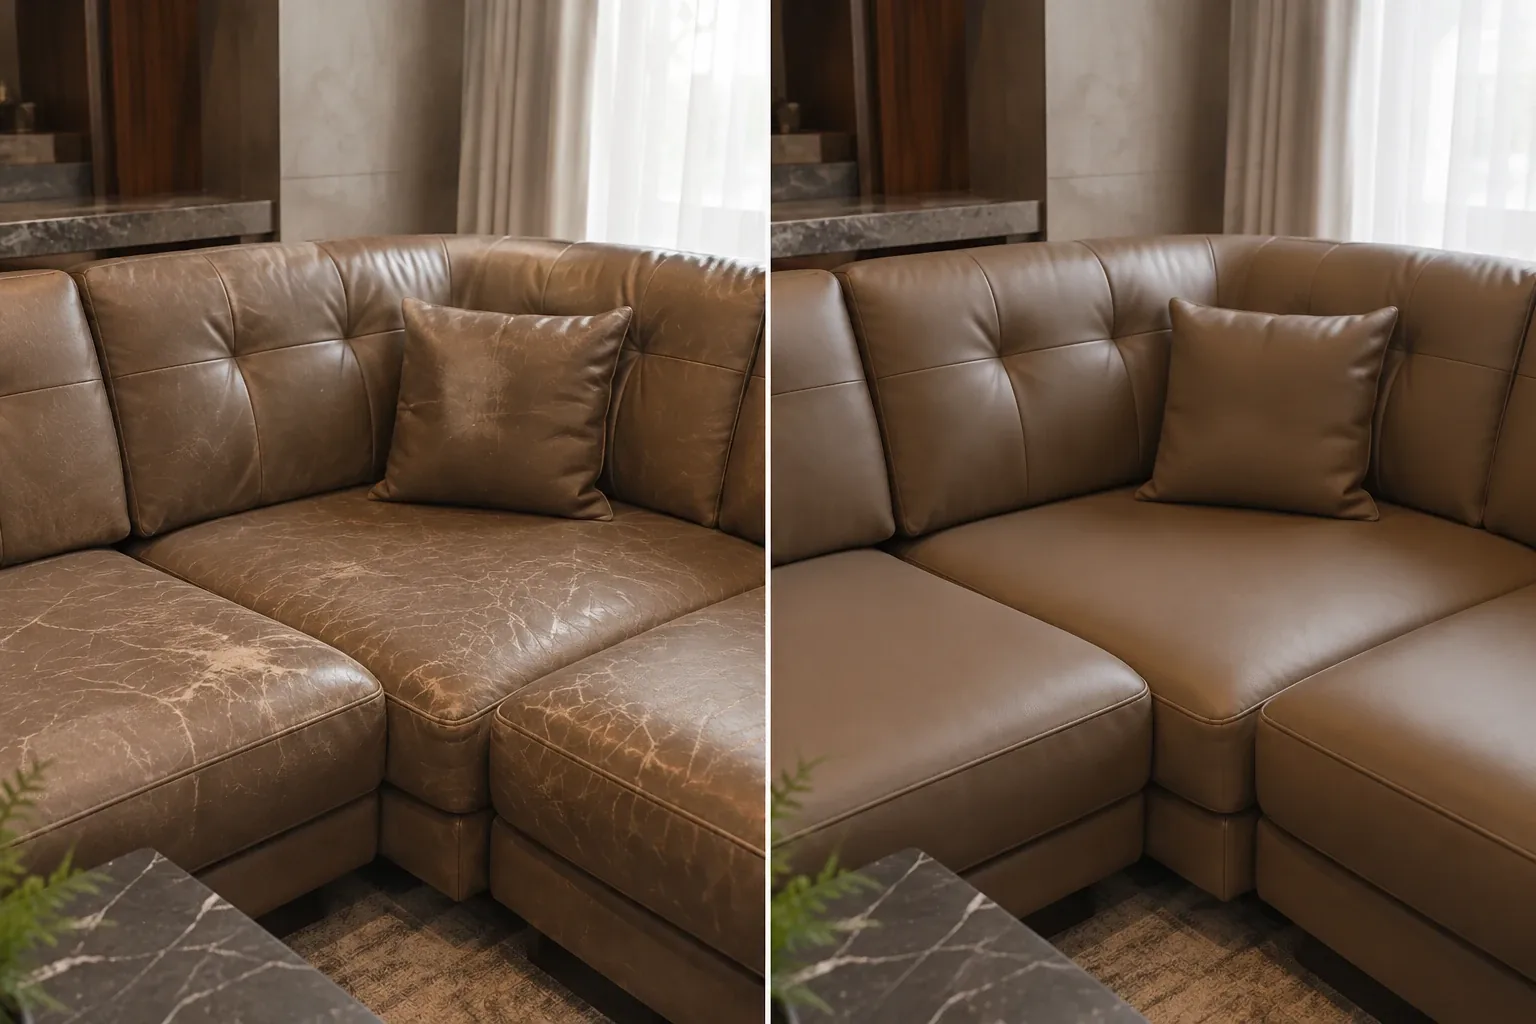
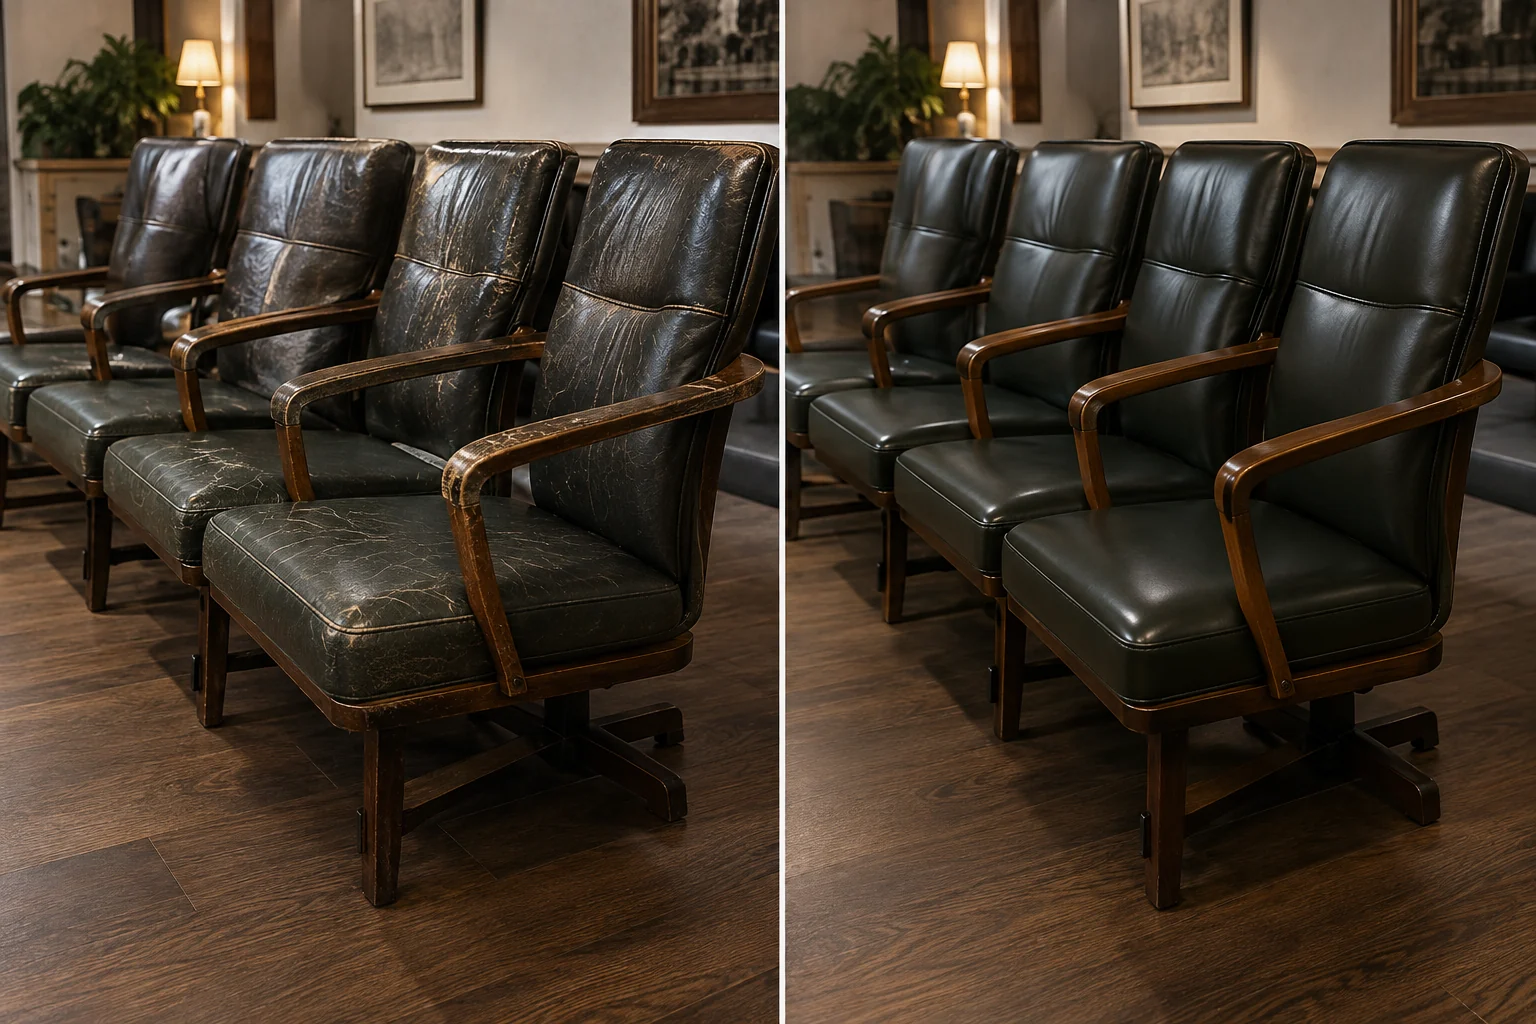
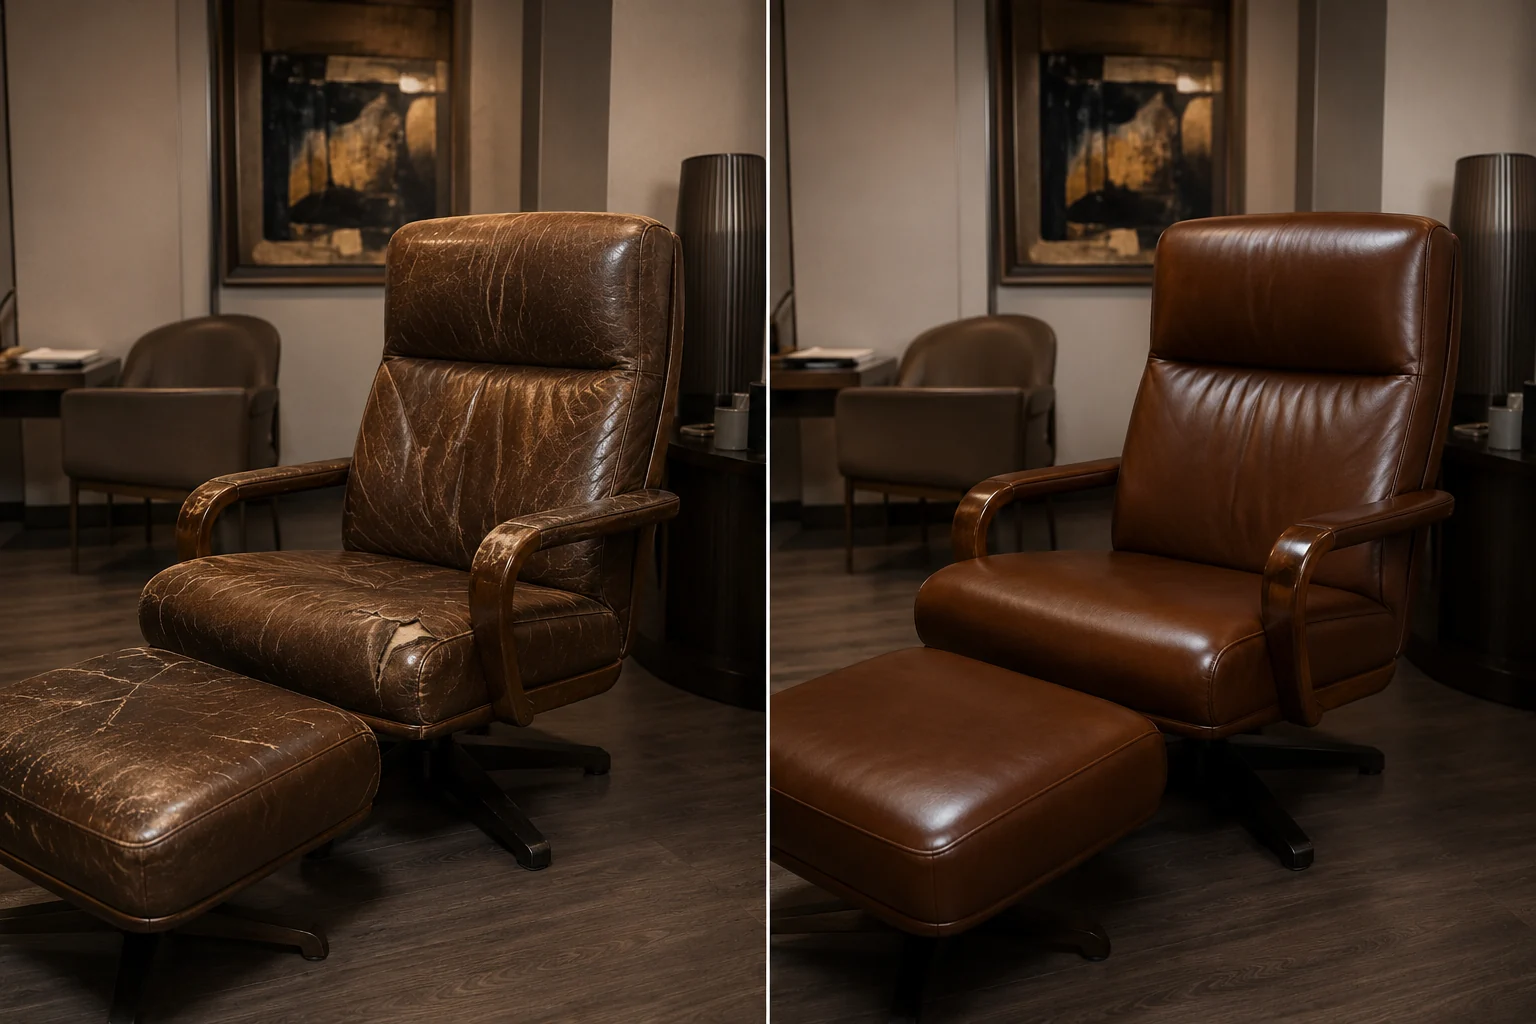
Older frames photographed at the bench
These four came into the workshop rather than being worked on site. Each is shot from the same position before and after, and the caption says only what the photograph shows.
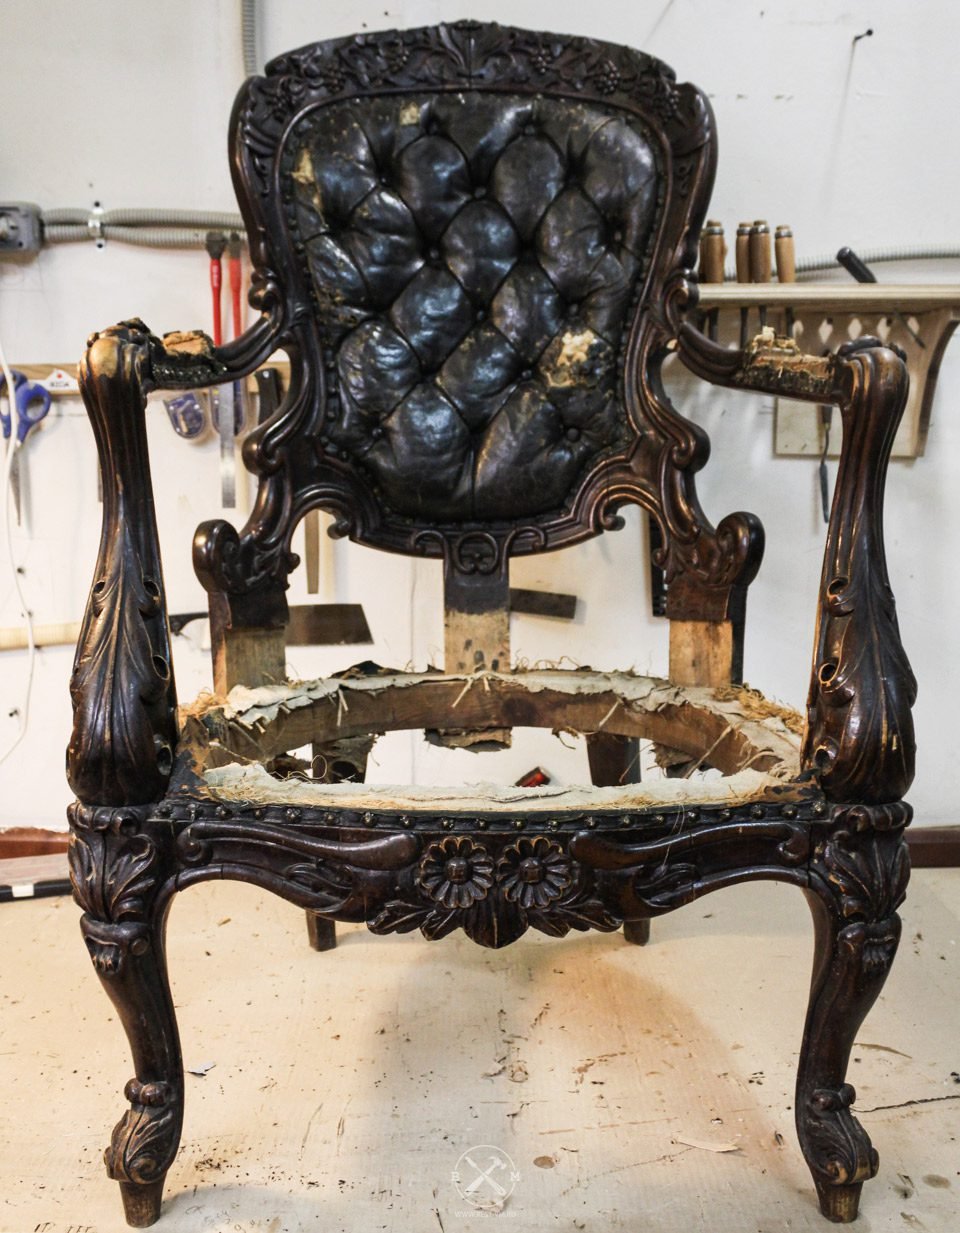

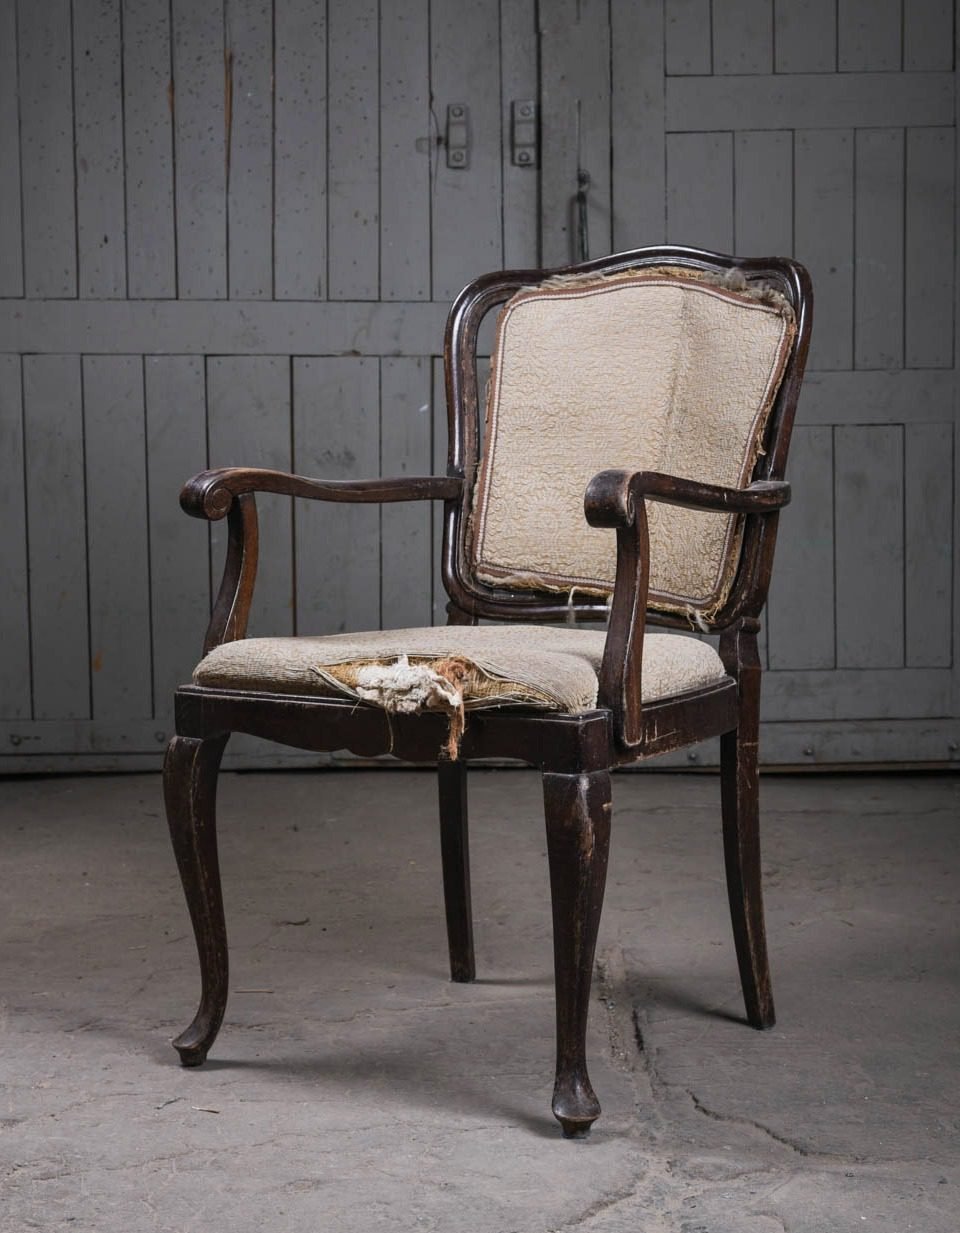
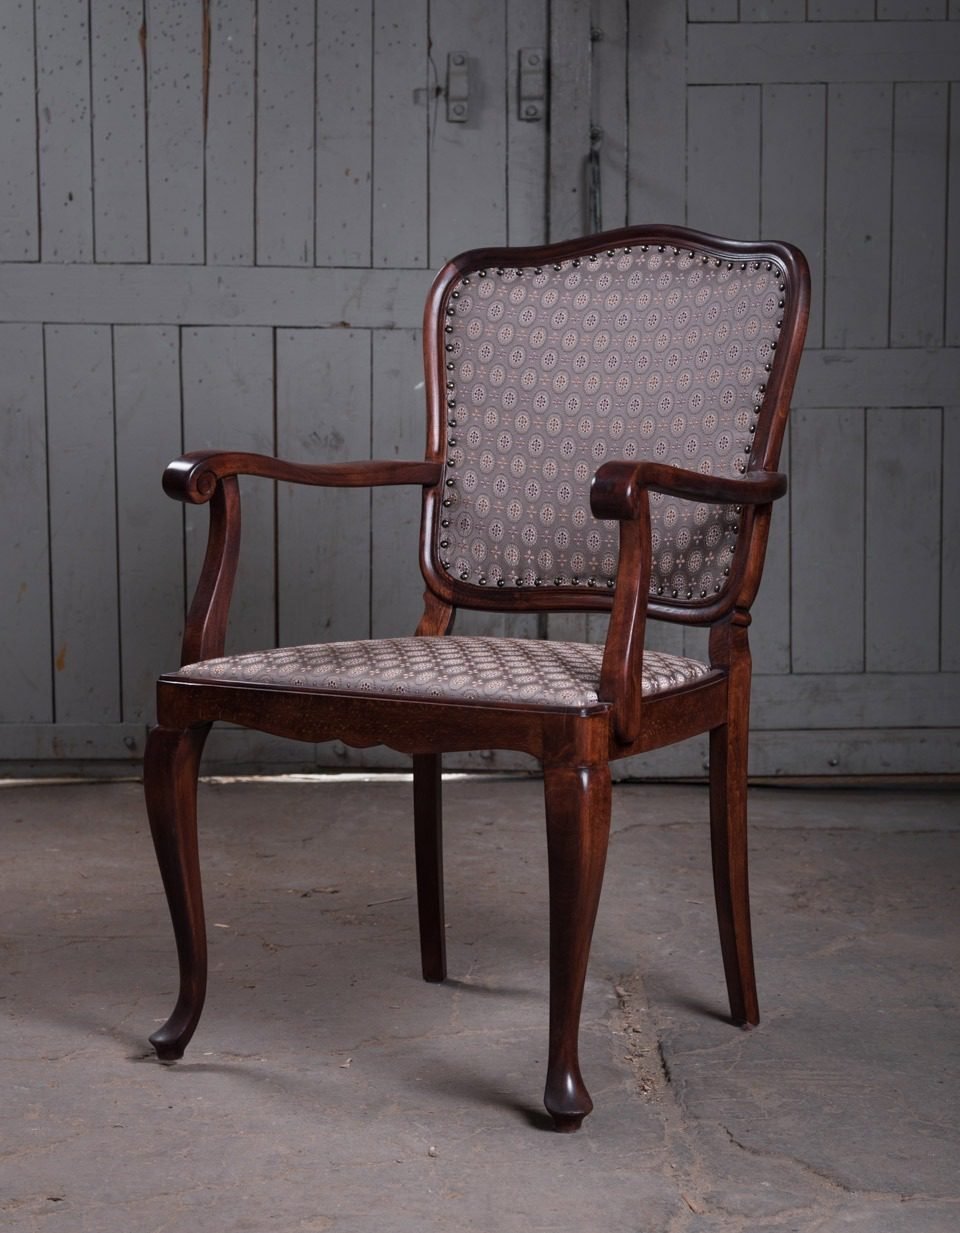
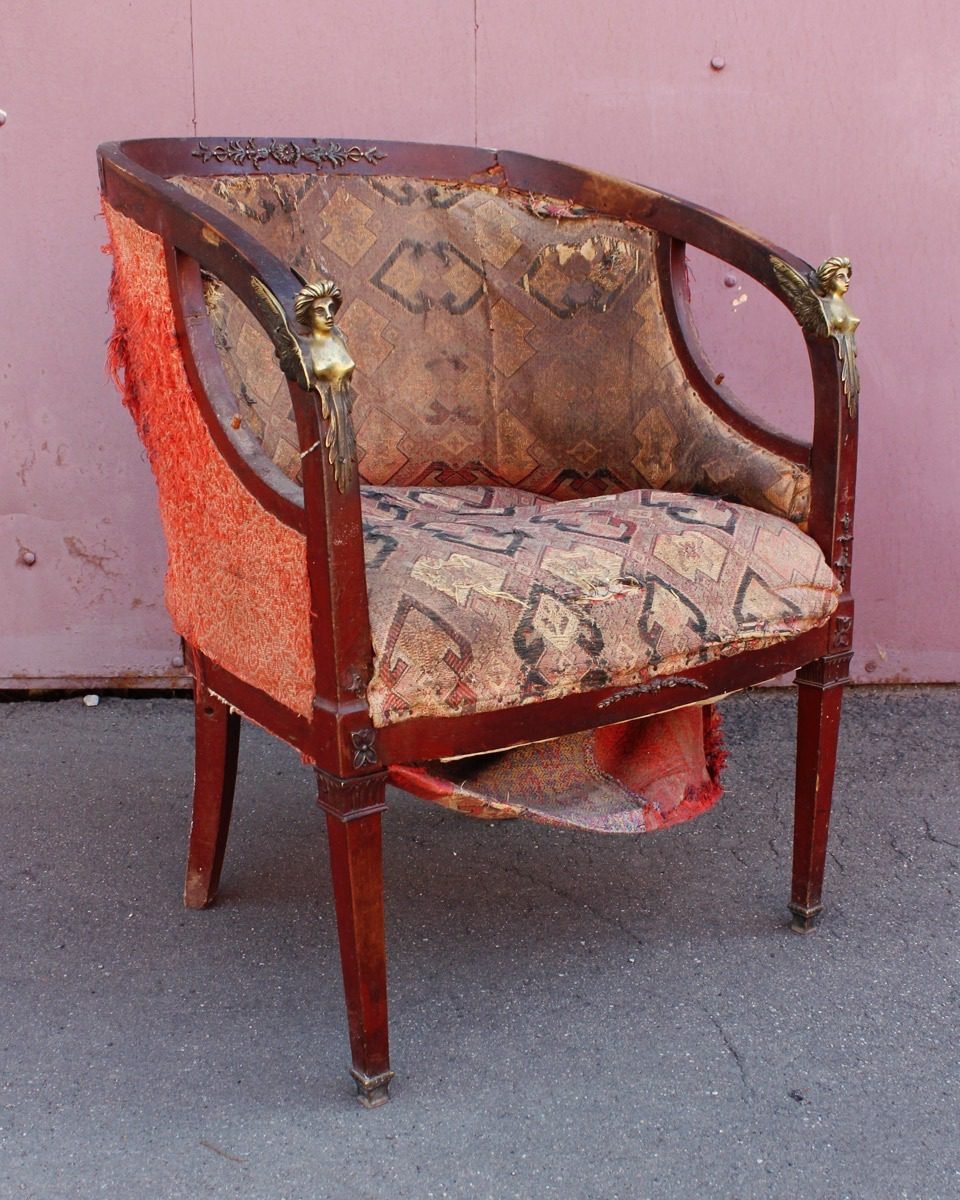
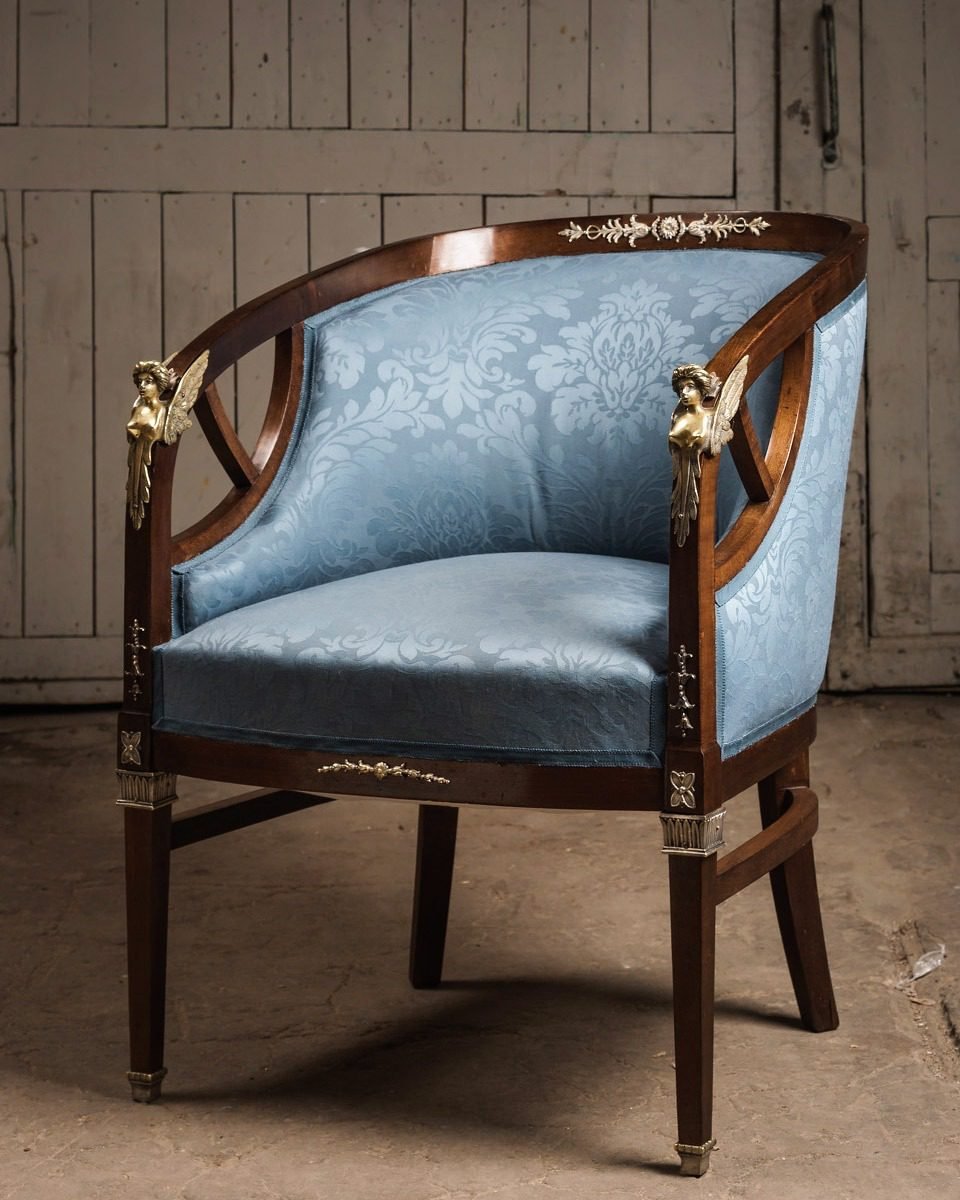
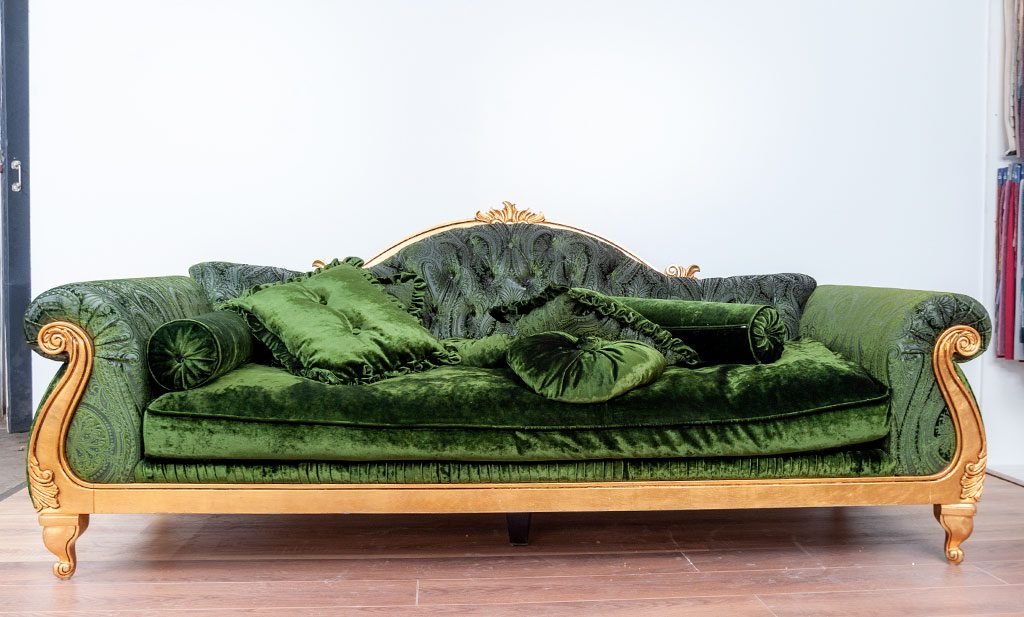
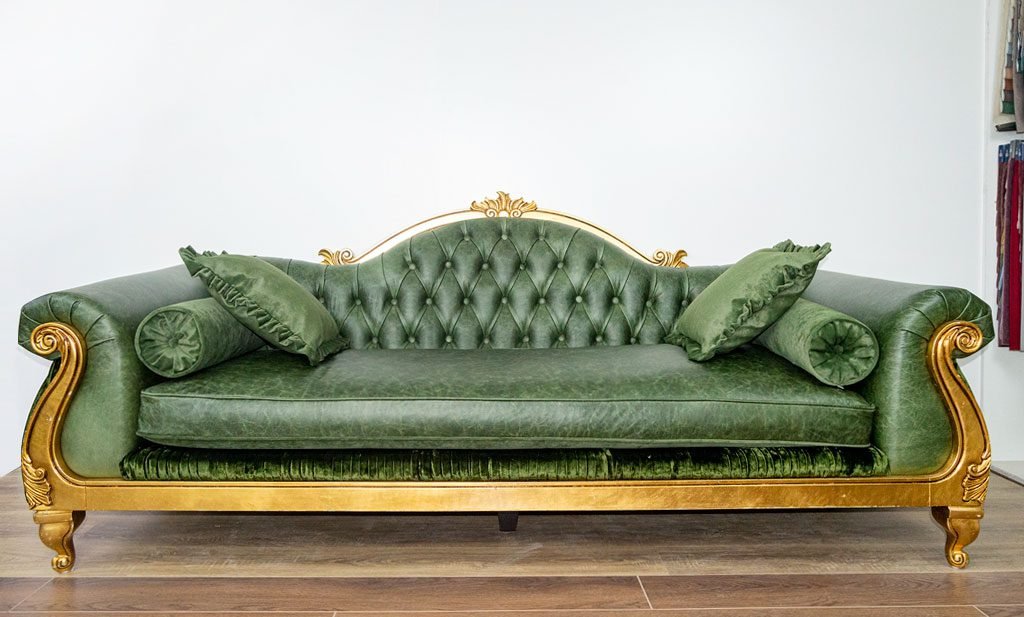
Two of these four were recovered in fabric rather than leather, and the captions say so. We do not describe a fabric recover as a leather restoration.
The makers we are asked for most
Every leather repair before and after above was done on a piece from a maker like one of these. Each page covers how that maker builds its leather, what tends to fail first, and what a repair on it involves.
Send a photo and we will tell you which of these it is
Text a photo of the damage and we will point you at the leather repair before and after above that is closest to it, with the method we would use and what it costs. Most work happens in your home or office, in a single visit.